What Is A Console Bathroom Sink?
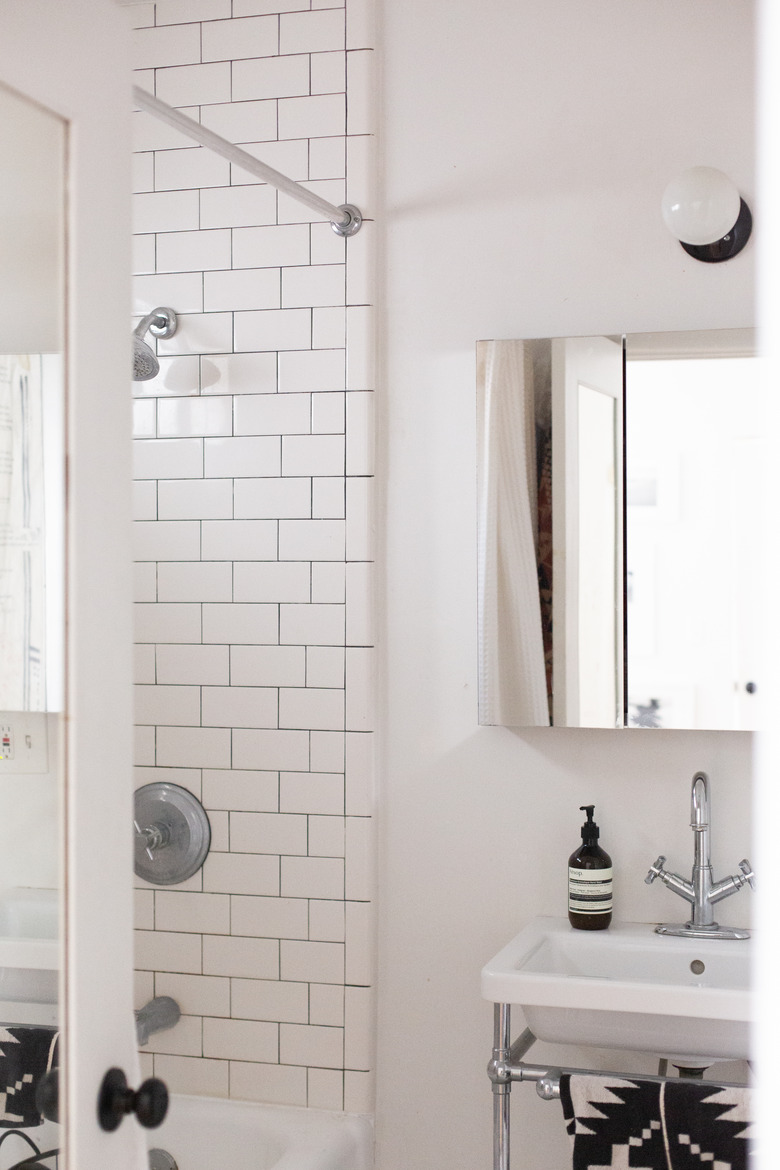
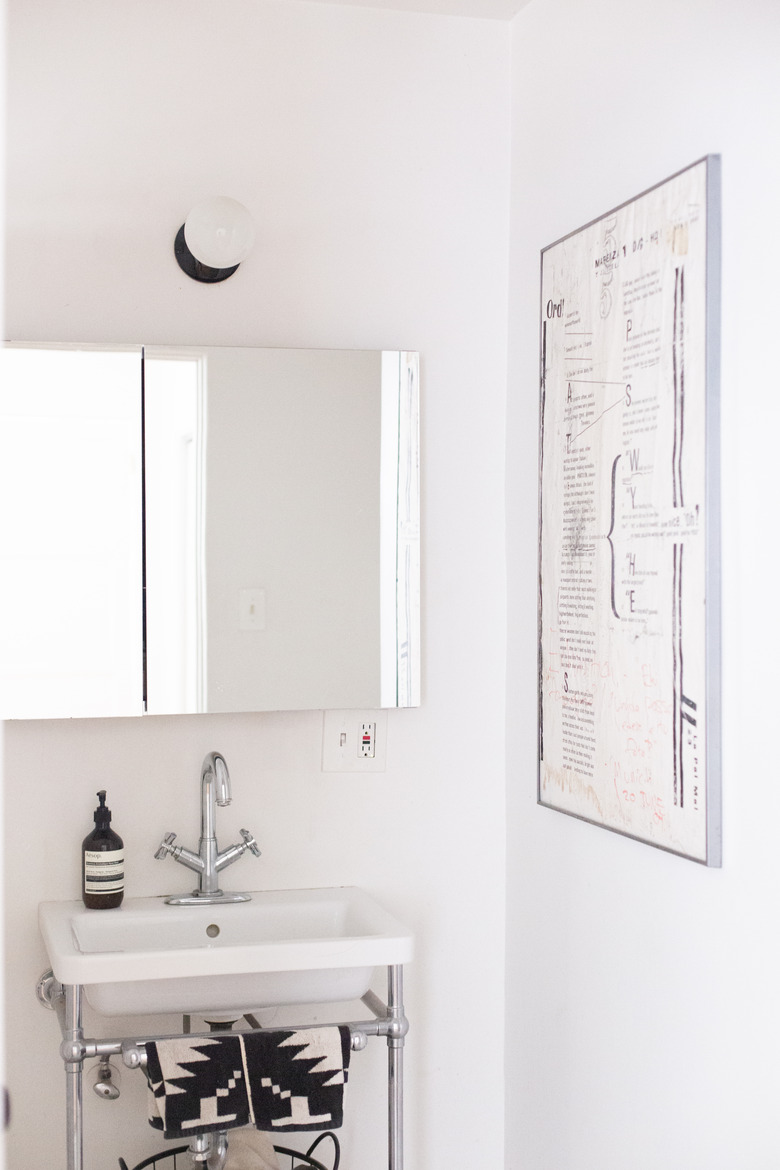
You don't need to be an interior designer to identify a wall-mount or pedestal sink, but fewer people are familiar with the classic style of the console bathroom sink, which is also sometimes called an apothecary sink. While the name may not ring a bell, chances are that you've seen at least a few of these in the past. Console sinks are a great option for many homes since they offer quite a few of the benefits of a pedestal or wall-mount sink as well as some of the benefits you might expect from more traditional bathroom vanities.
Tip
A console sink consists of a countertop that is supported by two or four legs (or more for particularly large sinks). These may be just sinks with no countertop, may be wall-mounted or freestanding and may or may not feature a storage area with an open shelf or drawer underneath, though it will otherwise be left open.
Benefits of a Console Bathroom Sink
Benefits of a Console Bathroom Sink
A console bathroom sink combines many great features offered from other sink styles. Some of the many things that homeowners love about their console sinks include:
- Open and airy: A
console sink takes up minimal floor space, leaving you ample room to store your
slippers, a scale, a laundry basket and more. This open space can also help make
your bathroom as a whole feel more spacious and less claustrophobic. - Storage space: Because
a bathroom console sink often uses a traditional vanity top, you can get the
same counter space of a traditional vanity. You can also have additional
storage space if you choose to have a design with a shelf or drawers installed
between the legs, and some styles even feature built-in towel bars on the side. - Accessibility: Conventional cabinet-style vanities can be difficult to use for those with walkers and wheelchairs,
but a console sink with a wide-open space underneath can let these users get
comfortably close. Be sure to check ADA guidelines for the ideal sink height
and leg width for your needs. The sink's drain and water supplies may also need modification to ensure adequate clearance. - Wide variety of styles: A console bathroom sink will provide you with tons of design options to
truly customize the appearance of your console unit. You can choose an
integrated, drop-in, vessel or undermount sink, and you can choose just about
any size, style and material for your vanity top, sink basin, faucet and console
legs. - Ease of installation:
While the installation process will vary based on whether you buy a wall-mount
or freestanding console sink, it's a fairly straightforward home improvement
project overall, especially when compared to the installation of a wall-mount
sink or vanity, which will have no supports underneath.
Disadvantages of a Console Bathroom Sink
Disadvantages of a Console Bathroom Sink
Of course, these styles aren't for everyone, and they do have some downsides. Before settling on a console sink, consider:
- Your stuff will be on display: While a console sink with a shelf and drawers can offer a
comparable amount of storage to a traditional vanity cabinet, almost everything
you store will be out in the open. If you want to store cleaning products, hygiene
products and medications under the sink, you'll probably be happier with the
privacy of a traditional vanity cabinet. - Visible plumbing:
While some people don't mind having their sink's plumbing out on display, this
is a deal killer for others, and while a vanity cabinet can
hide your drain and supply lines, the console sink will leave it out on
display. If you do go with a console sink, remember to install new, attractive
pipes that will complement your overall design aesthetic.
Console Bathroom Sink Design Options
Console Bathroom Sink Design Options
Traditional console sinks are made up of a large basin made from porcelain, vitreous china or fireclay fitted with legs made from stainless steel, polished chrome, brushed nickel, polished nickel or a similar metal. These can be purchased from many top lavatory product manufacturers, such as American Standard, Kingston Brass and Kohler.
If you prefer, you can pick and choose just about any style, material and size for each component of your sink, including the legs, vanity top, sink and bathroom fixtures. If you want a Carrara marble vanity top and a black, glass vessel sink accented with clear, acrylic console legs and a brushed nickel, widespread faucet, you could absolutely put together this combination. Alternatively, if you're into the look of reclaimed materials, you could even install a drop-in sink with integrated faucet holes into a salvaged table.
Kingston Brass points out that it's always important to give ample consideration to the legs of a console bathroom sink and not just for the sake of aesthetics. If you're thinking about getting a heavier material like natural stone for your countertop, then strong legs are critical in helping to support the entire sink, even if your walls will bear some of the weight as well.
Installing a Console Bathroom Sink
Installing a Console Bathroom Sink
If you purchase a traditional console bathroom sink, the installation process will usually be fairly simple, and most sinks will even come with their own easy-to-follow instructions. On the other hand, if you're installing a heavy console sink that will need to be wall-mounted, you may need to hire a professional to remove your drywall and install a support brace to the wall studs.
For most console sink installations, though, securing the sink to the studs will usually be sufficient, but if the studs do not line up properly with the mounting location, Signature Hardware warns that you will still need a professional to add wood blocking behind the drywall.
To install a traditional console sink, start by assembling the frame. Locate and mark the position of the wall studs you will use for the installation and then hold the frame up against the wall so it lines up to the studs. Use a level to ensure the frame is level and then use a pencil to mark where the mounting holes line up on the wall. Move the frame and drill pilot holes through the mounting hole marks. Put the frame back in the mounting position and then secure the frame to the wall using the included hardware or your own screws.
If you are not using an integrated or preassembled sink and vanity top, you will need to attach the sink to the countertop according to the manufacturer's directions. (This will vary greatly depending on whether you are using a drop-in, undermount or vessel sink).
Put a few small beads of caulk on the top of the sink frame and then install the sink according to the manufacturer's instructions. Apply a thin layer of caulk to the back of the sink where it meets the wall. Install your bathroom faucet and the drain according to the manufacturer's directions. Allow 24 hours for the caulk to cure before using the sink.

