Alcove Bathtub Installation: A DIY Homeowner's Guide
The most exacting part of an alcove bathtub installation is the preparation of the alcove itself. Its dimensions have to match those of the tub within 1/2 to 3/4 of an inch, the floor must be solid and level, the walls must be straight and the wall studs must be spaced 16 inches on center. This can be difficult to accomplish if you're removing a tub from an existing alcove in an old house with funky framing and replacing it with a new tub or if you're installing a new bathtub in an old bathroom.
You can complete the installation of the drain piping, the water supplies and the tub faucet valve before or after you install the tub, but almost every plumber does it before to limit the time spent standing inside a brand-new bathtub and potentially damaging the finish. Although it isn't required by code, it's a good idea to provide an access panel for the tub valve in the back of the tub wall or in the wall in an adjacent closet or room. If you don't do this and the valve has problems, you could end up having to break through the tub wall to do the repair.
Alcove Bathtub Installation Considerations
Alcove Bathtub Installation Considerations
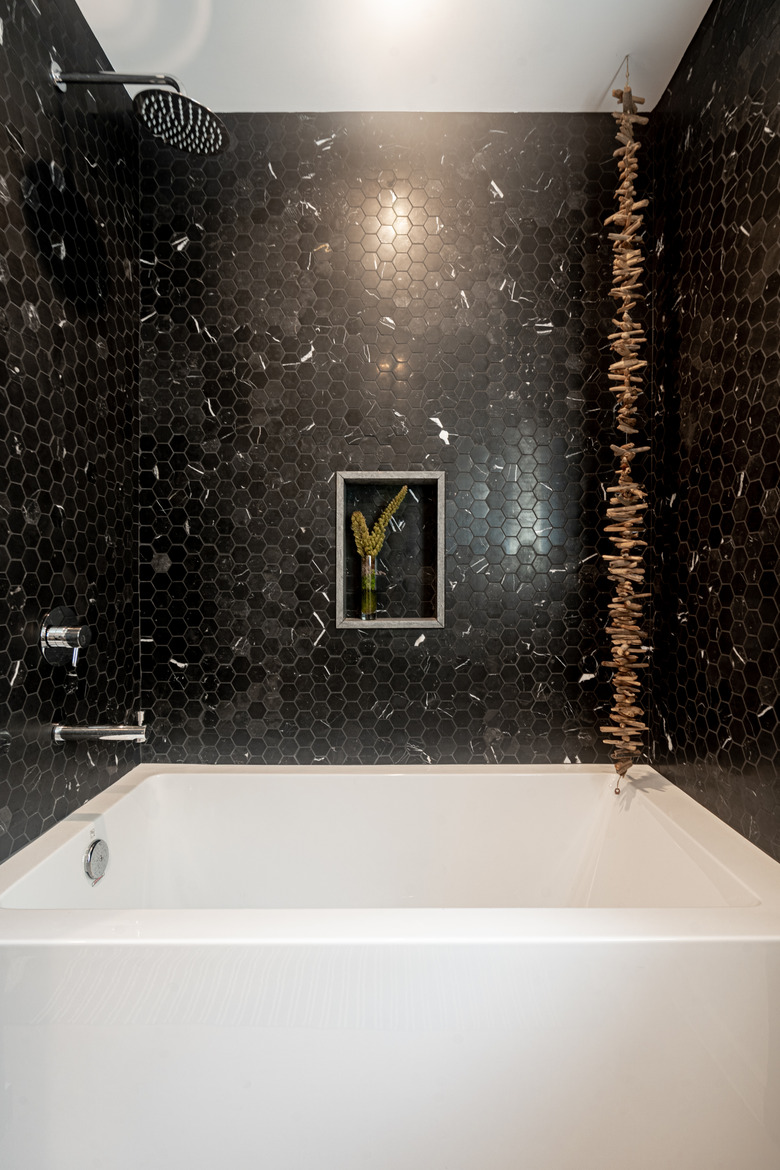
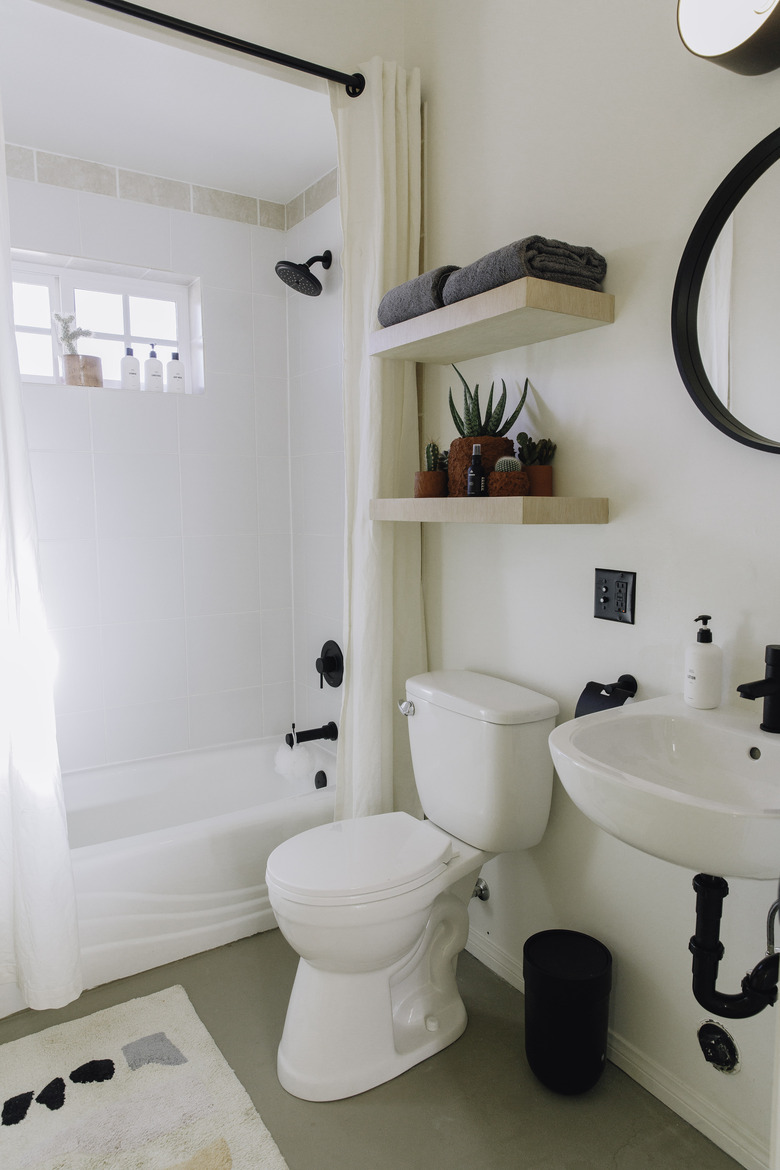
An alcove tub is designed to be attached to three walls, so it only has one finished side, which is a solid apron panel that extends to the floor. On the three open sides are flanges for securing the tub to the wall. This configuration allows the tub to be installed in only one direction, so you have to choose a right-hand tub, which has the drain on the right side, or a left-hand tub (drain on the left side) based on the location of the plumbing pipes.
Your alcove tub may come with a built-in frame that has feet, which makes installation easier because the feet don't require extra support, although you will probably have to shim them to level the tub. If you're installing a tub without these feet and it's made of a heavy material, such as cast iron, you'll probably have to set it in a mortar bed. This should be specified in the manufacturer's installation instructions, so be sure to read them carefully.
Once the tub is level, you've secured it to the wall and you've hooked up the plumbing, you have to finish the wall around the bathtub, and the most reliably waterproof wall covering is fiber cement board. When tiling or installing a shower in the alcove, you should use this or an alternative, such as the foam board recommended by Construction Pro Tips, provided that the alternative is permitted by your local building authority.
Glass mat gypsum — which is the new greenrock (water-resistant drywall) — is the best choice if you want to paint the walls, hang vinyl wallpaper or install a fiberglass enclosure, and your building department may allow it even if you install a shower. Don't even think of using conventional drywall.
How to Install an Alcove Bathtub
How to Install an Alcove Bathtub
Alcove bathtub installation involves a fair amount of rough carpentry work, so you'll need your framing and demolition tools, including a hammer, framing square, spirit level, reciprocating saw and drill. You'll also need plumbing tools, which will include soldering supplies if the water pipes are copper. Miscellaneous supplies include hardwood or metal shims, one or two bags of mortar mix, 1-inch galvanized screws or roofing nails (depending on the bathtub material and construction adhesive) and 2- and 3-inch deck screws.
Warning
Shut off the water to avoid leaks and flooding, and have a partner to help you with installation: Bathtubs are 60 pounds or more, depending on the type of material.
1. Frame the Alcove
Most alcove bathtubs are a standard 60 inches long and 30 or 32 inches wide, but the actual frame may be a bit larger, so measure the tub with a tape measure and make the floor space in the alcove about 3/4 inches larger than the dimensions you measure to ensure an easy fit. At least one of the alcove walls — usually the back one — will probably already exist, so make sure the studs are straight and correct any that aren't. Frame and erect any additional walls you need, securing the wall plates to the floor and ceiling joists with 3-inch deck screws.
Space the wall studs 16 inches apart, as measured from the center of each stud, and add extra studs as needed to support the faucet plumbing. Triple-check the plumb of the wall studs, ensuring that the distances between the bottom plates and the top plates are exactly the same. If the studs aren't straight and the distances between the top and bottom plates aren't the same, there will be gaps between the studs and the bathtub flange when you install the tub.
2. Build a Level Subfloor
If you're replacing an existing bathtub, the subfloor inside the alcove will probably already be solid and level, but it's still a good idea to remove the floor covering in the alcove, check the condition of the floor joists and replace rotted ones. You can then do as Home Repair Tutor recommends and replace the floor covering with plywood that has the same thickness as the floor covering you removed.
Lay a bead of construction adhesive on the edges of the floor joists before laying the plywood and then screw down the plywood with 2-inch deck screws. If the subfloor is out of level, glue furring strips to the joist edges to level the plywood before laying it. For extra solidity, install a sheet of 1/2-inch plywood on top of the first one after applying several beads of construction adhesive between them and screw it down.
3. Make a Cutout for the Drain
Measure the position of the bathtub drain with respect to the front end (which is the end with the overflow drain opening) and the sides and use these measurements to mark the drain on the subfloor. Cut an elliptical opening that extends from about 2 inches behind this mark to the edge of the subfloor that abuts the faucet wall using a reciprocating saw. Typical dimensions for this opening, which allows the bathtub drain assembly to hang below the floor, are 12 inches long and 3 to 6 inches wide.
4. Install the Drain Rough-In and Tub Faucet Valve
Assemble the 1 1/2-inch bathtub waste line, which connects to the building's main waste pipe, the P-trap and the vent for the trap, which connects to the building's main vent network at a suitable location.
Secure the faucet valve to the framing in the front wall, adding blocking to support it as recommended by the manufacturer and connect the hot and cold water lines. Run pipes for the tub spout and showerhead and terminate these with brass threaded elbows for the spout nipple and shower arm, which will be installed after the wall is finished.
5. Dry-Fit the Bathtub
Place two 8-feet-long 2x4 boards on the subfloor extending out from the alcove to support the tub. Unpack the tub, set it upright on the 2x4 boards and slide it all the way into the alcove to make sure it fits. If there are any gaps between the tub flange and the studs, this is the last chance to make corrections to the wall framing. When everything checks out, slide the tub all the way out of the alcove.
6. Install the Tub Drain
The drain assembly connects to the tub at the drain opening in the bottom of the tub and at the overflow drain opening in the front wall. A vertical pipe extends from the overflow opening to join with the horizontal pipe coming from the drain in a tee fitting, and a pipe extends from the tee to connect with the P-trap, which you have already prepared. The drain pipes are usually plastic, and they may have compression connections similar to those on a sink P-trap or slip connections that you glue together with plastic pipe cement.
Turn the tub on its side and install the strainer in the tub drain by spreading plumbers' putty under the flange, inserting the strainer in the tub opening and screwing it into the drain shoe, which is the 90-degree elbow fitting that you connect to the bottom of the tub. Tighten the strainer with a drain key or smart dumbbell. Install the overflow plate by screwing it to the 90-degree elbow that goes on the outside of the tub according to the manufacturer's instructions. Then, install all the connecting pipes and glue them or tighten the fittings with pliers.
7. Lay a Mortar Bed (Optional)
If the manufacturer recommends setting the tub into a mortar bed, mix a bag of mortar to a semisolid, sandy consistency. Spread the mortar evenly under the tub (ensuring it will contact every part of the tub) to a depth of 2 or 3 inches. This isn't required for every tub. Some have feet that require no extra support or a flat bottom designed to be set into construction adhesive, and some manufacturers recommend setting their tubs into a bed of high density spray foam, so check the specifications for your model to be sure.
8. Set and Fasten the Tub
Turn the bathtub upright, ensuring the drain assembly hangs over the edge of the 2x4s, slide it into position and remove the 2x4s when the drain is over the cutout in the subfloor. Place a spirit level on all sides of the tub and adjust the tub as needed so it is perfectly level. If there's no mortar bed, you may have to set shims under the tub feet to get the tub level. Use metal or hardwood shims because softwood compresses and deteriorates.
When the tub is perfectly level, fasten the flanges on all three sides to the wall studs. If you're installing an acrylic or fiberglass tub, drill 1/8-inch holes in the flange and drive a 1-inch screw into each hole. If the tub is metal, pound a 1-inch roofing nail into the stud just above the flange so that the head of the nail secures the flange.
9. Cover the Walls
Fasten cement board, moisture-resistant drywall or a vinyl tub surround to the wall studs, bringing the lower edge of the wall material over the tub flange and flush with the rim of the tub. If you're installing a shower and you want to tile the walls, staple plastic sheeting to the studs to act as a moisture barrier before installing the cement board. Finish the seams using mortar or drywall joint compound as applicable and apply a bead of silicone caulk between the top edge of the tub and the bottom edge of the wall material to seal the gap. Then, install the tile or other wall finish as desired.
10. Install the Faucet Trim
Screw a nipple for the spout into the threaded elbow below the tub valve and screw a spout onto the nipple. If there's a fitting for a showerhead, screw in a shower arm and install the showerhead. Install the faucet handle on the tub wall according to the manufacturer's instructions.
Tip
If you're installing a whirlpool tub, you'll have to make extra plumbing and electrical connections. Whirlpool alcove bathtub installation isn't typically a DIY project and usually requires professional assistance.


