Garden Walls For Your Landscape
We may receive a commission on purchases made from links.
A garden wall adds a fresh element to your yard's appearance—it's a hardscape feature that plays a key role in the beauty of the landscape. Even a short garden wall winding around a flower bed helps break up the look of a boxy yard with a straight driveway. Some garden walls also help prevent erosion or make the yard more manageable for mowing if the house sits on a hill. No matter its purpose, a garden wall helps enhance a home's curb appeal in a way that lasts much longer than the average softscape elements in the yard.
Garden Wall Structures
Garden Wall Structures
A garden wall isn't always a wall in the traditional sense, as it doesn't necessarily hold anything up or provide shelter or even privacy. It's as simple as an 8-inch-high curved stone border around a small garden bed or as complex as a winding 4-foot-high retaining wall with terraces, designed to prevent erosion while adding beauty to a sloped portion of the backyard. Any type of garden wall is best built on land that's level, otherwise the taller the wall, the more unbalanced it looks as it comes together.
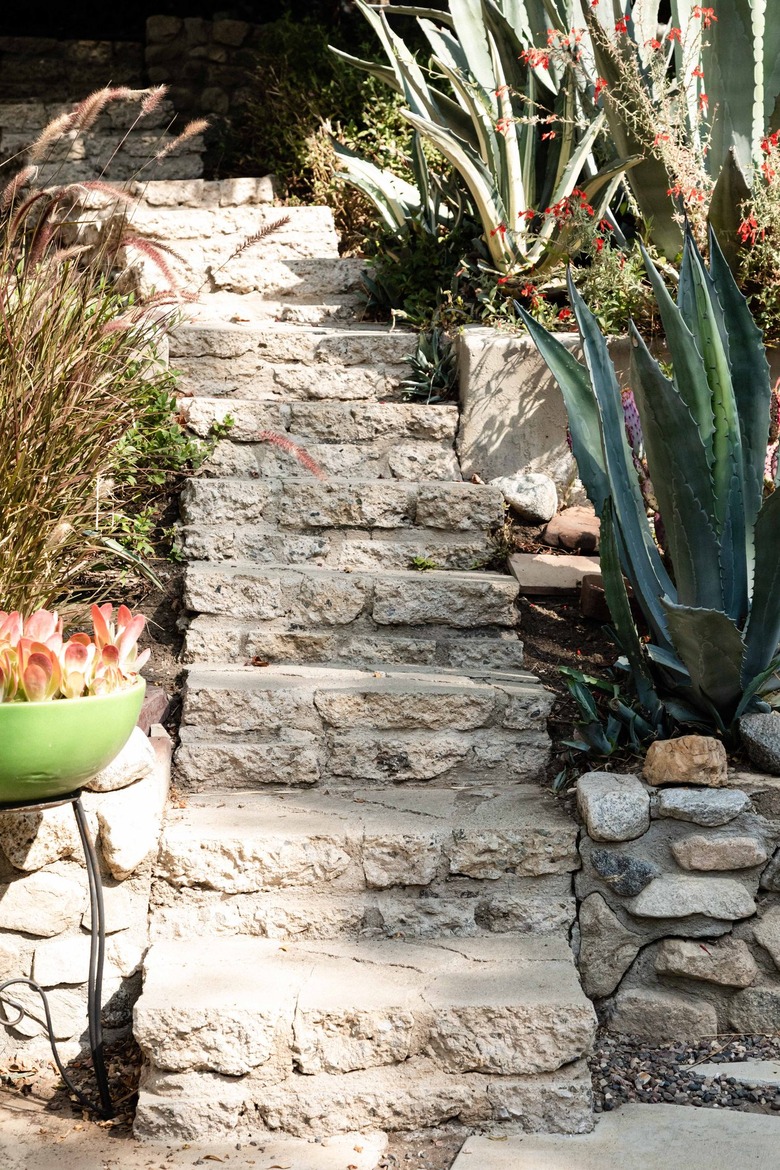
A permanent garden wall can be made from retaining wall blocks, cut stone, brick, hollow concrete blocks that look like stone or even rounded, water-smoothed rocks collected over the years from a nearby stream or beach. Home improvement stores such as Home Depot as well as local landscape and masonry materials suppliers carry a vast array of options for building materials in numerous finishes and shapes.
The best material for any garden wall depends on the look you wish to achieve as well as the function of the wall. If it's purely decorative, such as a short wall around a flower garden, virtually any stone-like material will work.
For a taller garden wall that helps prevent erosion, retaining wall blocks such as those made by Allan Block are a great choice, as many of these are designed for use without mortar and have interlocking edges that make it easy to properly stabilize the wall layers, or courses. Some also have hollows for gravel, which helps hold the block in place while providing a bit of drainage.
While building a fairly simple waist-high wall is a reasonable and rewarding DIY project, anything higher or overly complex, such as a wall with built-in stairs, may be better left to the pros. A terraced retaining wall with flat areas of earth between levels is another way to create a tall retaining-wall effect without necessarily needing professional assistance.
Garden Wall Building Basics
Garden Wall Building Basics
No matter what type of garden wall you build—or how you build it (either dry-stack or using mortar)—sketch it out and lay it out first to ensure a quality finished product. Do a dry run with at least the bottom layer of stone or brick to help determine how it will look and how many pieces you will need. Once satisfied, mark the layout with a garden hose or with a sprinkling of flour so you'll know where to dig the trench for the base of the wall.
The trench must be level and dug deep enough to accept a layer of gravel or a concrete footing depending on the type of wall. For even a short wall, the bottom 2 inches (or more) of the wall sits below ground level to ensure stability. Tap in the first course of rock or brick with a mallet so the outside edges of the stones touch, and the completed layer is absolutely level. Stagger the edges of the rocks brickwork style to build a stronger garden wall.
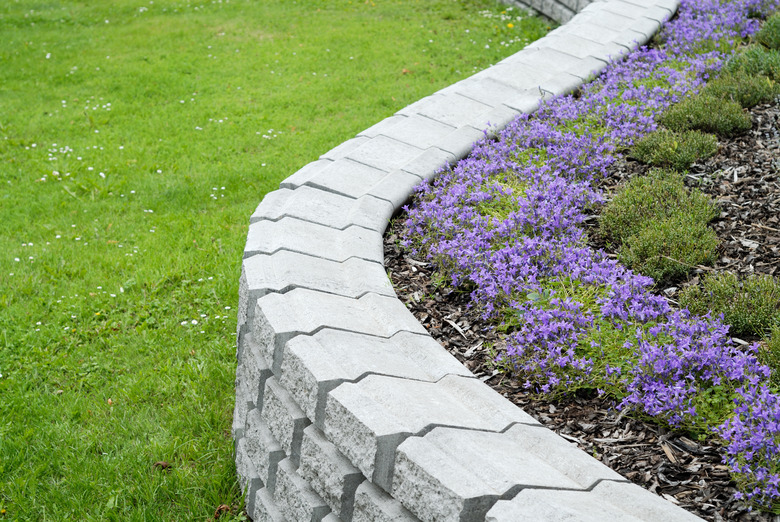
If you are using manufactured blocks, choose capstones from the same company as the wall block, as this helps ensure the pieces fit together properly. Manufactured retaining wall blocks are an excellent option for the DIYer, as they look professional and are shorter on one face than the other, which allows you to create curves with ease.
Dry-Stack Garden Wall
Dry-Stack Garden Wall
A dry-stack garden wall, as its name implies, is a wall built without any wet materials, such as mortar or construction adhesive, to hold the blocks together. In many cases, this type of construction still uses some materials to help keep the wall strong, solid and stable. Dry matter such as smaller stones, large gravel and loose dirt are all suitable gap fillers for a dry-stack wall.
As for the actual wall materials, rocks that are fairly straight and flat are the easiest type with which to build. Stacking layer upon layer is a bit harder to do with rocks that have more rounded surfaces than flat. The rocks need not be a uniform shape and size, although using rocks of the same approximate size, shape and color gives the wall a uniform appearance.
Building a dry-stack wall starts with a leveled trench at least 4 inches deep and generally about 24 inches from front to back if you are building a retaining wall with large stones. For a smaller garden wall, such as a flower bed border, the trench from front to back only needs to be about the thickness of the finished wall.
Set the first course of stones one by one, aligning stones with the outer face of the wall in mind. Set stones with minimal gaps between the front faces and so the stones do not rock when stepped upon. Continue with each course, staggering the edges of rocks and angling the wall back about 1 inch per foot of height.
Fill gaps with dirt and smaller rocks, tamping things down and into place gently with a sledgehammer. The capstone or top layer should be rocks that are relatively flat on top for an appealing finished look. For best results, keep a dry-stacked wall less than 36 inches high. A wall in the 20- to 22-inch range doubles as a place to sit, which can be nice around the perimeter of a backyard relaxation area, for instance. A dry-stack wall has a more organic and sometimes ancient appearance compared to brick or manufactured block walls.
Mortared Stone Garden Wall
Mortared Stone Garden Wall
A mortared stone garden wall goes together in much the same way as a dry-stack wall except mortar helps keep the stones permanently in place. For a freestanding mortared wall, you'll also have to dig the trench to below the frost line — generally 1 foot deep for a 3-foot-high freestanding wall. This type of wall requires a solid foundation, which means filling the bottom of the trench with 8 inches or more of concrete and waiting until it dries before setting stones. Check with your local government to ensure your wall plans meet height, placement and construction regulations before you build.
When building a stone wall with mortar, align stones so their tops are relatively level with one another in the same course, as this helps with mortaring. Make mortar by mixing one part cement with two parts construction sand, according to Irwin Stone. Stir in water slowly until the mixture slips easily from a hoe or trowel. Apply a little water to the stones before adding mortar to help the mortar better adhere.
The tricky part about working with stones and mortar if the stones are irregular shapes is ensuring the wall stays plumb (perfectly vertical) for a freestanding wall or at a slight slope toward the back if you are building a retaining wall. It could also be a bit tricky applying mortar consistently since the rock shapes and sizes vary. Use levels, string and stakes to set a guide for vertical wall layout.
For a retaining wall, add drain tile behind the wall down low and then fill the area with coarse gravel. Landscaping cloth over the top of the drain tile or between the gravel and the wall keeps dirt and debris in place without clogging the drain tile.
Brick Garden Wall
Brick Garden Wall
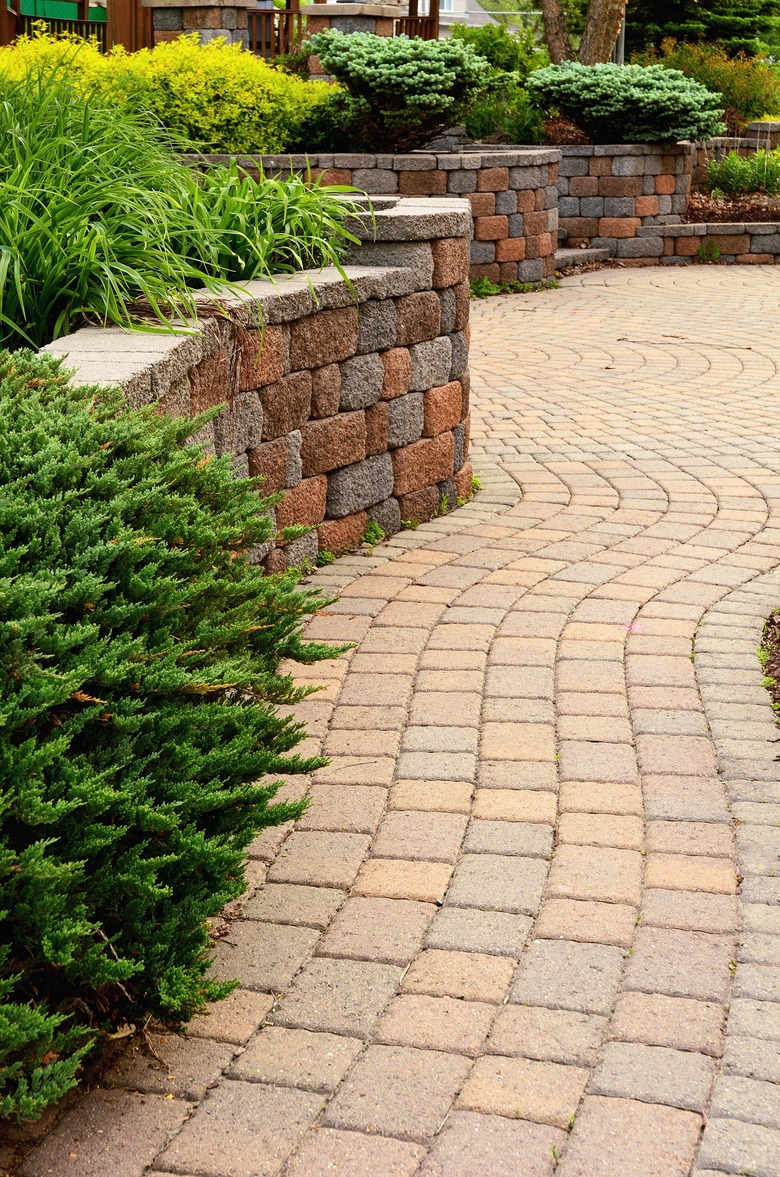
Building a brick garden wall is much like building a stone mortared wall, although it's often a bit easier since the bricks are rectangular and the same size. Brick also creates a uniform, professional appearance when used for virtually any type of garden wall. Choose bricks that match or pair well with the bricks in your home's foundation or that have a similar color scheme as patio pavers, for instance.
Bricks are a great option for a straight, short wall with a capped top. They are not the best option for a curved wall, as curving the layout creates large gaps between bricks. These gaps are difficult to mortar in a way that looks professional compared to a straight wall.


