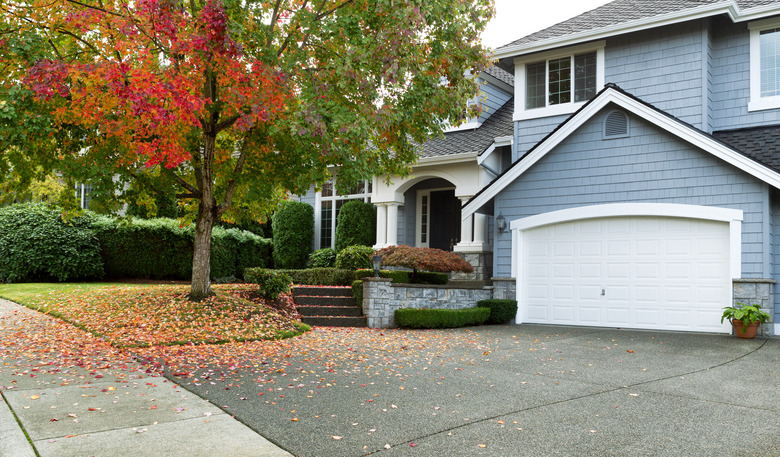
Common Repairs For A Concrete Driveway

No concrete driveway can last forever, but most can last for 20 to 40 years or longer depending on the soil, the environmental conditions and the expertise of the contractors who poured it. Small cracks are virtually inevitable, owing to the propensity of concrete to expand and contract with changing temperature and to crack due to internal stresses. As long as cracks aren't caused by shifting soil or a failure of the support base, patching them is a fairly easy DIY project.
Most other problems that beset a concrete driveway aren't as easy to handle and may require a contractor's services. You definitely need a contractor to handle the following problems:
- Large holes
- Spreading cracks caused by soil erosion or an unstable base
- Lifting or sinking
The usual remedy for spalling, scaling and discoloration, which are problems caused by freezing temperatures and sunlight, is to apply a resurfacing coat, and although ConcreteNetwork.com recommends hiring a contractor for this job too, it can easily be a DIY project provided you follow the directions of the resurfacing material carefully. Any concrete driveway repair necessitated by soil movement could call for demolition of part of the driveway or injection of a filler material underneath it, and those are jobs no homeowner wants to DIY.
Crack Repair in a Concrete Driveway
Crack Repair in a Concrete Driveway
You can fill small cracks measuring no more than 1/2 inch wide by 1/4 inch deep by using a flexible, polymer-based crack filler, such as Sakrete concrete crack filler, which is a viscous liquid that comes in a squeeze bottle to make application easier. Some products come in a tube, and you apply them with a caulking gun. Most products are gray, but the color doesn't blend that well with the concrete, so the repairs remain visible, and if you have to repair a lot of cracks, you may want to consider resurfacing the driveway anyway when you're finished.
To ensure that the filler makes a watertight seal and adheres well, you need to brush debris out of the crack before you fill it. Pros generally widen the crack with a hammer and cold chisel to ensure the filler sinks into it, although you should maintain a two-to-one ratio between the width and depth of the crack. If the crack is too deep, Sakrete recommends filling it with sand to a depth of 1/4 inch below the surface before applying the crack filler.
Apply the filler straight from the bottle or trowel it into the crack. The product may sink, so more than one application may be needed to bring the repair to the surface of the driveway. If so, let the first application cure overnight before applying another one.
 John Edward Linden/Corbis Documentary/GettyImages
Resurfacing a Concrete Driveway
Resurfacing a Concrete Driveway
Products like Quikrete concrete resurfacer come in powder form ready to be mixed with water and are designed to make resurfacing easy. If you prepare the concrete properly, follow the mixing instructions and use the right application tools, you can do a professional-looking job in a single day. In fact, application is a job you can't do in stages, so you have to complete it in a single day.
Preparation consists of removing debris from the driveway surface, including loose concrete that is about to chip off the surface but hasn't yet done so. To this end, Quikrete recommends washing down the driveway with a pressure washer capable of developing at least 3,500 pounds per square inch, which is probably beyond the capability of the electric pressure washer you use to clean your car and your house, so you'll have to rent a gas-powered one. Pressure washing also wets the concrete so it will suck less water from the resurfacing compound.
Most concrete driveways are divided into sections by control joints (which help to control where cracking occurs) and expansion joints (which serve as a buffer against neighboring structures), and these joints should be covered with weather stripping and or duct tape to keep out the resurfacing compound. Mix the compound with water to a syrupy consistency, pour a line of compound along one edge of the concrete slab and drag it across the slab using a squeegee to a thickness of about 1/8 inch. If you maintain this thickness, one 40-pound bag of resurfacing compound should cover 90 square feet, and because the entire surface must be covered at the same time, you'll want to have one or two extra bags on hand so you don't run out—otherwise you'll be making a mad dash for the home improvement store.
Protect Concrete With a Sealer
Protect Concrete With a Sealer
If your new concrete driveway has shown signs of spalling or discoloration within a year or less of being poured, it's probably because the concrete wasn't sealed. Deterioration is usually the result of moisture penetration, and the purpose of a sealer is to prevent that while often imparting sheen and color to the surface as well. You can apply sealer to new concrete, existing concrete or a fully cured application of concrete resurfacer.
Before you seal old concrete, it's important to etch the concrete surface to ensure penetration, and an easy way to do this is to pour a strong solution of trisodium phosphate and water on the surface and scrub with a stiff push broom. Rinse well, preferably with a power washer, which will add a little more etching power to what you've already done and will strip any existing sealer. Let the concrete dry or the sealer may turn milky, warns Concrete Decor. Apply one coat of sealer by spraying or rolling and let it dry before applying a second coat, this time moving your applicator in the perpendicular direction.
 tab1962/iStock/GettyImages
When You Need to Call a Contractor
When You Need to Call a Contractor
Although some concrete driveway repair procedures are ones DIY homeowners can add to their list of home improvement accomplishments, some require professional expertise, heavy-duty equipment or both. Many of these repairs are necessitated by changing soil conditions, and homeowners often have to weigh the efficacy (and relative cost) of doing the repair versus demolishing the driveway and starting over. For example, it's probably futile to patch a large, spreading crack caused by poor drainage or shifting soil without doing something about the underlying conditions, but it takes a pro to know for sure.
Repair is often the better strategy when part of the driveway sinks due to soil erosion. Concrete pros can drill holes through the sunken slab and inject a mixture of sand, mortar and water (or a special expanding foam) underneath it to fill the void and raise the slab back to its original level. This procedure, known as mudjacking, can cost up to $2,000, says Lift Right Concrete, but if it works, you'll end up spending less than you would if you replaced the sunken slab — as much as $3,000 less.
Repairing a broken concrete driveway presents a similar decision. Is it better to haul away the broken pieces and fill the voids they leave with an appropriate patching compound, or should you demolish the entire driveway? Factors that influence this decision (besides cost) include the size and number of broken sections, adverse drainage conditions and the presence of tree roots that can damage other parts of the driveway if left untreated. A trusted concrete contractor is an asset when you have to make such a decision.