How To Troubleshoot And Repair String Lights
We may receive a commission on purchases made from links.
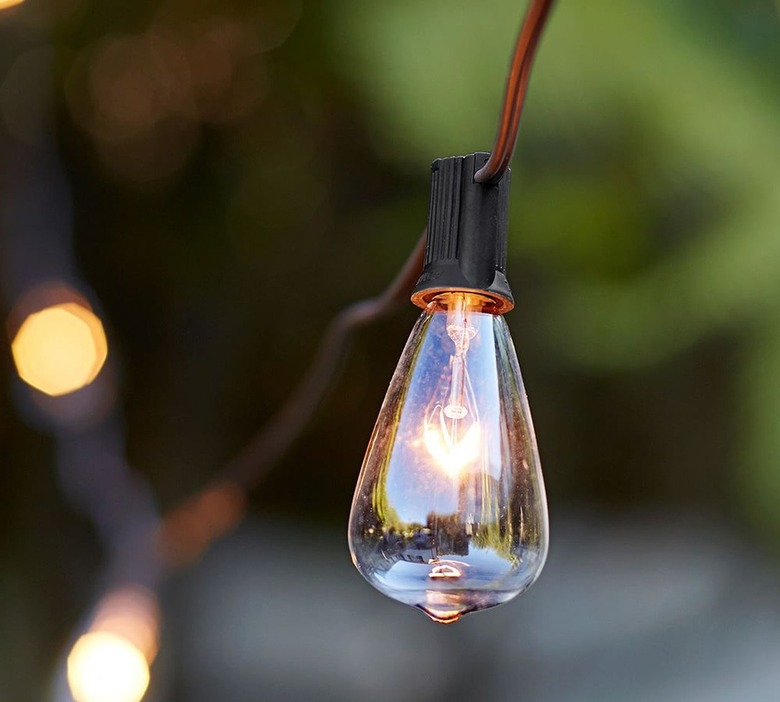
If you like to enjoy your garden or patio after dark, string lights make a great addition to the space. They provide enough light to allow you and your guests to see without being overwhelmingly bright. String lights also add warmth and charm to an outdoor space without attracting every insect in the area. Many come in fun shapes like cacti or pink flamingos so you can add a bit of whimsy as well as illumination.
Unfortunately, sometimes the lights go out unexpectedly. Luckily, if your favorite string lights have gone dark, there are a few DIY troubleshooting tricks you can use to figure out what went wrong. You may be able to fix the problem quickly and get back to enjoying the ambiance that working lights create. These same tests and repair techniques work for all sorts of string lights, including holiday lights and Christmas tree lights.
How to Troubleshoot and Repair String Lights
1. Look for Safety Issues
Before you spend time troubleshooting and repairing your string lights, verify that it makes sense to do so. Squirrels, mice, rabbits and other outdoor critters sometimes like to chew on wire coatings. If you see chewed wire coatings or bare wires, throw your lights away and get a new set. Damaged wires are hard to fix and are unsafe to use.
In cold winter areas, it's wise to take down your string lights and store them over the winter. When bringing them back out in the spring, give them a once over. Wires that were obviously broken or pulled away from the light sockets indicate that it's time to replace your outdoor lights instead of repairing them.
2. Look for Unseated or Corroded Bulbs
Even if your string lights go dark, you may not have a problem at all. Sometimes, light bulbs along the string get bumped or are otherwise knocked loose. When they do, they can stop working and can cause other lights along the string to do the same.
Before you start looking for bigger problems, take a minute to check each bulb along your light strand and make sure it's tightly seated in its socket. A little wiggle or push back into place may be all your lights need.
You should also check LED string lights for corrosion. If they're removable, pull out your LED light bulbs one at a time and check them. If rust or corrosion appears on the bottom of the bulb where the contacts are or inside the socket, clean it away with some sandpaper or a small wire brush.
Warning
Make sure the light string is unplugged before sticking anything into a bulb socket.
3. Change the Fuses
String lights often have fuses tucked inside the male plug end. To check the fuse, plug the broken lights into an electrical outlet that you know has power. Then, take a working string of lights and plug it into the broken set. If the lights on the second strand don't light up either, the fuse is likely the issue.
To fix the problem, begin by unplugging the light string. To access the fuses, find the trap door on the side of the male plug end of the string. Place a small screwdriver inside the indentation on the plug and slide open the door. Inside, you will see two tiny fuses that you'll want to change.
Because they're so small, you may need to grab your screwdriver again and use it to gently lift the bad fuses out of their holders. You can then install new fuses, making sure you use the correct size for the job. There are exceptions to every rule, but you'll generally need 3-amp fuses for mini lights, 5-amp fuses for commercial grade strings and 7-amp fuses for C-sets. According to Semmer Lighting, C-sets are those with larger, cone-shaped bulbs like those found in decorative window candle lights.
Warning
Confirm that the new fuses have the same amp rating as the originals and/or match the rating printed on the plug or string label. Using a fuse that has a higher amp rating than the light string creates a serious fire hazard.
4. Check for Damaged Shunts
If half of your light strand is dark, you may have a damaged shunt. Once upon a time, when one bulb in a string of lights went out, they all went out. Manufacturers fixed this problem by installing shunts in their string light bulbs. (Note that only incandescent lights use shunts. LED lights do not.)
A shunt is a small piece of wire located in each light bulb. When a bulb goes out, the shunt redirects the electrical current to keep the rest of the lights on. If a shunt fails, however, every light after the damaged area can go dark.
To fix a damaged shunt, plug in your lights and remove any bulb that isn't working. Place the end of the empty light socket in the port of a Christmas light repair tool. Pull the trigger on the tool several times to send a current through the shunt to reactivate it. If a damaged shunt is the issue, the dark lights will light up when the issue is fixed. You may, however, need to pull the trigger on your Christmas light repair tool up to 30 times before it works.
Shunts allow the electricity that runs through string lights to skip over broken bulbs, but they don't decrease the amount of electricity running through the wires. According to Treetime Christmas Creations, this extra power gets dispersed among the remaining bubs, making each of them shine a bit brighter.
This change in light intensity is minor enough that you probably won't notice it, but the bulbs along the string will. The extra current can shorten the life span of these bulbs. Even if you can repair the shunt and get your string lights working again, you should still replace any bad bulbs as soon as you can.
5. Replace Burned-Out Bulbs on String Lights
If your string light set is wired in series (as many are), one burned-out light bulb can make your entire light string go dark. To fix the problem, you'll need to follow the circuit to figure out where it is broken. Finding the break in your electrical circuit sounds tricky, but it's really quite simple. Grab a Christmas light repair tool or a noncontact voltage tester and use it to check your light bulbs one at a time.
To do so, simply plug in the lights and then hold your chosen tool close to or against each bulb one at a time. Where an electrical current is present, the tool will beep or light up. If your tester detects no current at a specific bulb, replace that bulb or the bulb before it on the string.
In a pinch, you can also find bad bulbs the old-fashioned way. This means yanking out each bulb and replacing it with another until you stumble across the correct one and the lights come back on. This is tedious work, but it is effective.
If you have LED lights, you need to test them a bit differently. In this case, you'll need a Christmas tree light repair tool. You can then pull the LED bulb out of its socket and place it into the light tester. If it lights up, the bulb is good. If not, you'll need to replace the bulb.
When a bulb goes out on LED lights that don't have removable bulbs, the safest option is to throw the lights away and replace them. Attempting to make repairs on any electrical device can lead to electric shock or create a fire hazard. If your bulbs weren't meant to be replaced, don't risk messing with them.
Shop String Light Replacements
Shop String Light Replacements
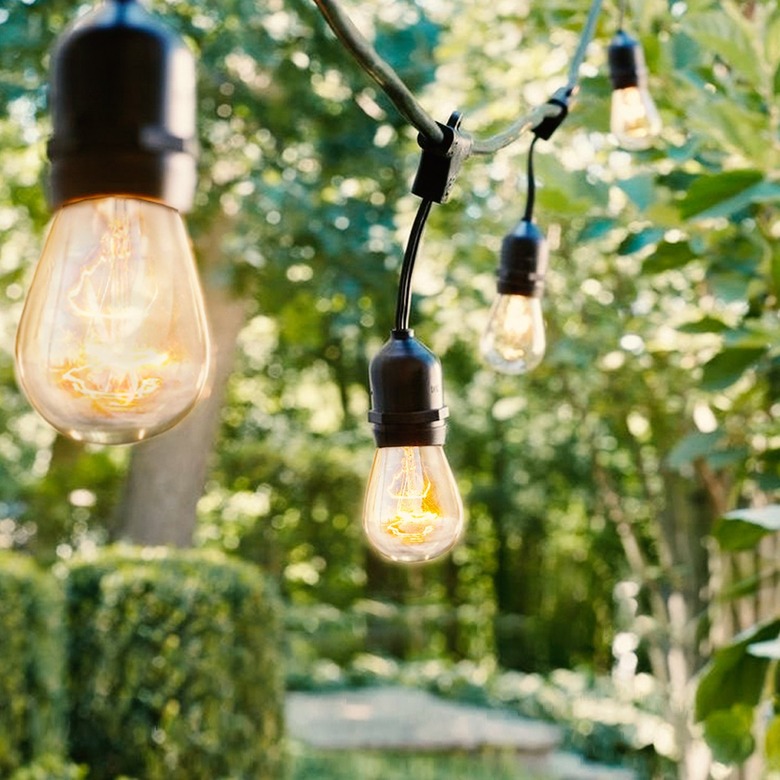
These vintage-inspired string lights span 48 feet and contain 15 bulbs. Connect up to eight strands end to end.
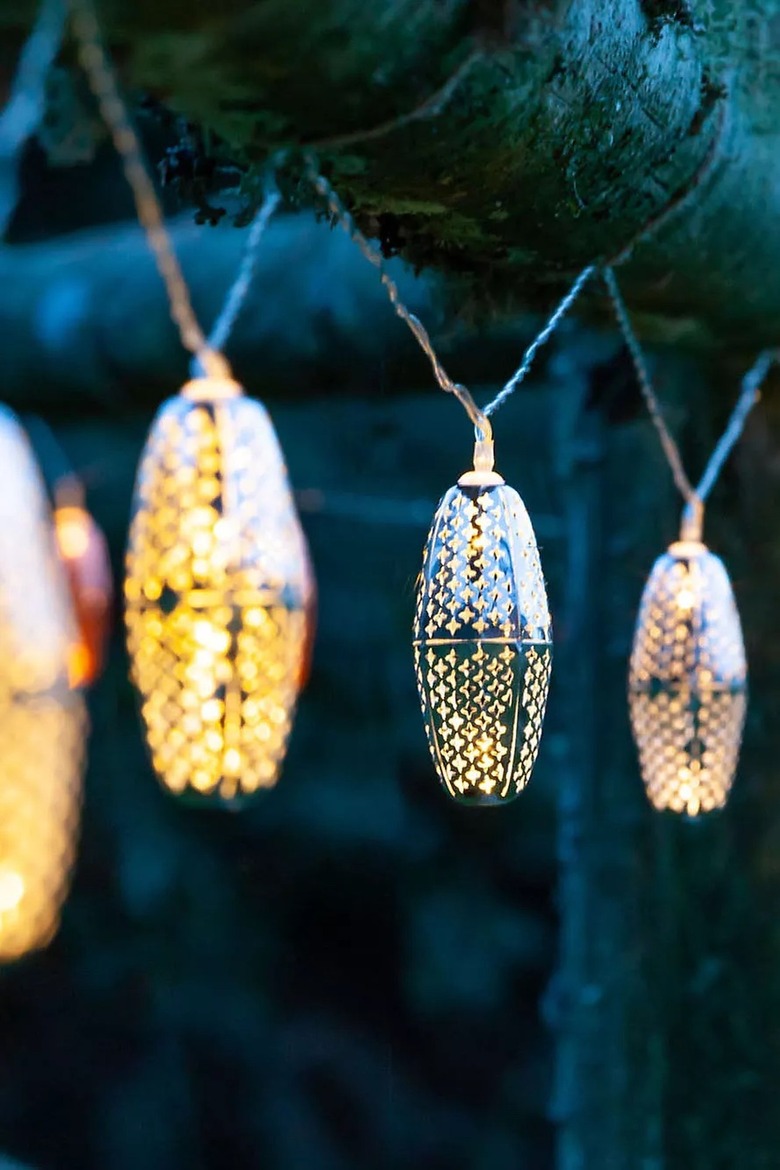
Charge these solar lights by day, and let them shine by night. These beautiful lantern bulbs are inspired by the lighting in the bazaars of Morocco.
Spanning 27 feet in length, these simple and elegant string lights are powered by a battery that's charged in direct or indirect sunlight. The bulbs shine up to six hours on a full charge.
Choose between 40 and 51 lights on its 50-foot span. This will give you ultimate illumination and obviously the best of vibes.
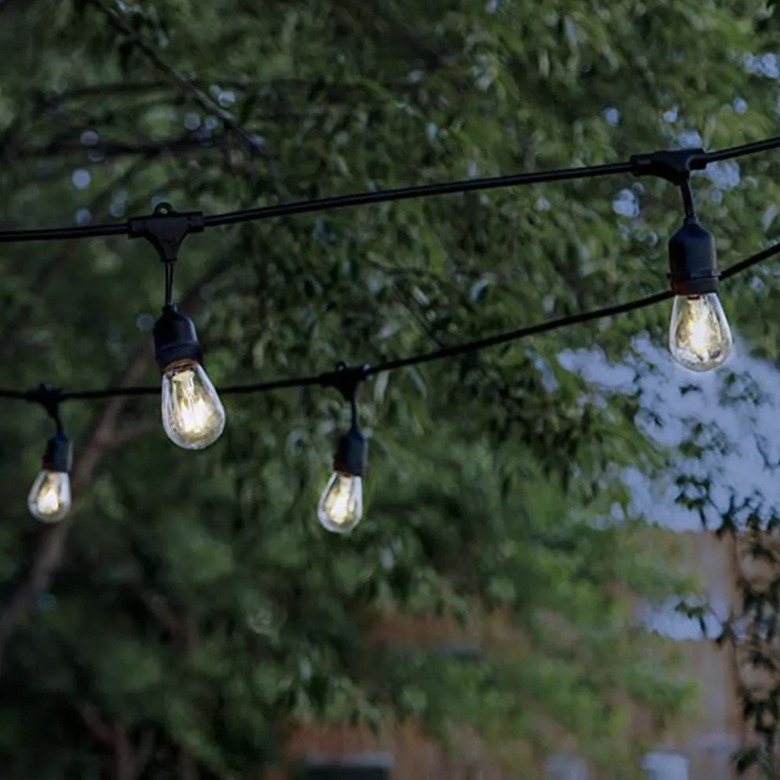
These retro lights bring the perfect soft glow to any outdoor space. The cord is 48 feet long and includes 15 bulbs.
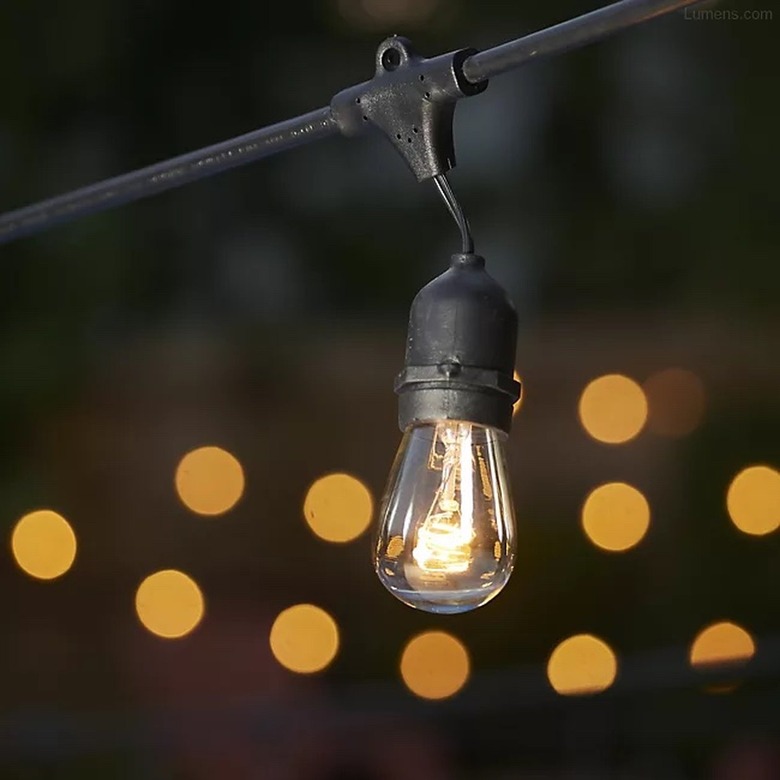
The elongated Edison bulbs make for the coolest backyard setup. The strand includes 20 vintage-feeling lights.


