How To Grow Swiss Chard
We may receive a commission on purchases made from links.
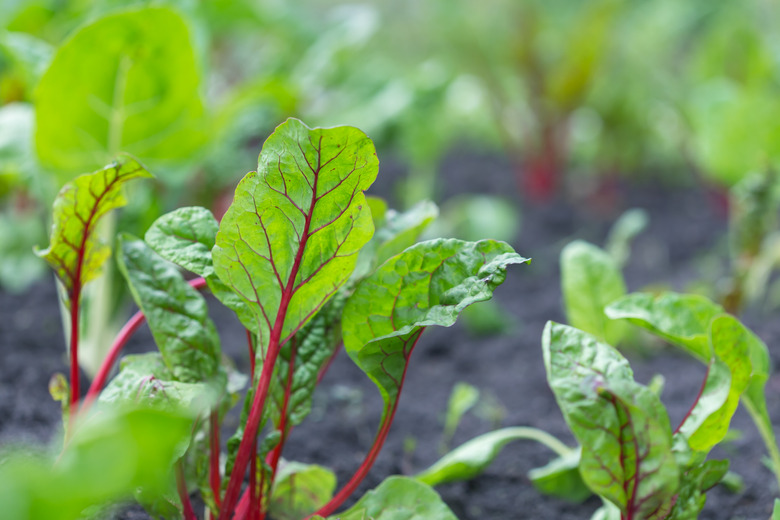
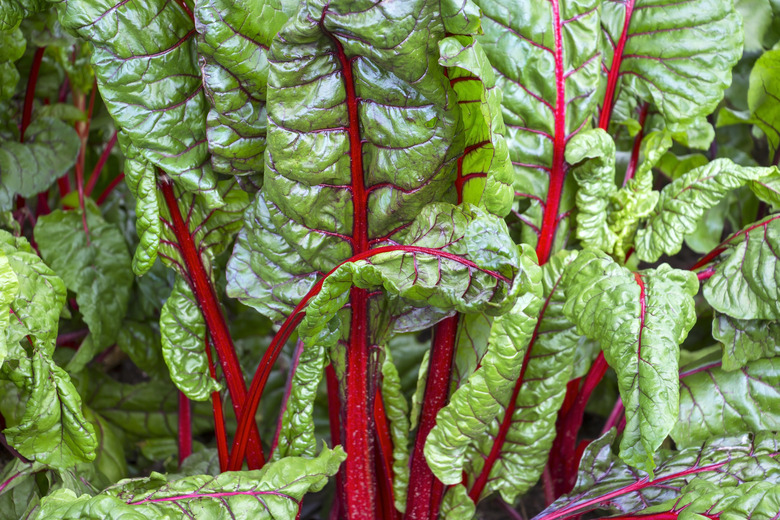
If you love the taste of Swiss chard (Beta vulgaris [Leaf Beet Group]), you already know how difficult it is to find it in the grocery store. Because it ships and travels poorly, chard is rarely stocked by grocers. Technically a biennial plant (a flowering plant that takes two years to undergo its full life cycle), Swiss chard is grown as an annual. The plants grow to a height of 16 inches tall, featuring large green leaves atop colorful stalks.
This cool-season vegetable will keep producing all summer long, but its cold tolerance allows you to get it into the garden early in the growing season when your spring fever is just starting to kick in.
Best Uses for Swiss Chard
Best Uses for Swiss Chard
The leafy greens of Swiss chard make a tasty addition to salads and cook up well as a side dish. You can even substitute chard for spinach in most recipes. Many gardeners grow chard as a food crop because, like many other leafy greens, it's quite nutritious. Chard is full of vitamins A, C and K as well as copper, iron, magnesium and potassium. When growing chard for food, grow two or three chard plants for every person in your household.
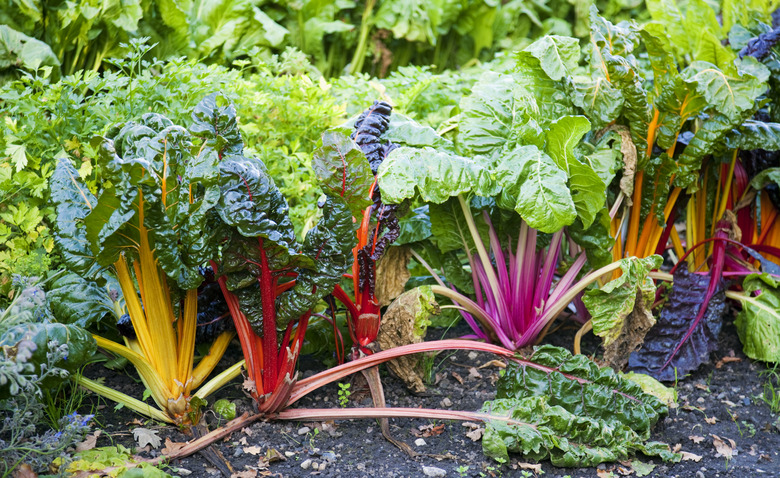
Some gardeners dislike the taste of chard but grow it anyway for a pop of color in the garden. Chard stems come in a kaleidoscope of colors, including red, yellow and orange. These colors are extremely vivid and shine brightly in the garden, resulting in cultivar names such as 'Bright Lights' and 'Northern Lights.' Chard grows well in containers too, making it an excellent choice for those who garden on apartment balconies or in small yards.
How to Plant Swiss Chard Seeds
How to Plant Swiss Chard Seeds
- Soak your chard seeds in water for 24 hours to encourage faster germination.
- You can then sow them directly into the ground two or three weeks before the last spring frost unless you live in an extremely warm area.
- For best results, till compost into your soil before planting, working the earth about 12 inches deep. Swiss chard likes loose soil, so don't skip the tilling.
- When the soil is ready, sow your seeds about 1 inch deep and space them 18 to 24 inches apart. If you're planting your chard in a container, make sure the one you choose is at least 12 inches deep.
- You should start seeing seedlings in five to seven days.
If you prefer, you can start your chard seeds indoors four weeks before the last frost. You'll need to store your seed tray in a cool environment like an unheated garage, however, to ensure proper germination. Harden off your seedlings before moving them outside.
Tip
If you live in the South, you may need to sow your chard seeds as early as 10 weeks before the last anticipated frost. Chard seeds germinate in a soil temperature around 50 degrees Fahrenheit and struggle if the soil is warmer.
In What Zone Does Swiss Chard Grow Best?
In What Zone Does Swiss Chard Grow Best?
Because it's grown as an annual, you can grow Swiss chard anywhere in USDA zones 2 through 11. Those living in warmer regions may need to start their chard early to prevent warm soil temperatures from impeding germination, but once it is established, chard will tolerate both hot weather and light frosts. Many gardeners enjoy their chard well into autumn.
When Should You Plant Swiss Chard?
When Should You Plant Swiss Chard?
Ideally, you'll want to plant your Swiss chard two to three weeks before the last anticipated frost when soil temperatures are about 50 degrees. The exception to this rule is the 'Ruby Red' or 'Rhubarb' chard variety. These cultivars will skip producing leaves and go right to seed if it gets too cold, so plant this variety just after the last expected frost.
Planting your chard when the soil is warm may slow germination, but chard seeds will usually still perform. Seeds will rot rather than germinate if the soil is too cold, however.
Soil, Sunlight, and Water Recommendations for Swiss Chard
Soil, Sunlight, and Water Recommendations for Swiss Chard
Chard likes rich, fairly neutral soil with a soil pH level between 6.0 and 8.0. It prefers loamy, well-draining soil and does better in loose soil than it does in impacted clay and other heavy soil. Because chard usually grows vigorously without any help, you don't typically need to amend the soil, but you can apply a balanced fertilizer midway through the season if your plants seem small. Think twice about this decision, however. Smaller chard plants tend to taste better than large ones, so you may not want to "fix" small plants.
Although fertilizer is optional, mulch isn't. You should spread mulch around chard to keep weeds down and to help keep the soil around your chard cooler. Chard will grow in the summer, but the heat tends to slow the production of this cool-season vegetable a bit. Mulch also helps to keep the soil moist between waterings.
Chard requires 1 to 1 1/2 inches of water per week, so make sure you water regularly during dry periods. Chard gets bitter during droughts, but it doesn't do well with wet feet either. When it rains, use a rain gauge to determine how much water nature provided your chard plants. You can then make up the difference if rainfall proves inadequate.
Although it will tolerate part sun if it must, Swiss chard prefers full sun and will grow more vigorously in it. Like all leafy greens, chard also likes a steady water supply. Make sure your chard gets 1 to 1 /2 inches of water during the growing season so it can produce big leaves.
How to Winterize Swiss Chard
How to Winterize Swiss Chard
Technically, Swiss chard is a biennial plant. This means that it spends one growing season producing healthy leaves and stems. It then goes dormant during the winter before enjoying a second growing season. During the second season, the plant focuses on producing seeds and reproducing before it dies.
Unfortunately, Swiss chard produces very few leaves during its second growing season, and those that it does produce often have an unpleasant taste. As such, most gardeners simply grow the plant as an annual and remove it or plow it under when the growing season is done.
If you wish, you can transplant your chard into a container for the winter and bring it inside. Doing so will lengthen the time that you can continue harvesting the plant. Dispose of the chard as the second growing season begins, however, unless you want to harvest your own seeds.
How to Harvest Swiss Chard
How to Harvest Swiss Chard
To harvest chard, use a sharp, sterilized knife to cut off the outer leaves, cutting the shoots back to about 1 1/2 inches above the soil. Both the stem and the leaf are edible, but many cooks prefer to use only the leaves, using them the same way they do spinach. Rinse your harvested chard and store it in loose, ventilated plastic bags. Chard will last about two weeks when stored this way. You can store chard leaves without their stems for up to six months in the freezer.
You can begin harvesting your Swiss chard when it's about 6 to 8 inches tall. This usually occurs 55 to 60 days after planting. Chard is a "cut-and-come-again" plant, which means you can revisit each plant several times during the season to harvest leaves. You'll simply harvest the largest leaves and stems and come back for the younger ones later when they're ready.
Common Pests and Other Problems for Swiss Chard
Common Pests and Other Problems for Swiss Chard
Swiss chard is generally pest-free and easy to grow. You could encounter aphids on your chard, but a quick blast of water from your garden hose will easily dislodge them.
Leafminers can also cause some concern among gardeners. Leafminer adults look like small flies and are black or gray in color. Some species also have yellow markings. Adult leafminers won't damage your chard themselves, but they will lay eggs that hatch and overwinter in your soil. Come next season, the larvae will dine on the leaves of your chard, creating white-colored squiggly trails on the foliage.
Because the damaging larvae overwinter in the soil, you can control leafminers by rotating your crops. You can also reduce their numbers by tilling your soil in the fall at the end of the growing season, disrupting any larvae that have settled in for the winter. Installing row covers also helps by preventing adult leafminers from reaching the plants and laying their eggs.
Chemical treatments will kill adult leafminers and stop them from laying their eggs, but they won't affect larvae that have already hatched and begun feasting on your chard. Fortunately, home gardeners can usually control leafminer issues with good garden hygiene practices alone.
Common Diseases for Swiss Chard
Common Diseases for Swiss Chard
The most common disease of chard is caused by the fungal pathogen, Cercospora spp. Cercospora leaf spot causes round lesions on chard leaves that are gray or white in the middle with a purple or red ring around the outside. It most often occurs later in the growing season when the humidity is higher but can occur during rainy seasons as well.
Cercospora spores live in the soil and can stay there for up to two years, making crop rotation an excellent way to combat the disease. Like many other fungi, Cercospora spp. spreads easily when rainwater or overhead irrigation splashes the leaves. To protect your chard, space plants far enough apart that air can circulate between them, stay out of the garden when it's wet and aim irrigation water at the plants' roots rather than its leaves when watering.
If you see signs of Cercospora on only a few leaves, cut them off your plant and discard them. Fungicides generally work only as a preventive treatment and fail to stop active infections, making prevention paramount. Again, good hygiene practices are usually all that it takes to prevent problems in home gardens.
As a close relative of beets, chard is also susceptible to the beet curly top virus. This virus causes the leaves of the chard plant to yellow and curl upward. Unfortunately, once contracted, there is no cure for this disease.
If this virus is a problem in your area, spray your plants once a week with neem oil. Neem and other horticultural oils will kill the leafhopper insects that spread the disease and will hopefully prevent infection. Promptly remove and destroy any infected plants to help prevent the spread.


