How To Grow Crookneck Squash
We may receive a commission on purchases made from links.
- Best uses for crookneck squash
- How to grow crookneck squash
- Starting crookneck squash from seed
- Starting crookneck squash from a seedling
- In what zone does crookneck squash grow best?
- When should you plant crookneck squash?
- Soil, sunlight and water recommendations for crookneck squash
- How to harvest crookneck squash
- Common pests and other problems for crookneck squash
- Common diseases for crookneck squash
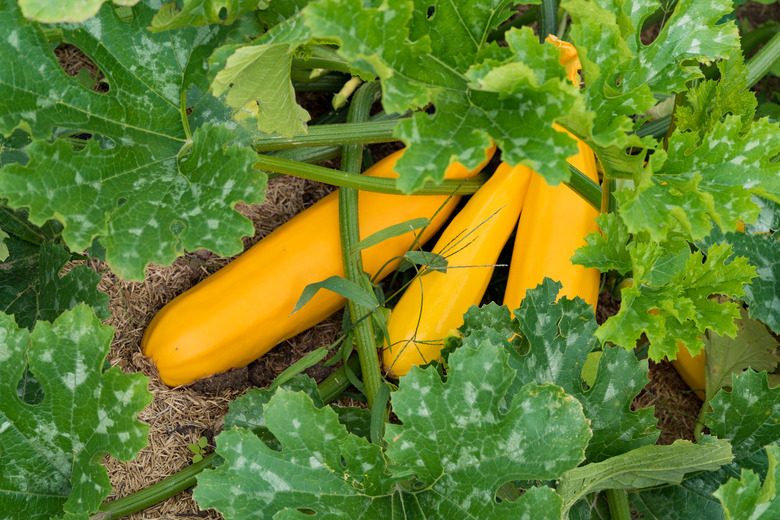
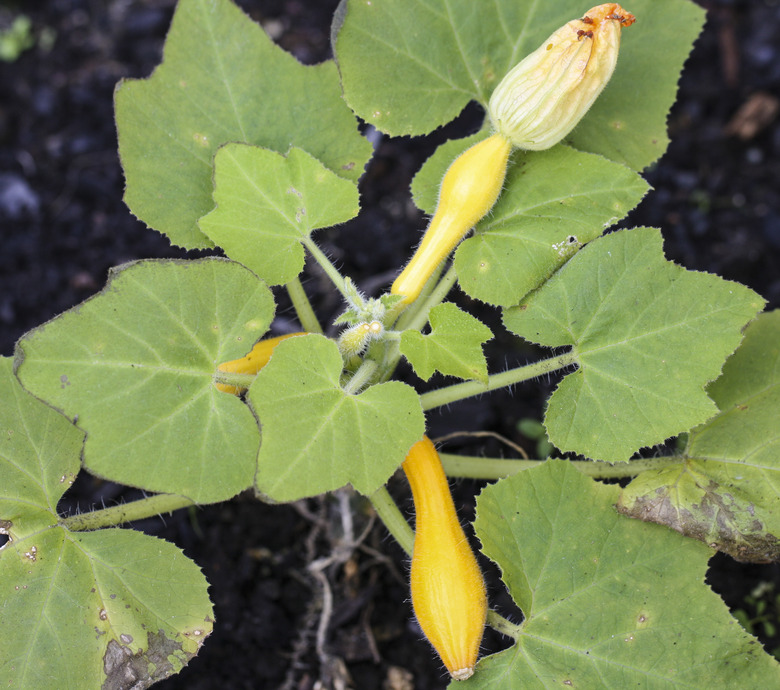
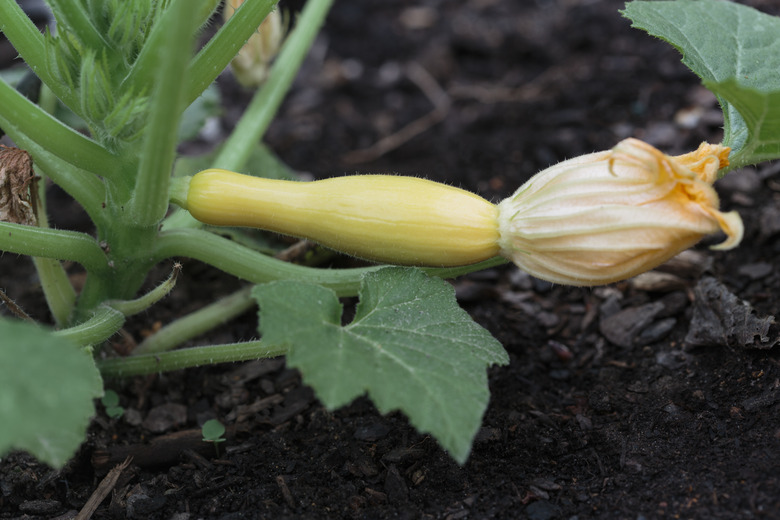
Lemon yellow in color with a slightly bent neck (unlike its close cousins, the straight and narrow yellow squash and zucchini), crookneck squash (Cucurbita pepo) is a summer favorite that graces many vegetable gardens. These veggies may grow on vines or on bushes like other summer squash plants. Compact bush-type cultivars are perfect for smaller gardens and allow plenty of real estate for even more plants.
Once plants reach maturity, crookneck squash will continue to produce until frost or cold temperatures end their growing season. Even if you plant only the recommended one to two squash plants per person, it's a good idea to have some hungry neighbors lined up in case you find yourself with more crooknecks than you can eat.
Best Uses for Crookneck Squash
Best Uses for Crookneck Squash
Gardeners grow yellow crookneck squash as a food crop. The squash has a rich, buttery flavor that works well in a variety of dishes. It also boasts an attractive lemon color that can add visual appeal in addition to flavor.
Because they're harvested young when the skin is still thin, you don't need to peel the squash. You can slice raw squash to make a summer salad or grate it to garnish soups. If you prefer it cooked, you can grill, steam, fry or bake it. The internet is full of summer squash recipes, so you don't have to worry that you'll run out of ideas for using crookneck squash in the kitchen.
How to Grow Crookneck Squash
How to Grow Crookneck Squash
- Common Name: Crookneck squash
- Botanical Name: Cucurbita pepo
- When to Plant: Wait until soil temperatures are above 60 degrees Fahrenheit, two to three weeks after final frost
- USDA Zones: As an annual in zones 3-11
- Sun Exposure: Full sun
- Soil Type: Moist, well-draining soil
- When it's in Trouble: Yellowing leaves, wilting leaves, holes in plant stems
- When it's Thriving: Produces large green leaves and grows quickly
Starting Crookneck Squash From Seed
Starting Crookneck Squash From Seed
With large leaves and a prolific fruiting plant, crookneck squash is a heavy feeder that needs rich soil to thrive. To give yours a good start, work about 3 inches of compost into the soil before you sow your seeds. Once you've prepared the soil, you can proceed to plant in one of three ways.
The first is to sow your squash seeds in rows or sprinkled throughout your garden. Leave at least 2 feet between plants, but 3 feet is better if you have the space. Drop three or four seeds in each planting hole, covering the seeds with 1 to 2 inches of soil.
Some gardeners like to plant squash atop small dirt mounds. Doing so helps warm the soil a bit, promotes good drainage and encourages the plant to spread out and grow down the hill. If you live in a dry area where drought is a factor, plant your crooknecks in inverted mounds instead.
To make an inverted mound, dig out about an inch of soil in a 20-inch circle. Use the removed soil to form a dirt ring around your circle. Because the planting circle is a bit lower than the rest of the garden, any moisture your plants do get will be funneled toward them rather than away from them.
No matter which planting method you choose, make sure you water your seeds as soon as you've sown them. When your young seedlings appear in seven to 14 days, keep the healthiest one or two plants from each planting site and remove the rest.
Crookneck squash is suitable for container growing as well. You can train both garden and container vining plants onto a trellis if desired. This is generally a good idea for container-grown specimens so that vines aren't damaged or broken when they spill over the side of the pot.
Starting Crookneck Squash From a Seedling
Starting Crookneck Squash From a Seedling
If you prefer, you can start your seeds indoors and then transplant young seedlings into the garden. You can also purchase seedlings rather than seeds. Make sure you begin hardening off your seedlings two weeks before transplanting them, leaving them outside a little longer each day as they acclimate to outdoor conditions.
Prepare the soil as you would for seeds, working compost into the earth before planting. When you're ready, gently remove the plant's root ball from its container and plant it at the same depth as it was in its pot. If you've started your seeds in a biodegradable pot, you can plant the entire pot and avoid disturbing the roots of your young crookneck squash plant. Space your plants at least 2 feet apart and water them gently after transplanting them.
In What Zone Does Crookneck Squash Grow Best?
In What Zone Does Crookneck Squash Grow Best?
As an annual vegetable, crookneck squash grows in USDA plant hardiness zones 3 through 11. Depending on the cultivar, crookneck needs up to 65 days from seed planting to harvest. If you live in the colder end of the plant's growing area and have concerns about a short growing season, consider a faster-growing crookneck variety like Supersett, Dixie Hybrid or Golden Summer that you can harvest as soon as 40 days after planting.
When Should You Plant Crookneck Squash?
When Should You Plant Crookneck Squash?
As a summer squash, crookneck won't tolerate any frost. Even plants that look unscathed may produce ill-tasting fruit that goes bad quickly after harvest. To avoid problems, sow your crookneck seeds at least a week after the last expected frost. To be on the safe side, many gardeners wait up to three weeks after the last frost. The soil temperatures should reach 60 degrees Fahrenheit before you plant.
Frost isn't the only problem you can avoid by planting late. Squash vine borers and other squash insect pests are most active early in the season. Planting a bit later may help you avoid an infestation. If you're starting your seeds indoors, do so about two to four weeks before the last expected frost.
Soil, Sunlight and Water Recommendations for Crookneck Squash
Soil, Sunlight and Water Recommendations for Crookneck Squash
Squash needs a sunny spot with moist, well-draining soil. It prefers a pH level between 6.0 and 6.8, but it will tolerate some fluctuations in these readings as long as your soil isn't too far out of range.
Crooknecks also need a deep watering at least once a week. Soak the soil so that it is moist to a depth of 4 inches. One long drink is better for squash than several short ones. Your plants will tell you if they need water. Leaves commonly wilt during the heat of the day but should spring back at night. If they're still wilted in the morning, water your squash immediately.
After planting, mulch around your seedlings to prevent weeds and to keep the soil moist. As your crookneck plant grows, its leaves will become large enough to shade the soil and suppress many weeds on its own. Until then, a little mulch is a big help. Once a month, side-dress your squash plants with a 5-10-10 fertilizer. Keep the nitrogen levels lower so your plant produces squash rather than just more leaves.
How to Harvest Crookneck Squash
How to Harvest Crookneck Squash
Depending on the crookneck squash cultivar you planted, your squash will be ready for harvest 45 to 65 days after planting. If it is allowed to stay on the plant too long, crookneck squash can become a bit tougher and will produce very large seeds. For a better taste, harvest your squash when it reaches about 6 inches in length.
To harvest, cut the squash cleanly from the plant, leaving a 1- to 2-inch stem on the squash. Squashes with stems tend to store longer. Even with a good stem, however, crooknecks will only last about 10 days in the refrigerator.
Revisit your mature squash plants often, as they will keep setting fruit after the initial harvest. If a squash sneaks past you and stays on the vine too long, it will appear bigger than the other squash, and the skin will be dull rather than glossy. Remove this fruit to encourage the growth of a new one.
Common Pests and Other Problems for Crookneck Squash
Common Pests and Other Problems for Crookneck Squash
The two most worrisome insect pests for crookneck squash growers are the squash bug and the squash vine borer. You can help prevent squash bugs from reaching your plants by installing floating row covers. Squash bugs are most active early in the growing season, so you can remove the covers when the plants get larger. You'll also want to remove the covers when your plants are flowering to allow pollinators such as bees to pollinate the flowers. If you still see squash bugs on your plant's leaves, rub the eggs off the plant and shake adults into a bucket of soapy water.
Squash vine borers can also create problems for gardeners in the Eastern United States. The tiny borers will worm their way into the stem at the base of your plant and munch away, causing the plant to ultimately wilt and die. You can prevent squash vine borers by wrapping the bottom of young plants in foil to discourage adults from laying eggs there.
Some gardeners are able to remove the borers. To do so, cut a vertical slit into the plant stem and pull out the borer. Add soil around the plant until the wound from the borer is covered. Hopefully, the damaged area of the plant will form roots, and the squash plant will recover.
Trellising your squash plant will help keep it off the ground, making it less susceptible to insect pests. You can also set the squash on a piece of tile or slate as soon as it forms so it's not laying directly in the dirt.
Common Diseases for Crookneck Squash
Common Diseases for Crookneck Squash
Squash plants frequently develop powdery mildew near the end of the growing season. This fungus forms a white coating on the plant's leaves, potentially preventing them from receiving adequate sunlight.
Remove affected leaves as soon as you see symptoms of mildew. You may be able to avoid powdery mildew by spacing plants properly for good air circulation and directing irrigation efforts at the plant's roots rather than its leaves.
References
- The Old Farmer's Almanac: Growing Squash (Zucchini)
- Bonnie Plants: Crookneck Squash
- Harvest to Table: How to Grow Zucchini and Summer Squash
- Epic Gardening: Summer Squash From A To Zucchini: Best Types And How To Grow Them
- Gardener's Path: 21 of the Best Summer Squash Varieties for Your Garden
- Harvest to Table: Squash Growing


