How To Grow Chives
As much as you may love plucking fresh vegetables from your own garden, doing so means a lot of work every year since most vegetables grow as annuals in the United States. If you want to spice things up but only plant once, perennial herbs are an excellent choice. Easy to grow and care for, chives (Allium schoenoprasum, USDA zones 4-8) often serve as the gateway plant that introduces new gardeners to the joys of an herb garden.
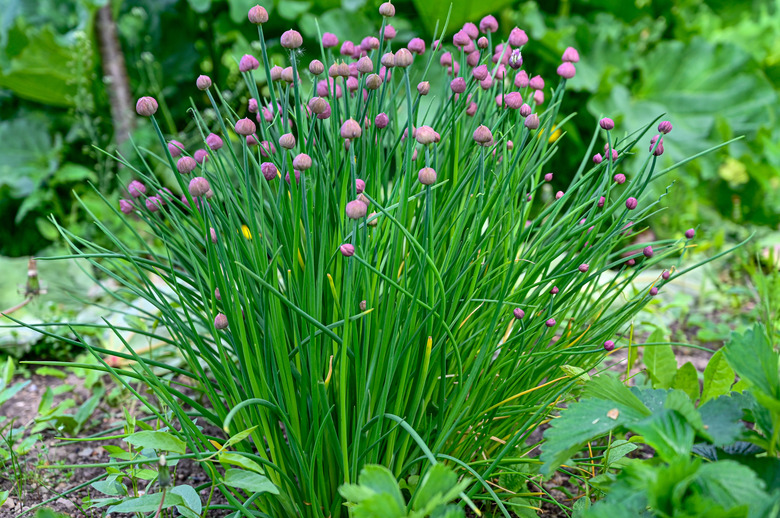
Growing to about 12 inches in height, chives grow well in the garden but also thrive in containers. You can grow chives in a relatively small pot, and many home chefs grow them on a kitchen windowsill or tabletop. The plants sprout pinkish to purple flowers during the growing season, but it's best to pinch them off quickly before they spread seeds to unwanted areas.
Best Uses for Chives
Best Uses for Chives
As a popular herb, chives are often one of the main attractions in herb gardens. In Ancient Rome, people would hang bunches of chives in their home to ward off evil, so you could try hanging some the next time an unwelcome guest visits. Modern gardeners use them as border plants or nestle them among flower beds to save space. They grow well in containers too, making them convenient when you have limited garden space.
Of course, most gardeners grow this herb to enjoy in the kitchen for a mild onion flavor. Four plants are generally enough to provide fresh herbs all season but plant six if you intend to store chives for later as well as enjoy them fresh. Chives have a mild onion taste that easily adds a dash of flavor to soups, omelets and potato salad among other dishes. When cooking with chives, wait as long as you can to add them to the dish. Their delicate flavor quickly fades if they get too hot.
The stalks of the chive plant are the most edible part, but the plant's pink to purple flowers are edible too. Add them to a salad or float them in a bowl of soup for some added color and flavor.
How to Grow Chives
How to Grow Chives
- Common Name: Chives
- Botanical Name: Allium schoenoprasum
- When to Plant: Early spring or late summer when the soil temperature warms to 60 degrees Fahrenheit
- USDA Zones: 4-8
- Sun Exposure: Full or part sun
- Soil Type: Moist, well-drained soil
- When it's in Trouble: Droopy leaves, yellowing leaves
- When it's Thriving: Bright-green, upright shoots
Starting Chives From Seed
Chives grow best in the cool seasons of spring and fall, making early spring an excellent time for sowing seeds. Make sure the soil temperature is above 60 degrees Fahrenheit when planting and mix 4 to 6 inches of aged compost into the soil before planting. If you do this now, you won't need to fertilize your chives during their first growing season. If you prefer, you can start your chive seeds indoors, doing so six to eight weeks before your last expected frost.
When sowing your seeds, avoid pushing them too deeply into the soil. Chives seeds like a sowing depth of only 1/4 inch. Place the seeds 2 inches apart, cover them with a bit of soil and water them gently.
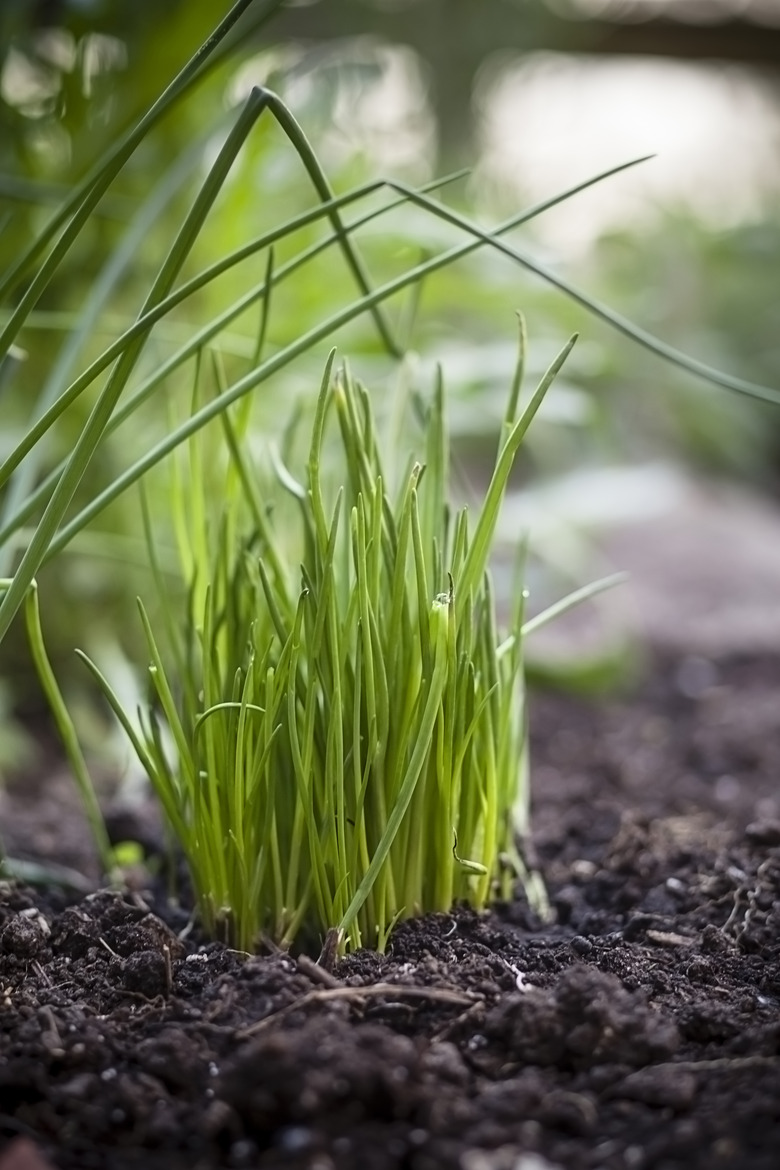
Don't panic if your seedlings don't pop up right away. Chives can take two to three weeks to germinate, making their entrance well after most of the other seedlings in your garden. When your seedlings do appear, thin them to 6 inches apart.
Starting Chives From a Seedling
When planting chives from a seedling or divided plant, prepare the soil with compost before you begin. Plant the seedling with its bulbs intact. You will need to divide the plants as they get older, but there's no need to do so with young clumps. Simply plant them to the same depth they enjoyed in their previous pot, spacing each seedling 12 inches apart. Water your newly planted seedlings as soon as you've transplanted them.
In What Zone Do Chives Grow Best?
In What Zone Do Chives Grow Best?
Chives are comfortable anywhere in USDA plant hardiness zones 3 through 9. You can try growing them in cooler regions, but this perennial plant is likely to grow as an annual there. Chives also grow well in indoor containers. If you grow them indoors, you can obviously grow them in any hardiness zone.
When Should You Plant Chives?
When Should You Plant Chives?
To make sure this perennial plant is well-established before its first winter, it's best to plant chives in early spring. Plant as soon as the soil temperature reaches 60 degrees. Those living in warmer climates may be able to plant their new chives a bit sooner than those in the North.
If you missed your spring planting window in a warm area, wait until fall to plant. The ideal growing temperature for chives is between 65 and 70 degrees. Chives will go dormant if the temperature drops below 40 degrees or climbs above 80 degrees.
Soil, Sunlight and Water Recommendations for Chives
Soil, Sunlight and Water Recommendations for Chives
Chives do best in moist, well-draining soil with a pH level between 6.0 and 7.0. Although they'll tolerate a bit of shade if they must, these sunbathers prefer a spot where they can soak up six to eight hours of full sun every day. Chives will tolerate drought better than many other food crops, but it's best to keep the soil around them continuously moist. Water whenever the top inch of soil feels dry.
If you mixed compost into your soil at planting time, your chives won't need any fertilizer during their first growing season. In subsequent years, apply a 5-10-5 fertilizer in the spring. Every three to four years, dig up your chives and divide them in the spring. The plants will have grown into a mass of smaller plants that you can replant in your garden or share with a friend. Chives growing in containers need a bit more fertilizer. To keep them happy, apply a liquid fertilizer diluted to half strength once a month.
At some point in late spring or early summer, your chives will sprout pink or purple flowers. The blooms are attractive and make a cute flower arrangement. You can also eat them if you like but don't leave them on the plant. Pinching off these blossoms allows the plant to produce more of the tasty leaves you crave rather than putting energy into flowering.
It also avoids a population explosion. Eventually, the flowers go to seed. If left in your garden, they'll drop seeds everywhere, and new chive plants may start appearing where you don't want them.
How to Harvest Chives
How to Harvest Chives
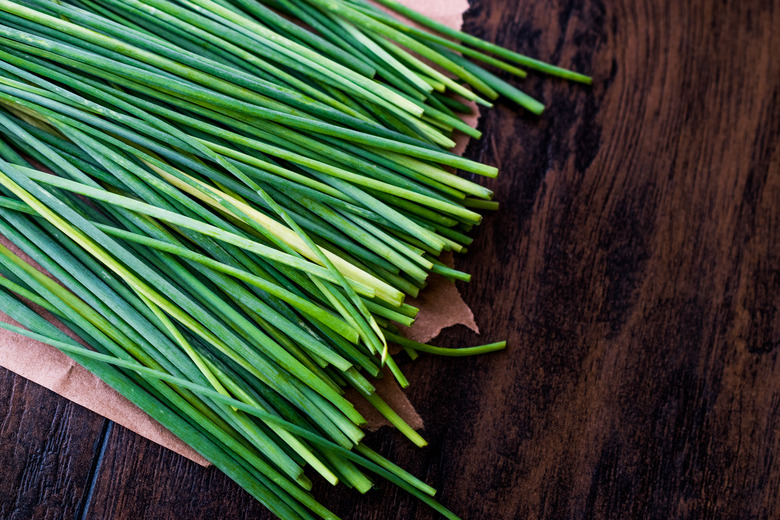
You can start harvesting chives as early as 60 days after seeding or 30 days after transplanting. With a pair of scissors, simply snip the leaves off the plant 1 to 2 inches above the ground. Harvest your chives three or four times during their first year. Harvest monthly thereafter.
It's best to gather chives in the morning before the sun has a chance to dehydrate them. To store them for a few days in the fridge, wrap them in a damp paper towel or stand them in a bowl of water like cut flowers. Change the water daily if you go this route.
Chives taste best when used fresh, but you can freeze a few bundles in airtight bags. Don't dry your chives, however, as this causes them to lose their flavor.
Common Pests and Other Problems for Chives
Common Pests and Other Problems for Chives
Chives have a reputation for repelling aphids and Japanese beetles, so these pests shouldn't be a problem for your plants. Onion maggots and thrips could be, however. Thrips tend to appear most often in underwatered plants, so they could be a sign that your chives need more irrigating. You can spot thrips in both their larval form and as skinny, brownish, winged insects.
To get rid of thrips, you can try hanging blue or yellow sticky traps in and around your plants. You can also spray insecticidal soap on your plants but do so thoroughly. Chives leaves are just waxy enough that insect treatments can bead up on them, so make sure your spray is hitting the insects directly. Usually, two applications of insecticidal soap spaced three days apart will eliminate thrips.
Onion maggots prove to be a more difficult problem. Onion maggots look like housefly maggots, and you'll find them on the base of your plants. These insects attack chives aggressively, and the best solution could ultimately be relocating healthy plants and destroying infested ones.
You can try saving your chives by spreading diatomaceous earth around them or by using the same sticky traps used to capture thrips. Make sure the traps are yellow when using them for onion flies, as they're attracted to the color. You can try insecticidal sprays as well, but you should expect onion maggots to put up a fight. If you lose the battle, replant chives elsewhere in the garden and avoid the infected soil for a few growing seasons.
Common Diseases for Chives
Common Diseases for Chives
Chives rarely suffer disease in the home garden. Like most plants, however, chives can find themselves suffering from rots, fungal infections and bacterial disease. Most chive predators are opportunistic, however, and will affect your chives only if you give them the chance. To avoid problems, space your chives properly so they get plenty of air circulation.
Irrigate the roots of your chives but avoid wetting the foliage. If you must use overhead irrigation, do so early in the day so the plants have time to dry before nightfall. Keep garden weeds under control, as they can spread disease. Rake up fallen leaves, old mulch and other garden debris.
References
- University of Minnesota Extension: Growing Chives in Home Gardens
- Gardener's Path: How to Grow Chives, and Why You Need To
- Bonnie Plants: Growing Chives
- The Old Farmer's Alamanc: How to Identify and Get Rid of Thrips
- University of Maine: Onion Maggot
- The Old Farmer's Almanac: Growing Chives
- Harvest to Table: How to Grow Chives


