How To Grow Sweet Woodruff
We may receive a commission on purchases made from links.
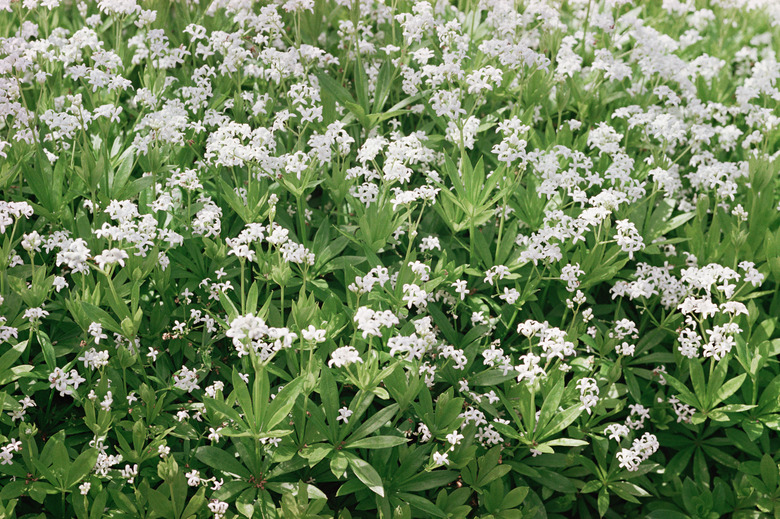
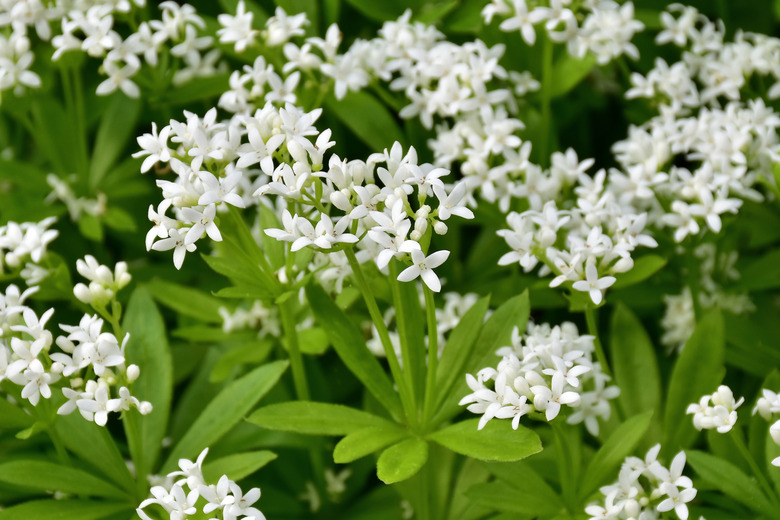
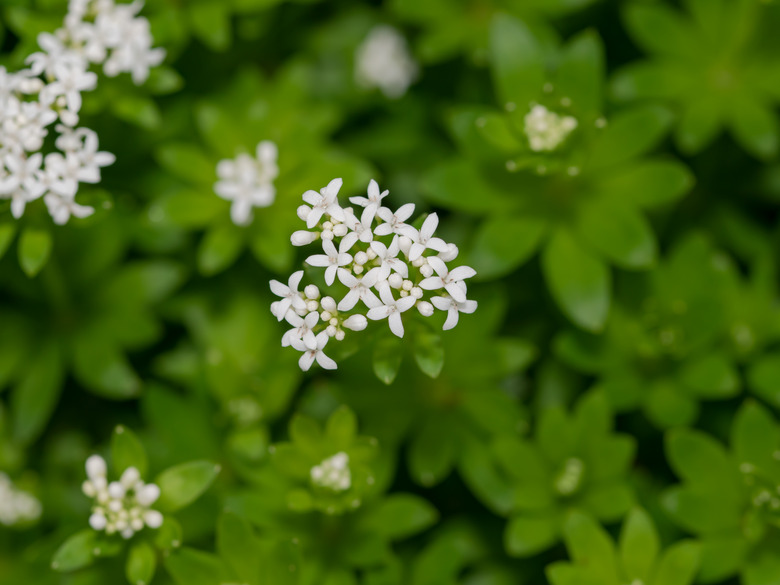
If you are battling a bare shady spot in your landscape, sweet woodruff (Galium odoratum) could be the answer. This shade-loving ground cover tolerates a wide range of soil types and grows shallow roots that have no trouble working around existing tree roots and other obstacles. It may look delicate with its lacy leaves and petite white flowers, but sweet woodruff is a tough little plant on which you can depend even when growing conditions are less than ideal.
The only issue you will have with this easy-care plant is how to stop it from spreading farther than you want it to spread. The plant will only grow up until it is 8 to 12 inches tall, but it will grow out as far as you let it. Try to keep your sweet woodruff plantings in areas where you won't mind if the plant fills things in and then takes over.
Best Uses for Sweet Woodruff
Best Uses for Sweet Woodruff
Although it is grown primarily as a border plant or ground cover, sweet woodruff is technically a perennial herb rather than an ornamental. In the past, people used the herb to treat a variety of health ailments including lung, heart, and liver problems. Unfortunately, modern examination of these health claims has failed to support them. If you wish to try using sweet woodruff as a medicinal substance, always consult with your doctor first.
Sweet woodruff is also used for its pleasant scent. When they bloom, sweet woodruff plants emit a faint smell of vanilla. If you dry the plant stems and leaves, however, the scent becomes much stronger. As such, sweet woodruff is often used in potpourri sachets. You can tuck these sachets in your sock drawer, car, or anywhere else you want a pleasant scent.
Even if you never use it for anything else, sweet woodruff is an excellent ground cover that creates a cozy, cottage-garden feel. It also loves a shady spot, making it a good choice for shaded areas where other plants may struggle.
Starting Sweet Woodruff From Seed
Starting Sweet Woodruff From Seed
Sowing sweet woodruff seeds is a snap. Sprinkle the seeds on the ground, cover them with a thin layer of peat moss and gently water them.
Sweet woodruff germinates well, but it needs a stratification period before planting. This simply means that you need to expose the seeds to cold temperatures before you sow them. It is also the reason you should sow your seeds outdoors before the last frost. This frost will stratify the seeds so you don't have to.
If you are having an unusually mild winter season, you may not want to trust Mother Nature to stratify your seeds for you. In that case, mix the seeds into some damp peat moss, place them in the refrigerator and leave them there for at least a month before planting.
Starting Sweet Woodruff From a Seedling
Starting Sweet Woodruff From a Seedling
To plant seedlings, randomly dig a few planting holes and place your seedlings into them. You can space the seedlings nine to 12 inches apart so that there is air circulation around the young plants. This will help deter fungi and bacteria until the plants are large enough to hold their own. Don't worry about small patches of bare soil between your plantings, as this spreading plant will cover them quickly. Water your seedlings thoroughly after planting.
If you wish to plant seedlings, you can start your sweet woodruff seeds indoors about 10 weeks before the last anticipated frost. Note that this approach requires a bit more work. You can broadcast seeds easily, but you will need to dig planting holes if you are transplanting seedlings.
In What Zone Does Sweet Woodruff Grow Best?
In What Zone Does Sweet Woodruff Grow Best?
As a perennial, sweet woodruff grows in USDA plant hardiness zones 4 through 8. In colder areas, sweet woodruff may not come back after its first year. In warmer ones, sweet woodruff will absolutely need shelter from the summer's midday heat and may go dormant or die if it gets too hot. Unfortunately, sweet woodruff doesn't grow well indoors. If you don't live within its comfort zone, it is best to choose another plant.
When Should You Plant Sweet Woodruff?
When Should You Plant Sweet Woodruff?
Sweet woodruff seeds need a cold period in order to germinate properly. In most areas, you should sow your seeds in late winter or early fall. If you don't stratify the seeds yourself, it is crucial that you sow them before the last frost. The perfect planting time is after the ground thaws but before the season's final frost.
Soil, Sunlight, and Water Recommendations for Sweet Woodruff
Soil, Sunlight, and Water Recommendations for Sweet Woodruff
Sweet woodruff is one of those magical plants that busy gardeners love because it seems to thrive on neglect. It prefers slightly acidic soil, for example, but it will tolerate anything from a pH level of 4.3 to 8.3. It is perfectly willing to share its space as well, easily working around tree roots, rocks, and other debris that may lurk in your soil.
There is no need to fertilize sweet woodruff, and you will only need to water it during drought or if it wilts. Its most demanding request is that you grow it in full shade. It will tolerate some sunlight, but it will go dormant if it gets too hot. Partial shade can work, but full shade is best.
The only real work you will need to put into your sweet woodruff is related to containing it. It spreads vigorously after its first growing season or two. The easiest way to control this is to drive a square shovel into the ground along the edges of your flower beds. This will cut through any stems that are trying to stretch out into your lawn or sidewalk. If you see sweet woodruff anywhere you don't want it to grow, pluck it immediately.
How to Propagate Sweet Woodruff
How to Propagate Sweet Woodruff
Sweet woodruff grows quickly once established, but it is a slow starter, and it can take 30 to 65 days to germinate. If you prefer not to wait, you can propagate sweet woodruff through cuttings or division.
To divide sweet woodruff, dig up a patch of it and pull off a clump. Use a sharp knife or secateurs to cut through any roots that don't want to separate, forming a new root ball that is at least 3 or 4 inches in diameter. Keep the root ball of the plant damp until you can replant your new clump of sweet woodruff.
You can also start new plants through cuttings. Choose a healthy stem, cut it from the parent plant at the base and remove the lower leaves. Take cuttings in the fall and plant them indoors. You can dip them in a rooting compound if desired, but this is generally not necessary.
Keep your cuttings warm indoors over the winter and plant them in the spring. Although seeds need a bout of cold weather, cuttings, divided plants and seedlings don't. Plant these after the last frost rather than before as you do with seeds.
How to Winterize Sweet Woodruff
How to Winterize Sweet Woodruff
Sweet woodruff can generally hold its own well in zones 4 through 8, but it may need some help during unusually cold winters in the coldest regions of this zone range. You can also give your plants some extra winter support if you're on the northern end of zone 4.
To winterize your woodruff, wait until after the first killing frost. Once it's occurred, spread a layer of mulch about 12 inches deep over your sweet woodruff plants. The mulch is for insulation purposes only and need not be fancy — straw, mulched leaves, or grass clippings will all work well.
In the spring, rake up the mulch and any debris left from last year's sweet woodruff growth to give your plants a fresh start.
Common Pests and Other Problems for Sweet Woodruff
Common Pests and Other Problems for Sweet Woodruff
If you see aphids, slugs, beetles or other unwanted insects in your garden, the sweet woodruff probably is not what's attracting them. Sweet woodruff typically grows without incident, and it has no unique pests. If you wish, you can pick off any insects you find by hand and drop them in a dish of soapy water. You can also apply an insecticidal soap to your plants if you feel the need.
Before treating for insects, however, make sure the bugs you see are actually pests. Soldier beetles, for example, eat aphids. Aphids can damage your plants, but soldier beetles won't. Killing soldier beetles can increase the number of insect pests in your garden. Other beneficial insects you want to keep include big-eye bugs, ladybugs, lacewings and the braconid wasp.
Common Diseases for Sweet Woodruff
Common Diseases for Sweet Woodruff
Sweet woodruff is easy to grow and generally does not suffer from disease, but rusts, mildews and rots are not entirely outside the realm of possibility. All of these are better avoided than treated after the fact. Keep your gardening tools and pruning shears clean, rake up dead leaves and other garden debris and water near the base of your plants when necessary rather than the leaves.
If you find an infected plant in your garden, remove it and then treat the others as a precaution. Antibacterial treatments and antifungal sprays are both readily available. Talk to your local Cooperative Extension Service about which one may work best for the specific fungi and bacteria that are known to live in your area.


