How To Repaint Furniture Using Milk Paint
We may receive a commission on purchases made from links.
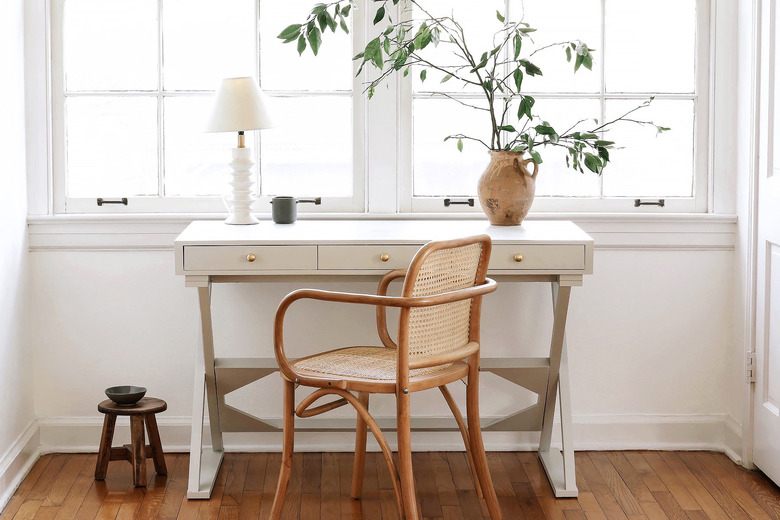
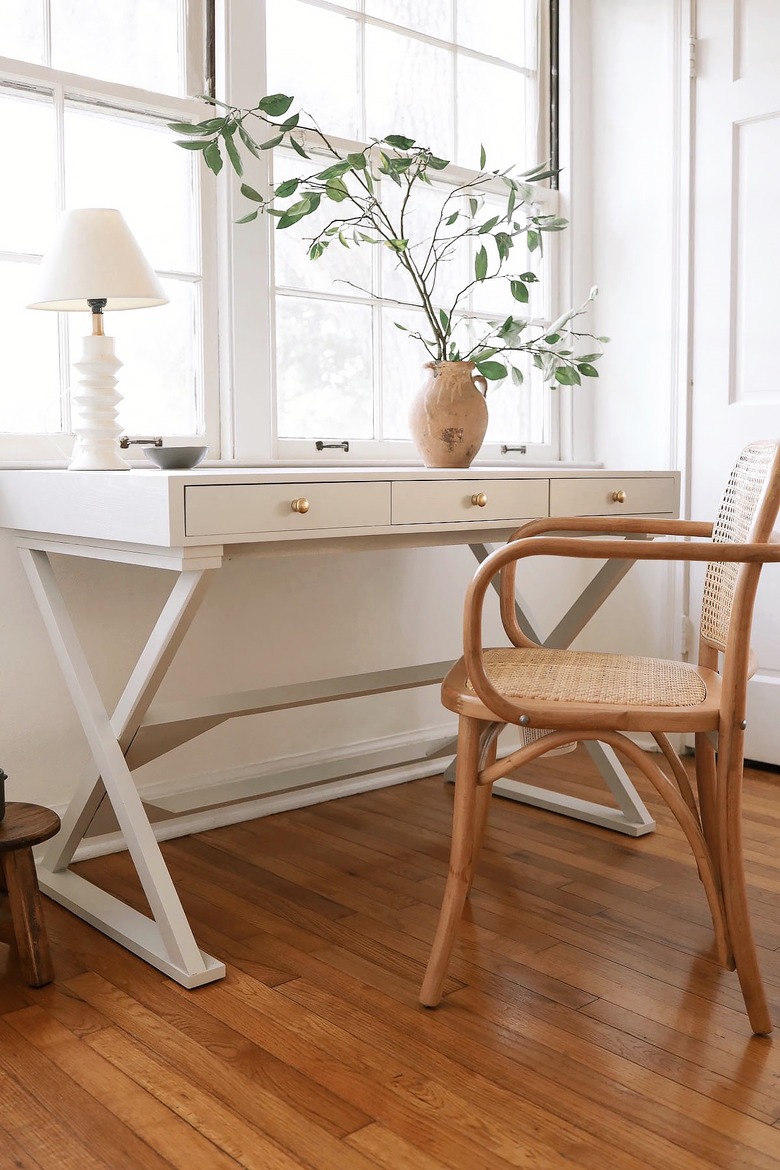
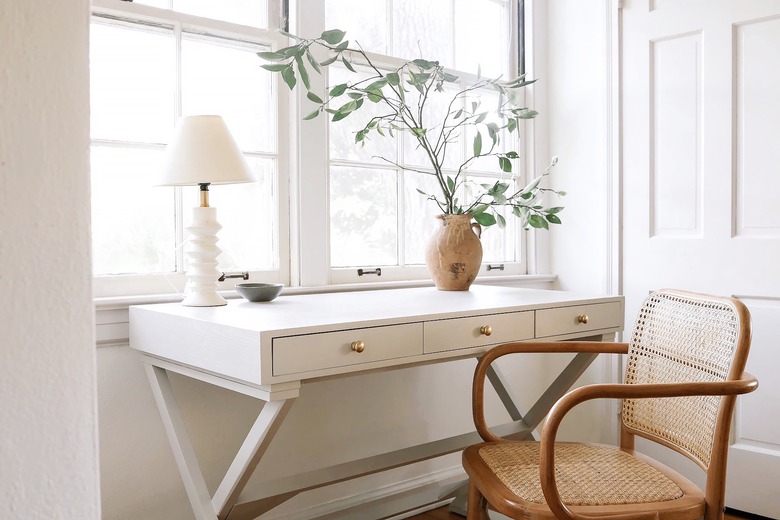
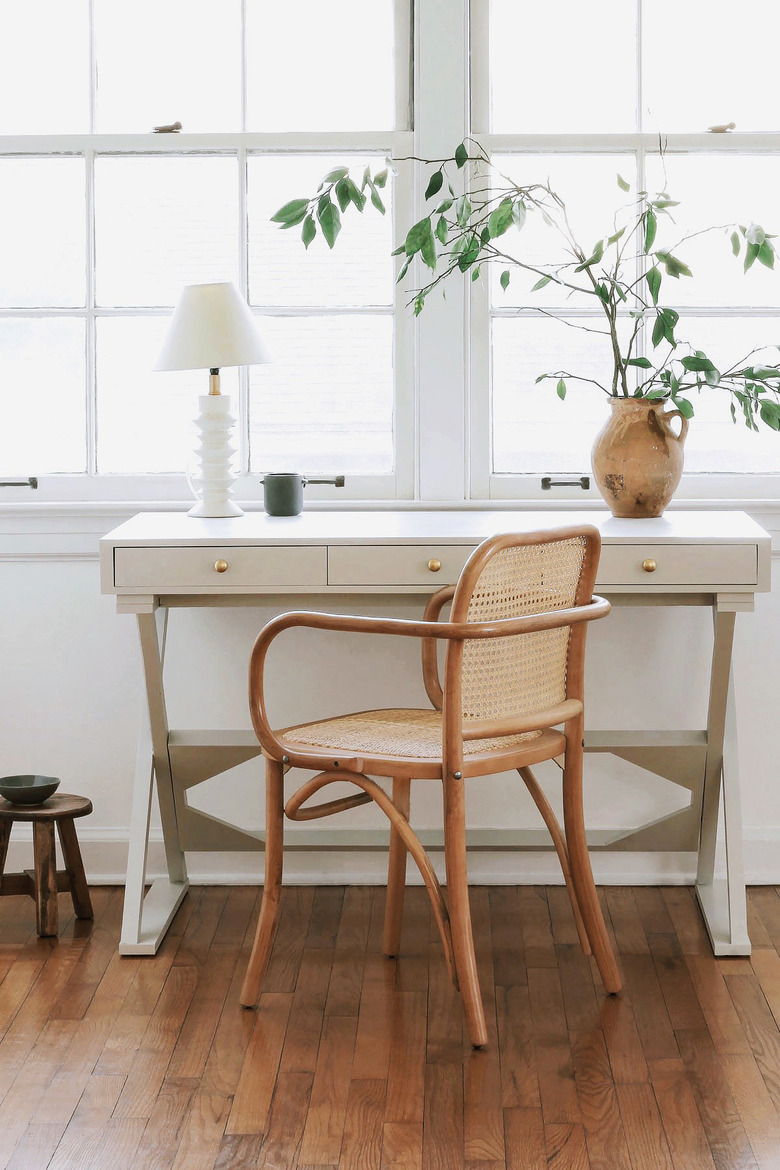
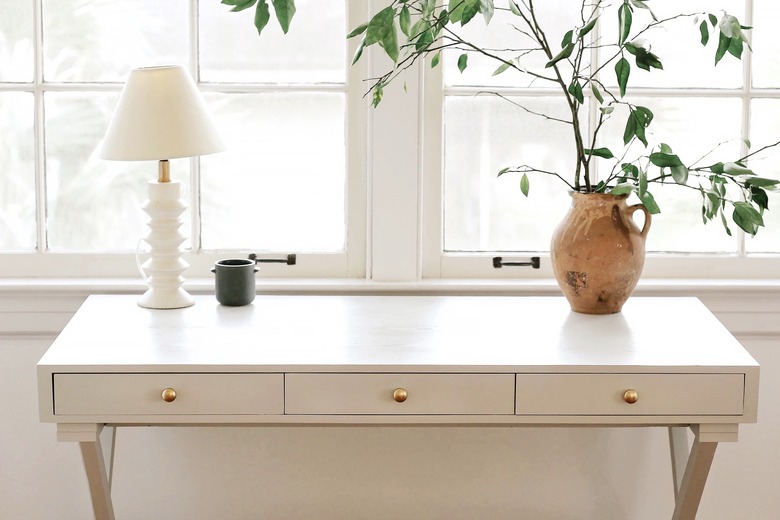
Give old or outdated furniture a modern farmhouse feel with a fresh coat of milk paint. Made from the protein in milk called casein, it's known for its great adhesion without the hassle of sanding or priming. That's in addition to its many other advantages — non-toxic, low odor, and fast-drying — so you can easily finish a project in one day. While similar to chalk paint, which has a very thick formulation and opaque coverage, milk paint is thinner in consistency, allowing for a more sheer finish (for instance, if you want the wood grain to show), and sands off easily to create a distressed "chippy" finish with serious vintage vibes. But if the modern matte look is more your thing, you can also build up coverage with multiple coats, like we did in this WFH space.
Things Needed
-
Sandpaper (optional)
-
Clear furniture wax or topcoat (optional)
Step 1
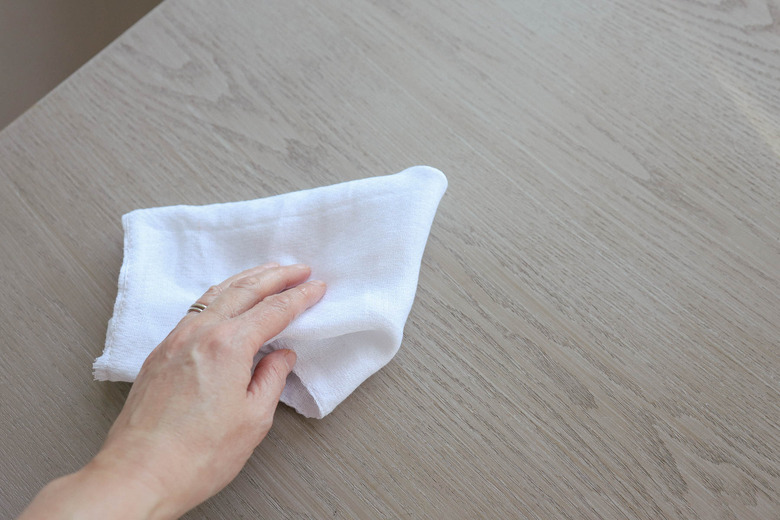
Place your furniture piece on top of a drop cloth or tarp and wipe it clean with a household surface cleaner or degreaser. Dry it thoroughly.
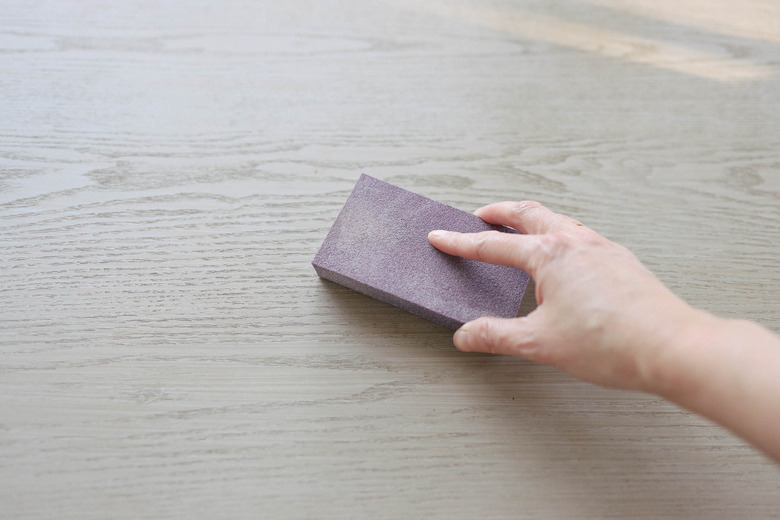
While most furniture pieces won't require any sanding or priming, if you're painting over a very high gloss finish, we recommend lightly scuffing up the surface with sandpaper to ensure better paint adhesion. Wipe away any sanding dust.
Step 2
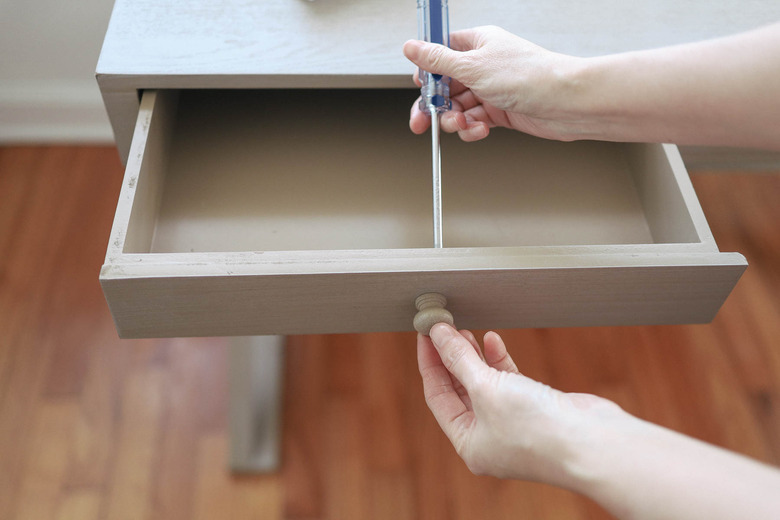
Remove any hardware with a screwdriver.
Step 3
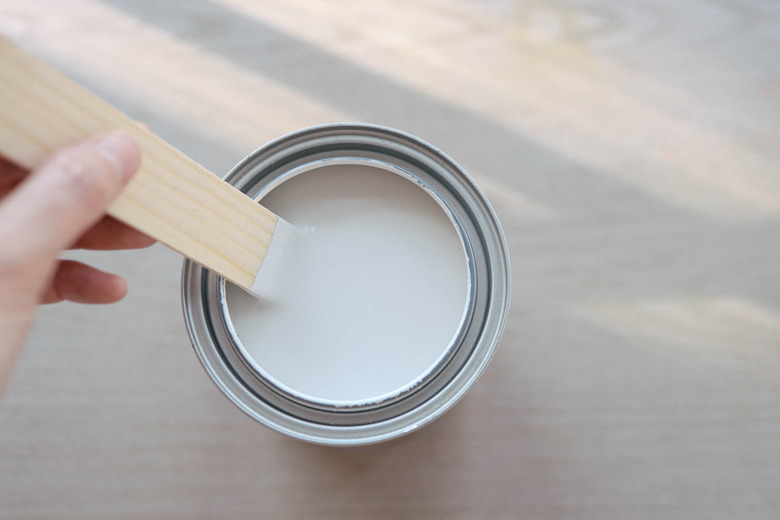
Many milk paints come in powder form and need to be mixed with water. Simply combine equal parts powder with water (for example, one cup powder and one cup water) and stir together thoroughly. Allow the mixture to thicken for at least 20 minutes, and then mix again before using. Our specific milk paint brand came already pre-mixed, so we simply just stirred it thoroughly in the can.
Step 4
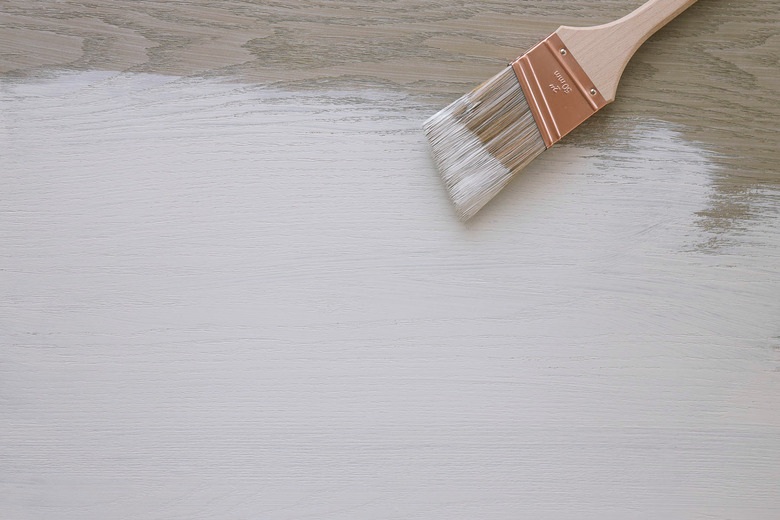
Dip a paintbrush in the milk paint and brush it onto the furniture in long, even strokes following the same direction as the wood grain. You can use a paint roller or sprayer instead, but a lot of the charm of using milk paint comes from the visible brush strokes, lending a gritty Old World look. Since milk paint is on the thinner side, you'll see that the first coat is somewhat sheer and leaves a lot of the wood grain showing through.
Step 5
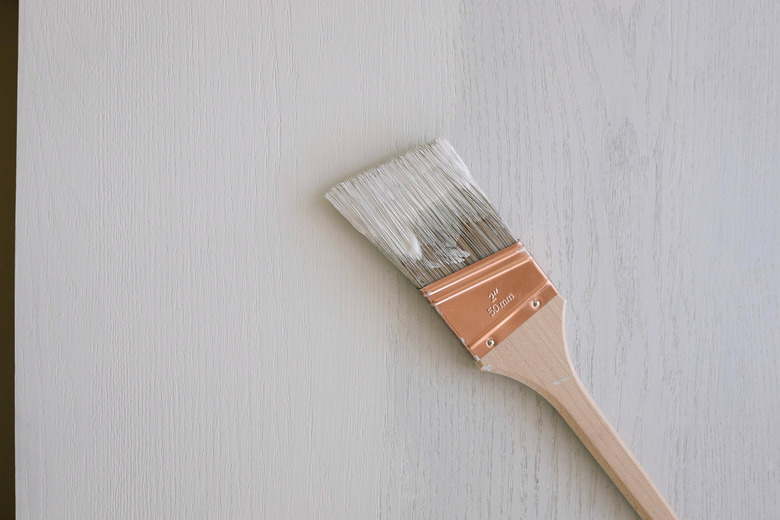
If you want more opaque coverage, allow the first coat to dry for an hour, and then apply a second coat in the same manner as the first. After it dries, if you'd like to add a distressed "chippy" look to your piece, you can strategically sand some of the paint off in areas that would naturally get worn over time (such as corners, edges, and around drawer openings).
TIP: You can also achieve a chipped look by applying a bit of clear wax to strategic areas before painting. Once you paint over the wax, it crackles and chips as it dries.
Step 6
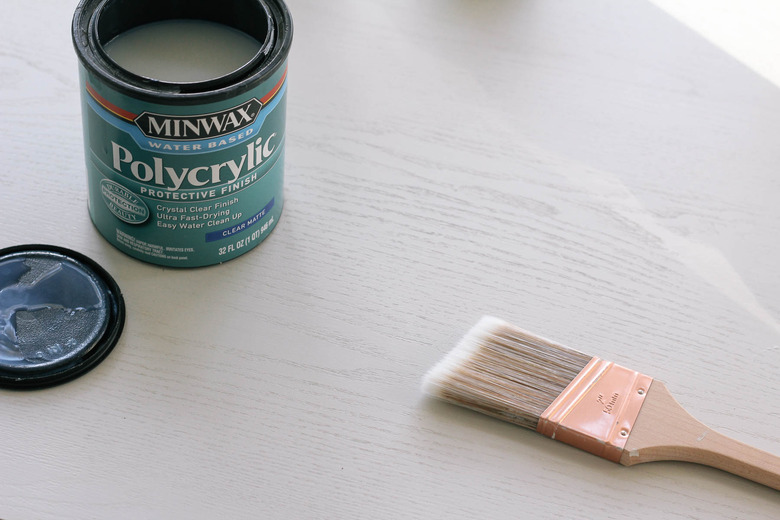
If you're painting a piece that won't see a lot of traffic, there's no need to seal it. However, if you're painting a desk or table that will be subject to heavy use, you should seal it by applying either a coat of clear furniture wax or a clear topcoat. To preserve the matte look of the milk paint, be sure to choose a matte sealant. Alternatively, you could opt to use a dark wax or glaze on top of the paint to give it a weathered antique finish.
Allow the topcoat to dry at least 24 hours, and then add your hardware. (If you're looking for a complete refresh, try this DIY on how to paint hardware.)
Your freshly painted furniture piece is now ready to show off!
