The 3 Step Guide To Choosing The Right Cabinets For Your Kitchen Renovation
You've dreamed up your ideal kitchen, know the exact style and color of cabinets you want, and maybe even have a full mood board. So... now what?
There are several logistical steps that have to happen before your vision can become a reality, a process Hunker creative director Paul Anderson is working through after cementing the look and feel for his own kitchen renovation within his Spanish Revival home in Los Angeles.
To come up with functional solutions and a workable layout, he turned to the ultimate destination for all things kitchen, Cabinets To Go, working directly with store manager Danny Larabee. "As we were talking, he was able to show me exactly how something would work," Anderson says. "The Cabinets To Go showroom had examples of each cabinet solution, which is why visiting the store was a crucial part of the process."
Ready to plan your own kitchen reno? Here's what you need to know.
1. Get the Measurements
1. Get the Measurements
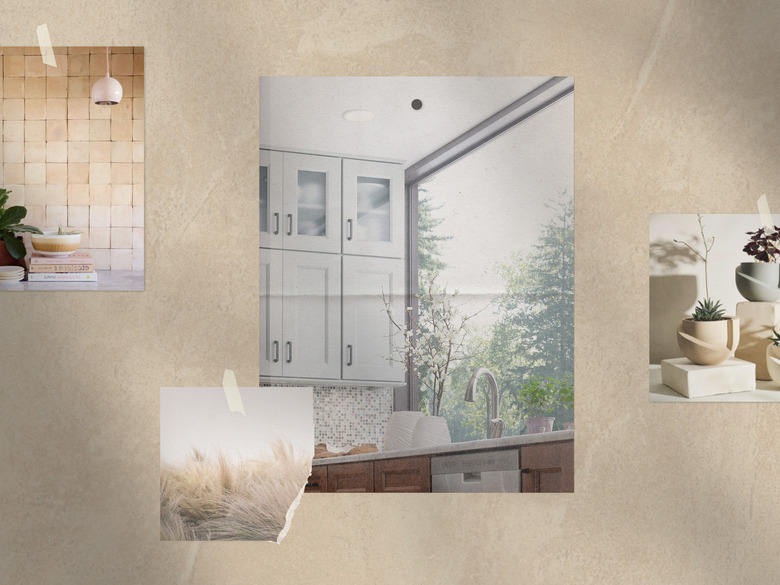
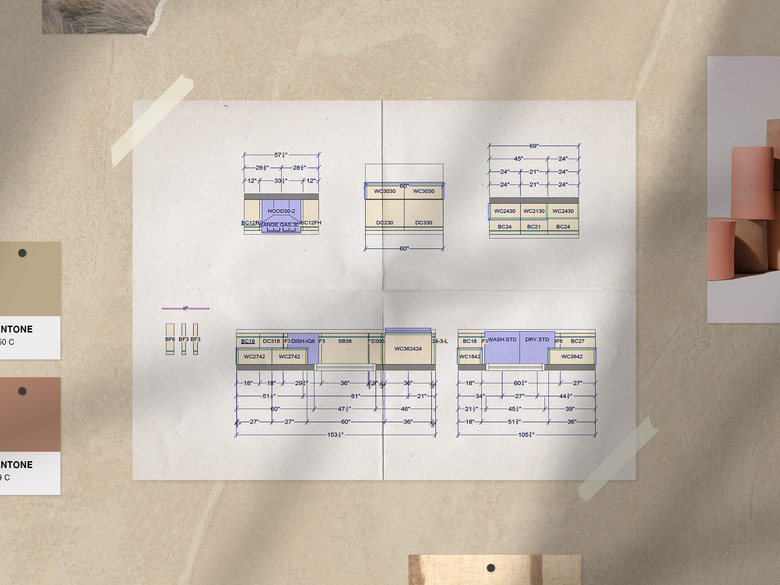
Come prepared with measurements if you're embarking on a new design. Before Anderson was able to achieve a new layout for his galley space with his chosen Malibu White shaker cabinets, the first step was working with Cabinets To Go to think through the footprint at his disposal.
"I'm fairly decent at math, but with all these measurements, it's easy to get tripped up," Anderson says. "Danny measures this stuff all the time, so he was extremely knowledgeable on what size cabinet could fit where. He was also able to say which types of cabinets are the most popular." Pro tip: In the world of cabinets, popular is important because it translates to workhorse styles that get the job done in a variety of layouts.
Just know this isn't a one-step process, but a series of tweaking until you get it just right. As you're measuring everything, don't be afraid to mix and match, and try different sized cabinets in different formations.
2. Set the Layout
2. Set the Layout
Have you ever stopped to think about why your cutlery goes in one drawer and your dishware in another? A kitchen overhaul is the time to think about how you actually use your space and arrange your storage accordingly.
When you're cooking veggies on the stove, you don't want to have to travel to the other side of the room to grab the garlic. Same thing for knives when you're chopping, which is why Anderson chose to put a pull-out spice rack and a knife rack on either side of the range.
And don't forget to look vertically. "Because of the height of my ceilings, right now there's a space at the top of my cabinets that just collects dust," Anderson says. "Now I'm adding storage all the way to the ceiling, so it's going to be a lot more clean." With Cabinets To Go's help, Anderson walked away with a full 3D rendering of a layout designed for how his family actually lives in the space. Having an expert to turn to for guidance was critical for the final layout plans.
3. Maximize Functionality
3. Maximize Functionality
No matter how beautiful your kitchen ends up, a renovation hasn't done its job if it hasn't made your life easier. At this point in his project, says Anderson, "I'm so past the aesthetics, I'm just drilling down on maximizing the function."
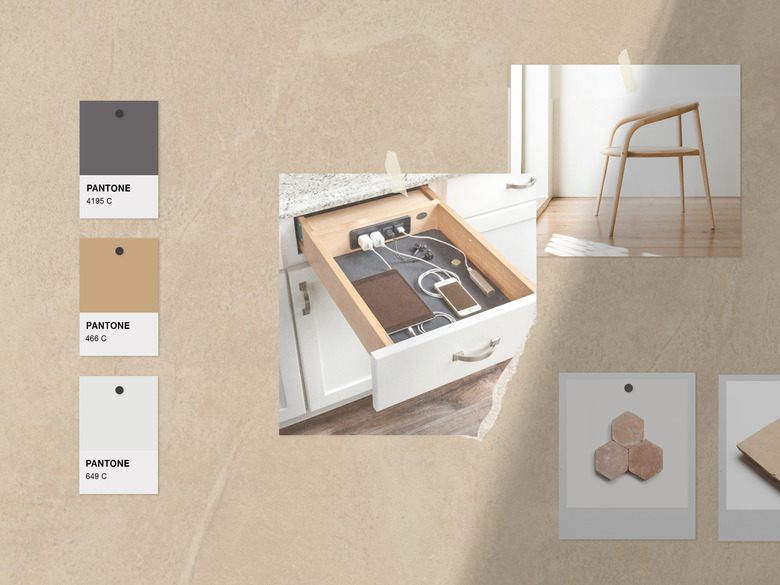
That includes a drawer with a built-in, enclosed charging station (a game-changer for Anderson, whose one-year-old daughter Rui has been known to pull cords, throw food, and spill on charging devices), and a microwave that's hidden inside a drawer. "It's a more modern way that people are doing microwaves now," Anderson says. "We all want our kitchens to look and feel like a chef's kitchen, but we want a microwave. This way my family can still use our microwave every day, but it's hidden."
With clever storage solutions, the right cabinetry, and an upgraded layout, you can achieve a space that not only makes a Pinterest-worthy photo — but is made for real life, too.


