How To Grow Black-Eyed Susans
We may receive a commission on purchases made from links.
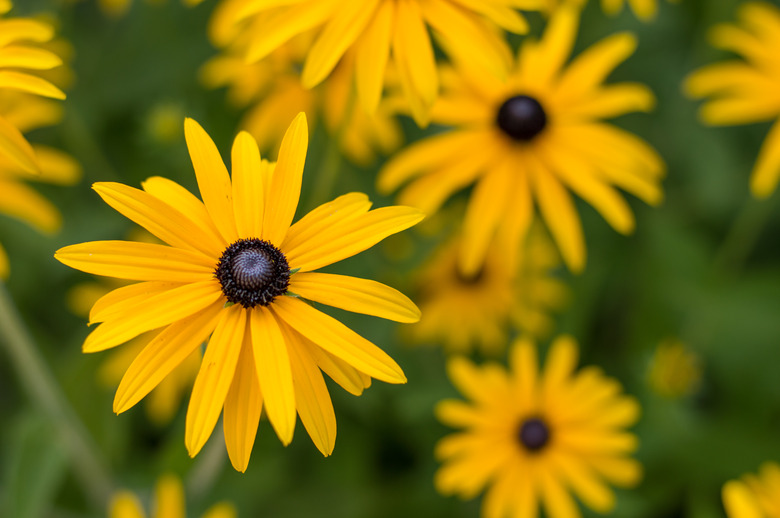
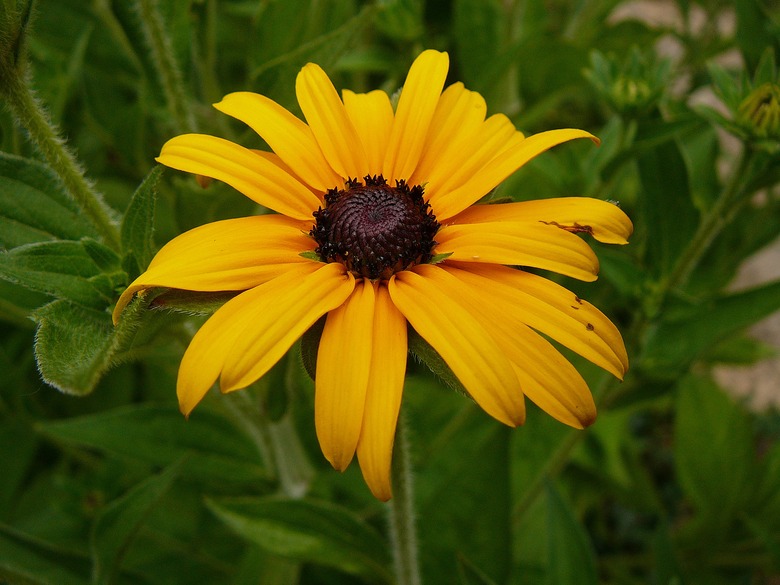
The bright-yellow flowers of black-eyed Susans (Rudbeckia hirta) add pops of vibrant color to sunny landscapes. Also called gloriosa daisy, this native wildflower allows gardeners to check a lot of boxes on the list of desirable plant traits when they're deciding on a tried-and-true performer for their garden. Black-eyed Susan shrugs off many conditions that cause other garden plants to struggle. It is a low-maintenance workhorse of a plant that's tolerant of heat, drought, and even deer.
As a member of the aster plant family (Asteraceae), black-eyed Susan grows in U.S. Department of Agriculture plant hardiness zones 3 through 8, but its botanical classification as a perennial throughout this zone range has some blurred edges. Its expanded description curiously includes three designations: annual, biennial and short-lived perennial.
As a short-lived herbaceous perennial, black-eyed Susan may very well survive winter temperatures across its zone range for several years and continue to resprout from its roots in spring. It may also survive from one year to the next as a biennial, but it's most commonly grown as an annual. Many gardeners who attest to its indefatigable perennial persistence for many years may not realize that the plants they see sprouting in springtime are not the result of black-eyed Susan's roots resprouting year after year. Instead, they're the result of this plant's ability to self-sow from dropped seeds that were formed from the previous year's flowers.
Best Uses for Black-Eyed Susans
Best Uses for Black-Eyed Susans
Grow black-eyed Susans in your garden for the pure visual delight their flowers provide while also fulfilling numerous landscape design principles and enjoying a long bloom time from summer to fall. You can help optimize this bloom time if you deadhead the flowers as they fade in order to prompt plants to produce more flowers. You'll not only enjoy the beautiful flowers but you'll also delight in watching the numerous pollinators that visit the blooms.
In clusters dotted throughout a border garden, their earth-tone blooms punctuate a complementary color palette provided by other flowers. Achieve another look by growing only black-eyed Susans in a mass planting that defines straight borders or lends motion to swirled island beds. As a classic cottage-garden plant, black-eyed Susans really hit the mark.
The brightly colored flowers are held atop sturdy stems, two features that make black-eyed Susans a standout in any cut-flower arrangement. Cut flowers are also long-lived, typically lasting from six to 10 days in a vase. Although the familiar yellow ray flowers radiating around a dark-brown central disk represent the most common color combination, other black-eyed Susan cultivars have a different appearance.
How to Grow Black-Eyed Susans
How to Grow Black-Eyed Susans
Starting from Seed
Sow black-eyed Susan seeds directly in the garden after the last spring frost, even though the nighttime air still feels chilly. Optimal germination occurs when the soil temperature is at least 70 degrees Fahrenheit, and seedlings typically make their appearance in seven to 30 days after sowing. This wide germination window is largely dependent on weather and fluctuations in temperature during spring. Lightly cover seeds with a scant 1/16 inch of soil and keep the seeded area moist to promote germination.
Because the seeds are so lightly sown, rain events or even strong spring winds may dislodge them. As an option to sowing them directly in the garden, you can also start them indoors and transplant the seedlings when there's no more threat of frost in spring. You'll probably find that the seeds you start indoors germinate more quickly than those you sow in the garden. Ambient temperatures inside your home remain warm and constant compared to the winter-to-spring fluctuations in temperature outside.
Sow the seeds in trays or pots that you fill with a seed-starting mix and lightly cover the seeds with the mix. Keep the mix moist but not soggy; otherwise, the seeds may rot before they have a chance to sprout. Newly sown seeds respond favorably to a location in front of a sunny window, but you can also place them in a spot that receives bright light.
Starting from Seedlings
After setting out started or purchased black-eyed Susan seedlings in spring after the last frost, don't be discouraged if they wilt. In fact, they may stay wilted for a couple of days after transplanting. This is normal. Make sure, however, that you plant them no deeper than they were growing in their containers and resist the urge to overwater them if you see them wilting in the first couple of days after transplanting. If you space the seedlings 18 to 24 inches apart, they'll quickly fill in as they grow to form a solid mat of color.
Even if the original plants you set out do not come back the following year, the seeds they drop will sprout, and you'll enjoy flowers year after year. The seeds may also germinate in nearby flower beds if the wind or rain moves them, so simply pull them out if they sprout where you don't want them.
In What Zone Do Black-Eyed Susans Grow Best?
In What Zone Do Black-Eyed Susans Grow Best?
Instead of relying on the potential short-lived perennial or biennial life of black-eyed Susans, grow them as an annual in USDA zones 3 through 8. This means sowing seeds or setting out transplants in spring so that you'll enjoy a long season of colorful flowers. When your plants freely self-sow at the end of the season, your garden spot will once again host these flowers the following year because of the previous year's dropped seeds.
When to Plant Black-Eyed Susans
When to Plant Black-Eyed Susans
If you plant black-eyed Susans too early in the spring out of a desire to have flowers as quickly as possible, your seedlings could be damaged or killed by a late spring frost. If this happens, you may have to start the planting process all over again, which will further delay the arrival of the first blooms. Even an "expected" last frost can run afoul of the local weather forecast with an unseasonable and unexpected cold snap after the last anticipated frost date.
If your black-eyed Susan seedlings are already in the ground when a frosty night threatens their existence, protect them with a floating row cover that you secure to the ground with U-shaped landscape staples. Uncover them the next day when temperatures rise above freezing and repeat this pre-emptive move on subsequent frosty nights.
Soil, Sunlight, and Water Recommendations
Soil, Sunlight, and Water Recommendations
Black-eyed Susans grow comfortably in many types of soil, even heavy clay, as long as the soil drains well. They particularly prosper in consistently moist soil that's rich in organic matter.
Full sun — and the more the better — is the goal for which to aim when selecting a site for black-eyed Susans. This means a minimum of six hours of direct sun each day. Although the plants will tolerate partial shade, they won't meet their bloom potential unless they receive lots of sunlight.
Even though black-eyed Susans prefer moist soil, mature plants have moderate tolerance to drought. Don't require them to stand up to extended dry spells or they'll start to decline, and flower production may decrease. If rainfall doesn't deliver at least 1 inch of water each week, it's time to get out your watering wand and help your plants through the dry spell.
Be careful to avoid giving your plants too much fertilizer. Even though black-eyed Susans are prolific bloomers, they only need moderate fertilization. Plants respond best to a slow-release fertilizer (or an organic equivalent) applied in spring when the leaves begin to emerge. A less than desirable planting spot would be one where excess turf fertilizer tends to run off your lawn or pool during heavy rains. This kind of fertilizer is typically high in nitrogen, and excess nitrogen can cause black-eyed Susans to put on a lot of foliage at the expense of producing flowers.
How to Propagate Black-Eyed Susans
How to Propagate Black-Eyed Susans
If you allow your black-eyed Susans to self-sow by dropping seeds, you'll leave the propagating work up to your plants without having to take on this task yourself. You can also dig clumps of plants in fall and divide the roots, but whether they'll continue coming back year after year is a roll of the dice.
Common Pests and Other Problems
Common Pests and Other Problems
Every gardener loves to select plants that have good resistance to pests and diseases. The less work you have to do to help protect plants from problems, the more you'll be able to simply enjoy their beauty. Black-eyed Susans generally experience no significant problems from insect or disease attack.
You may occasionally see aphids on your plants, but they rarely do any significant damage. Dislodge them with a jet of water from your garden hose or water wand or use an insecticidal soap to deter them. You may also see a few caterpillars chewing the leaves, but they typically only cause minor damage. Use Bt (Bacillus thuringiensis) that's formulated to control caterpillars and follow all directions on the label for specific amounts and times of application.
Common Diseases
Common Diseases
You may see powdery mildew, which presents as a white baby-powder-like substance on the leaf surfaces. This disease is caused by different fungal pathogens that cause the same symptoms. Preventing this disease is easier than controlling it.
Space plants so that air can circulate around them and help dry the foliage after rainfall and dew. It's this moist environment that allows fungal pathogens to breed. If possible, avoid overhead irrigation from sprinklers, which wets the foliage. It's better to water black-eyed Susans by hand, directing the water at the soil level to reach the roots instead of spraying water onto the plants.


