How To Grow Asters
We may receive a commission on purchases made from links.
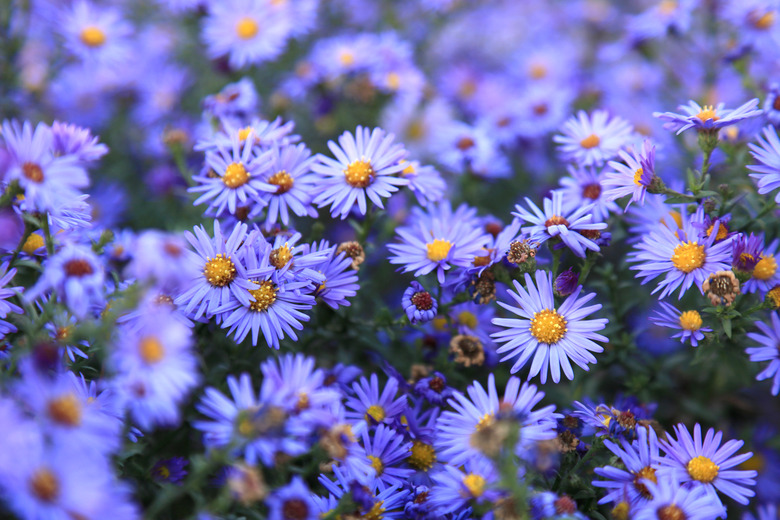
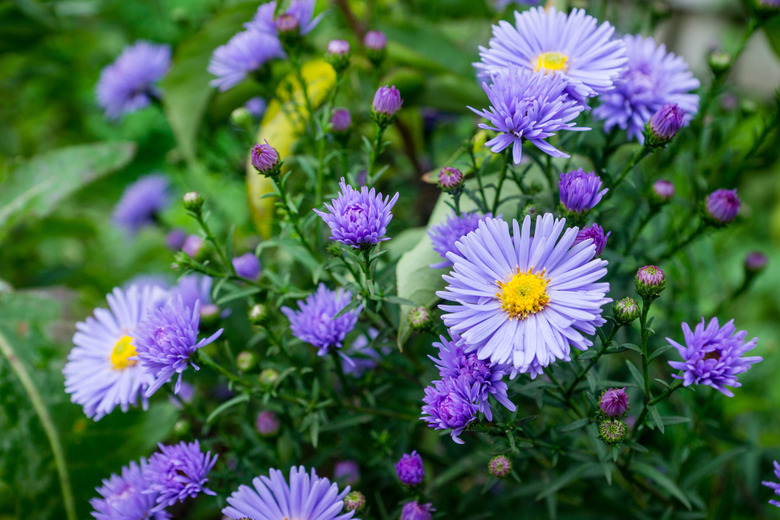
Because asters come into their own when most garden plants are beginning to fade, many gardeners rely on them for color and texture into the fall. In addition to the pink, purple, blue or white daisylike flowers that contribute to the landscape, asters are a valuable late-season source of nectar for bees and butterflies.
There are more than 250 types of asters. Because of their botanical diversity, botanists recently have reclassifed some of these plants, which formerly were grouped in the Aster genus. The current Aster genus now contains plants that are native to Europe and Asia, but the plants that are native to North America are classified as belonging to one of two genera — Symphotricum and Eurybia. The common name "aster" remains for all these plants.
Some of these herbaceous perennials can grow up to 4 feet tall, and some mounding cultivars can reach 3 feet in diameter. New York asters, such as Symphotricum novi-belgii 'Wood's Pink,' have thin stems and smooth leaves, while New England varieties, such as Symphotricum novae-angliae 'Purple Dome,' have thick stems and hairy leaves and are usually bushier than the New York varieties.
The word "aster" means "star" in Latin, which describes the plant's flowers. It is considered to be the signature flower of September, and another common name for some types of asters is "michaelmas daisy," which refers to St. Michael's Day on September 29.
Best Uses for Asters
Best Uses for Asters
Because they can provide a jolt of color into the fall, asters are a must for any perennial border or garden. They can add life to foundation plantings as well. Asters are available in a variety of heights, so they can be placed in either the front or rear of borders and gardens. They make a stunning display when mass planted.
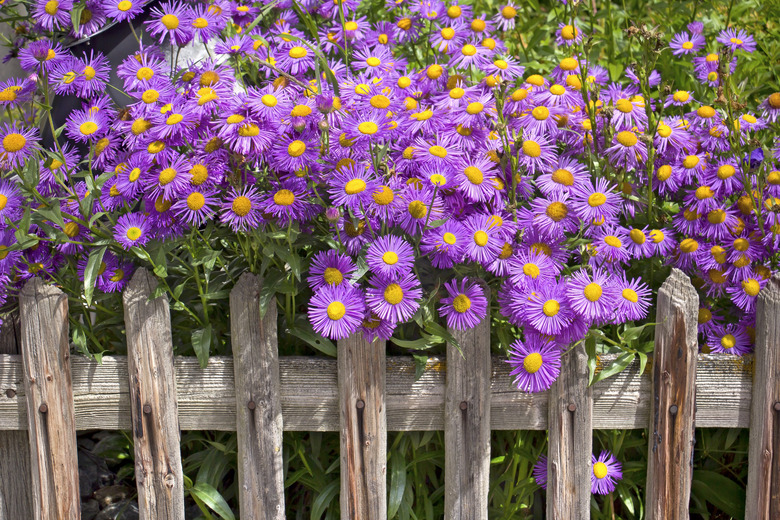
They are an informal plant, so they are at home in country or rustic gardens, especially if you like your plants to spill onto walkways and other paved surfaces. When planted along a front walkway, they can welcome visitors with their display of late-season color. They make great additions to rock gardens and wildflower gardens. When planted in pots, asters can be placed on decks and patios or around the entrance to the home. The plants are a good source of cut flowers into the fall.
To keep asters company late in the season, choose companion plants that bloom into the fall. Black-eyed Susan will bloom most of the summer, some of them into the fall. Other plants to consider include zinnias, mums and ornamental grasses.
How to Grow Asters
How to Grow Asters
- Common Name: Aster
- Botanical Name: Numerous species across multiple genera; notably the Aster, Symphyotrichum, and Eurybia genera
- When to Plant: Plant young plants at any time during the growing season. Sow seeds after all danger of frost has passed.
- USDA Zones: 3-10, depending on genus, species, and cultivar
- Sun Exposure: Full sun
- Soil Type: Moist, well-drained soil
- When It's in Trouble: Flowers and leaves wilt, especially along the bottom of the plant, usually due to underwatering or overwatering when planted on soil that does not drain well.
- When It's Thriving: Flowers and stems appear strong, and colors are vibrant.
Starting Asters From Seed
Most asters get their start in the garden as young plants or even fully developed plants, but they can be started from seed. They require full sun and well-draining soil. Prepare the garden soil by turning it and incorporating organic matter, such as leaf mold or compost.
Always follow the directions on the seed packet, but in general, you can sow aster seeds about 3 or 4 inches apart. Cover with about 1/8 to 1/4 inch of fine soil. Keep the soil moist but not soaking wet. When shoots emerge in about seven to 21 days, thin to 12 inches apart. For wildflower gardens, scatter seeds over the garden area, rake in and water.
Start seeds indoors about four to six weeks before the last frost date in your area. Sow seeds in seed trays using a seed-starter mix. Keep the trays moist and the soil temperature at about 65 to 70 degrees Fahrenheit. When seedlings emerge in two to three weeks, place the tray in a sunny spot.
Move the young plants outdoors in mid to late spring. To help prevent transplant shock, harden off the plants before placing them in the garden. Hardening off is a period of a week or so when you gradually introduce the plants to the outdoor environment and to increasing sun exposure.
Starting Asters From a Seedling
Most gardeners plant young aster plants in the spring and fully grown plants when they are available in the fall. In both cases, prepare the soil by turning it over and mixing in organic material, such as compost.
Space plants about 12 inches apart, although some cultivars may require a greater distance between plants. The planting hole should be as deep as the root ball. Unpot the plant and loosen the roots with your fingers. The root ball should be even with the surrounding soil. Pack the soil firmly and water. Cover the surrounding area with about 2 inches of natural mulch. Keep the mulch away from the stems of the plants.
In What Zone Do Asters Grow Best?
In What Zone Do Asters Grow Best?
Most asters are comfortable in zones 4 to 8, but some cultivars are cold-hardy to zone 3 and some heat-tolerant selections can handle summers in zone 10. In most regions, asters thrive in full sun, but in very hot areas, protection from the late afternoon sun is important. Protect the plants from strong winds until they are firmly established. Many of the tall varieties — those that can reach up to 4 feet — benefit from staking.
When Should You Plant Asters?
When Should You Plant Asters?
You can plant asters throughout the growing season, but in hot climates, it is best to plant them in the spring or fall. That way, their roots have time to develop before the onset of very hot or cold temperatures. In the North, plant at any time up to early fall for the same reason.
Although asters need a lot of sun to thrive, try to wait for a cloudy day to plant seedlings or fully grown plants or plant late in the afternoon. This can help prevent transplant shock. If you are sowing aster seeds, sow them in the spring after all danger of frost has passed.
Soil, Sunlight and Water Recommendations for Asters
Soil, Sunlight and Water Recommendations for Asters
Asters do best when planted in fertile, loamy soil. Wet clay soil that does not drain well can lead to root rot. Before planting, add organic matter to the soil to loosen it and provide the plant with needed nutrients. Once the asters are established, you can add a balanced fertilizer a few times throughout the growing season.
To promote bushier growth and increased blooms, pinch back plants in late spring and early summer. Removing the tips and first few sets of leaves at this time of year encourages the plant to create side shoots. When the plants bloom, deadhead spent flowers to promote new blooms.
Asters need a good amount of water. Water weekly during their first year to help the plants develop strong roots. Water all asters regularly during dry spells at least once a week. Water deeply, which is best done using a drip irrigation system rather than overhead sprinklers as wet foliage can lead to fungal diseases.
Limit evaporation from the soil by mulching around the plants. Apply 3 or 4 inches of natural mulch but keep the mulch away from the stems of the plant. The mulch also inhibits weed growth.
How to Propagate Asters
How to Propagate Asters
You can propagate new asters by taking cuttings from existing plants and by dividing asters that are two to three years old. To take cuttings, cut about 4 or 5 inches from the tip of a stem and remove the lower leaves. Dip the bare end in rooting hormone powder and plant in small pots filled with potting mix.
Cover the cuttings with perforated plastic and place them in a bright area that is out of direct sunlight. Keep the soil moist. The cuttings should root in a few weeks to a couple of months. When roots develop, transplant to a larger pot.
To divide asters, carefully dig up the root ball in early spring after the ground thaws. Use a soil saw, soil knife or shovel to cut through the roots. Cut two or three sections from the edges of the root ball because by the time it becomes necessary to divide the plant, the older section may not be of much use and may be unable to produce blooms.
Make sure each section has a good amount of healthy roots and stems. Replant in the ground or in pots, and keep the sections watered wall until new roots begin to grow.
How to Winterize Asters
How to Winterize Asters
Once the blooms fade and the leaves turn yellow, you can cut back the plants to about 2 inches from the ground. If possible, place compost over the plants. Some gardeners prefer to leave the plants and seed heads in place to provide food for wildlife over the winter. They then cut back the plants in early spring.
Common Pests and Other Problems for Asters
Common Pests and Other Problems for Asters
Aphids feed on the underside of the foliage. They are difficult to spot, so check regularly. When they feed, they leave a sticky residue that can attract ants. You can get rid of aphids with a good blast from a hose. Once knocked off the plant, they cannot find their way back.
Leaf miners are the larvae of black or yellow flies. They bore into the leaves, leaving a squiggly tract on the surface of the leaves. Leaf miners may not kill the plant, but they can weaken it significantly. Pesticides rarely work, because they cannot reach the larvae when they are within a leaf. Stop the infestation by removing the affected foliage.
Spider mites leave yellow or white spots on the leaves of the plants. They may also produce a fine webbing on the underside of the leaves. Use insecticidal soap to get rid of the mites. There are also miticides available. Natural predators like ladybugs and parasitic mites can also deal with the problem.
Asters can also be harmed from either too much or too little water. Both problems can lead to root rot. Asters should be planted in loamy, well-draining soil. Either waterlogged or dry roots will lead to problems.
Common Diseases for Asters
Common Diseases for Asters
Powdery mildew starts as a white or grayish coating on leaves and flowers. It eventually turns foliage yellow and kills the leaves. It is a fungal disease that is often caused by poor air circulation among plants. One prevention method is to thin stems on crowded plants in the spring.
It is also a good idea to avoid using overhead sprinklers on the plants, especially at night. Nighttime watering usually means that water stays on the leaves, and water droplets can transport the fungus from leaf to leaf.
If you spot a case of powdery mildew, remove the affected foliage as soon as possible. Removing diseased sections may prevent the fungus from spreading. Never add diseased plants to the compost pile. If removal does not work, there are fungicides available.
Botrytis blight causes blooms and foliage to discolor and wilt. It's another fungal disease that thrives in wet conditions, so proper watering can help prevent the disease. Choose a fungicide that is designed to control botrytis if the disease is rampant. Removing weeds and other debris, including blooms and aster foliage that fall to the ground, is a preventative measure.
Prune and destroy diseased parts of the plant. It is a good idea to sterilize pruning equipment by wiping cutting blades with alcohol before making each cut to avoid transmitting the disease by your garden tools.


