A DIY Guide To Outdoor Rooms
We may receive a commission on purchases made from links.
There's no better way to make your outdoor space seem more functional and comfortable — and more like a getaway — than the addition of an outdoor room. While the idea of dramatically modifying your outdoor living space to make it better suit your individual needs can seem very pricey, you can always save some money by going the DIY route. That being said, it's important to consider not only the design ideas but also available space in your yard and your level of home improvement experience before deciding if you're ready to do something simple, like adding a patio or fire pit, or something far more advanced, like an enclosed front porch.
A Simple DIY Patio
A Simple DIY Patio
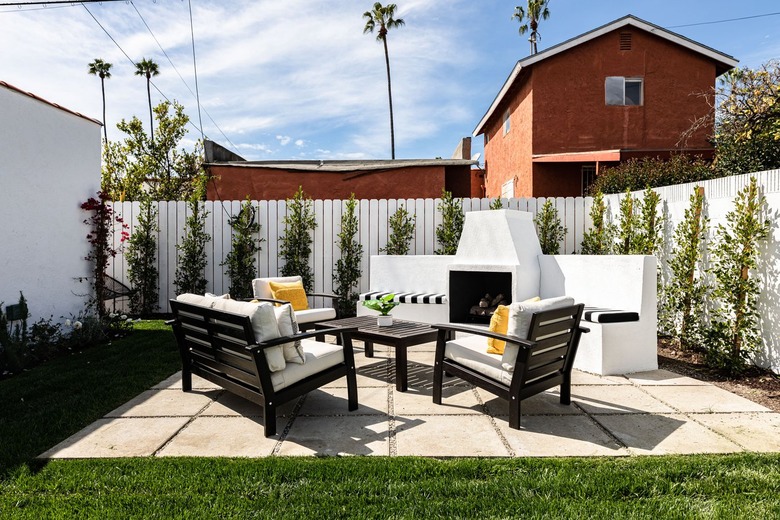
A patio can offer a comfortable area to relax on your outdoor furniture. This is one of the easiest options for those who want to add an outdoor space, but because there are no walls or cover, a basic patio is only useful on dry, warm days.
Design considerations: When designing a patio, you'll want to think hard about the right shape and location for your home. This doesn't just mean looking at what part of your yard would make a good place to relax but also how big of a space you'll need for your purposes and whether you plan to use it as an outdoor dining area for eating alfresco or just a relaxing place for two people to chat on two patio chairs. You'll also want to put some thought into your materials and how they will look with the rest of your yard.
About the process: One of the best options for a DIY patio is sandset brick or concrete pavers or natural stone. This design uses no mortar; the paving materials are simply set onto a bed of compacted gravel topped with a smooth layer of sand. Once the pavers are set, a special sand that hardens, called polymeric sand, is swept over the paving so it fills the joints between pavers, locking them together. Stone paving can be completed with sand, gravel, or ground cover plants between stones.
A DIY Deck
A DIY Deck
A deck is similar to a patio in that it provides a relaxing seating area, but decks can be on the ground or elevated. Decks are ideal for backyards with uneven terrain, for homes with back doors that would otherwise require stairs or for anyone who simply wants a better view. While building a DIY deck is entirely possible, many people aren't quite up to the challenge, especially if the deck is large and/or high above the ground.
Design considerations: Decks higher than 30 inches tall are generally required to have a handrail. Beyond that, you'll need to think about what type of materials to use, how large to make it and what shape it should be. Choosing a decking material is a big decision, and there are numerous options, ranging from traditional woods to wood composites to plastic and even aluminum.
About the process: The simplest ground-level deck is a freestanding version that is not attached to the house, thus greatly simplifying construction. These can be supported by concrete blocks or deck blocks placed on a gravel base. Decks that attach to the house must have frost-proof footings or piers so the deck doesn't rise and fall when the ground freezes and thaws. All decks include a frame made of joists (similar to the floor joists inside a home) covered with decking boards. Elevated decks include a series of vertical posts and typically have one or more heavy beams that support the joists.
Enclosed Porches or Sunrooms
Enclosed Porches or Sunrooms
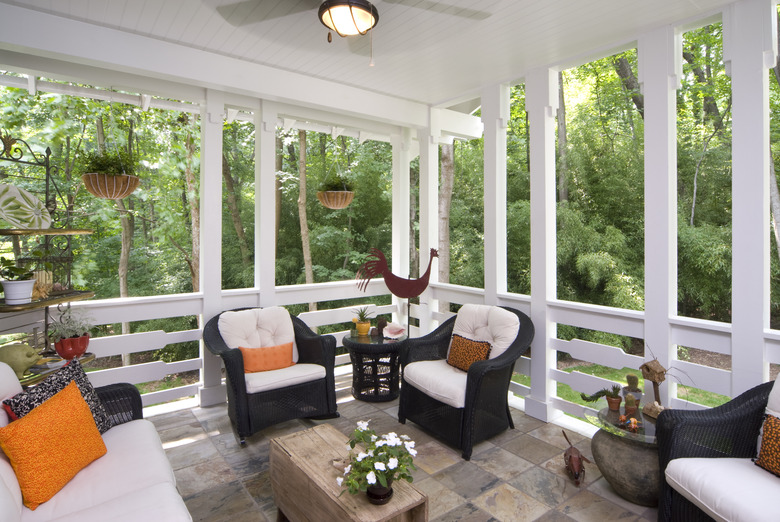
These are outdoor or indoor/outdoor living rooms that are enclosed with glass or screens. Screened front porches allow the air to flow in, letting guests feel like they're outdoors without any pesky insects. Glass-enclosed patios and sunrooms are three- or four-season spaces that provide views of nature without exposure to the elements, making them a good option in cool or wet weather. Sunrooms are often built as an extension to the house. They have insulated windows and doors and are heated and/or cooled seasonally.
Design considerations: When designing your space, you'll need to decide whether to use screen or glass. Remember that screens can be covered with roll-down shades or plastic to provide some level of protection against damp or cool weather, and sunrooms can be fitted with windows that open to let in air, so you aren't limited to a fully exposed or a fully closed-off room either way.
About the process: The process for building an enclosed room will vary significantly based on the scope of the project. You can screen in a covered porch with some simple framing and screen material. There are also kits that include plastic or metal channels for adding screen. A glassed-in porch is a bit more involved and may include full-height windows or half-walls topped with shorter windows. The windows typically are aluminum storm windows with removable screens. Sunrooms can be built by converting an existing covered porch or by adding on to the house.
DIY Trellises and Arbors
DIY Trellises and Arbors
These two landscaping accents are often confused with one another, but both can add a lovely addition — and focal point — to a patio space. A trellis is a relatively lightweight structure with an open framework, which is why even though they can be used to divide spaces or provide shade, their main purpose is to support vines. Arbors are a bit more structural and can range from a simple archway to your garden to a heavy-timbered, four- or six-post frame over a patio or ground-level deck. Some arbors include trellises with climbing vines. Further along the spectrum, pergolas are similar to arbors but typically are large structures that often connect to the house or extend from a roof. They can also be freestanding.
Design considerations: If you want lattice walls adorned with climbing flowers, trellises are the way to go, and they can make your space really feel like an outdoor room, even providing a little shade for hot summer days. Arbors and pergolas are also great for supporting plants (including grapevines) and can be covered with canopies or curtains to provide some level of shelter as well as to create a cabana-like space.
About the process: A trellis is both versatile and easy to build. In fact, a simple trellis can be made with nothing but a large wooden frame fitted with crisscrossed wires or a panel of lattice. An arbor is a little more difficult to construct, but most people with basic carpentry skills can build one successfully. Small arbors can be freestanding frames that simply stand firmly on the ground or connect to a fence or other structure. Large arbors and pergolas should have heavy timber posts set in concrete to resist frost heave and wind.
A DIY Garden Shed
A DIY Garden Shed
Sheds are perfect for storing equipment and tools, but they can also make a great work space or even something as lavish as a guesthouse with some minor upgrades.
Design considerations: Garden sheds are incredibly versatile in both their functionality and design. Those intended solely for garden tools can be small enough to tuck under your home's eaves. Those used for guesthouses may even have a porch, skylights and electrical wiring. When deciding on the right shed for your home, consider your available space, the intended purpose of the structure and your level of DIY experience.
For those who want a large shed but have limited building experience, a flat pack shed is a great option, and there are varieties to suit every budget and purpose available at most home improvement stores.
About the process: Building your own shed can be fairly rudimentary or incredibly challenging depending on the size and purpose of the structure. A small shed for tools can be made with little more than lumber, plywood and some finish materials and hardware. A large shed used as a guesthouse or work space might need insulation, electrical wiring, an air-sealed door and possibly some windows, making the process much more involved.
A Simple Greenhouse
A Simple Greenhouse
In a way, a greenhouse is fairly similar to a shed, only it's meant to store and grow plants, not hold tools. As such, it needs to let light in through windows or clear plastic.
Design considerations: Whereas most outdoor rooms can be placed anywhere in the yard, it's important that a greenhouse is located somewhere it can get at least six hours of daylight every day. As far as style, greenhouses come in a variety of sizes and can be as simple as a wood and plastic frame built around a planter box or as sophisticated as a large structure made from wood or metal and glass.
About the process: Greenhouses can be built in a variety of ways and offer DIYers a chance to get creative. You see all sorts of custom designs built with salvaged doors and windows, for example. There are also many kit greenhouses designed for DIY assembly. These typically have a lightweight metal frame that supports polycarbonate plastic glazing panels or plastic sheeting.
A Classic Tree House
A Classic Tree House
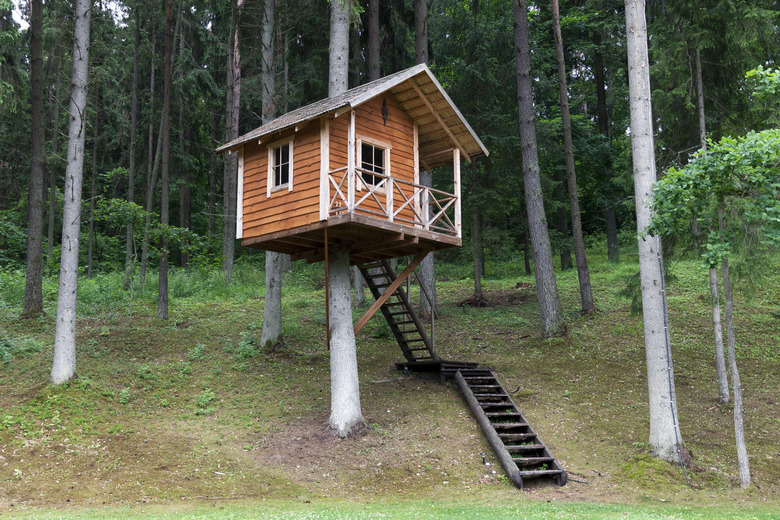
While tree houses are traditionally used for kids' playhouses, adults have been increasingly enjoying them as relaxing spaces furnished with outdoor furniture, including a daybed or a table and chairs.
Design considerations: The most important consideration for building a tree house is determining whether you have a suitable tree. An average 8 x 8-foot tree house requires a single tree with a diameter of 12 inches or larger or multiple trees with slightly smaller diameters to provide support. The trees must be healthy and should be a species that lives for a long time. Load-bearing branches should be at least 8 inches in diameter. In windy areas, be sure to construct the tree house in the lower third of the tree. Trees can also be aided by lumber posts where extra support is needed.
Beyond that, a tree house can be as large and elaborate or as stripped down and basic as you desire. Some experts have built massive cabins in their trees, but many people are satisfied with nothing more than a wooden platform fitted with guardrails.
About the process: Building a tree house is a unique challenge, as it requires not only incorporating branches and tree trunks into the design but also supporting the structure without harming the tree. While each tree house is unique, there are some universal rules to follow when building in a tree.
For best results, you'll want to build the platform as close to the trunk as you can while still providing space for the tree to grow wider. Diagonal bracing is necessary to provide support. You may need to work with multiple trees for a larger design. Always use extra-long bolts so there is room for the tree to grow toward the end of the bolt, and try to use as few bolts as possible on the tree.
A Functional Outdoor Kitchen
A Functional Outdoor Kitchen
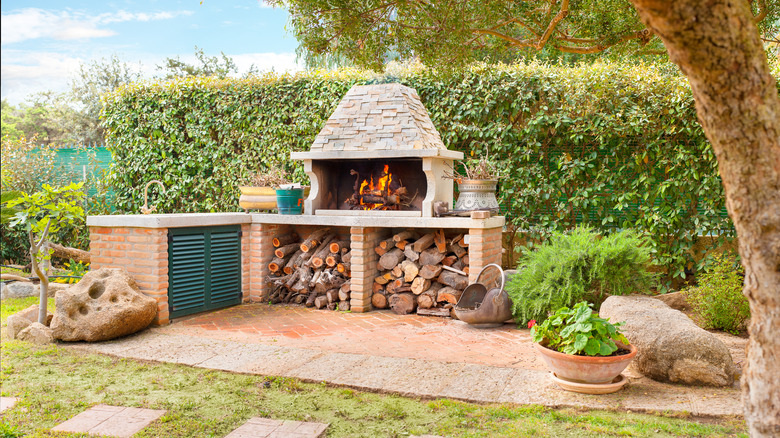
There's no feeling like cooking outdoors, but some people aren't content with a simple freestanding grill. An outdoor kitchen is a great way to bring your favorite kitchen appliances outside in an island that may include a built-in grill, a refrigerator, a sink, cabinets or even a wood-burning oven.
Design considerations: First, always keep cooking elements at least 10 feet away from your home or any combustible materials. Most people choose to build an outdoor kitchen island near their house to make it cheaper and easier to connect the water and electricity. The island should be sheltered from the elements and have some shade so you don't get too hot while cooking in the summer. It's also worth noting that while it's nice to add an outdoor kitchen to an existing deck, be sure the structure is strong enough to support the extra weight.
When designing a kitchen island, consider what fixtures you need the most. You'll likely want a sink and a grill and some handy countertop space, but also decide if you want any other cooking appliances, a refrigerator, cupboards, drawers, power outlets, cutting boards, etc. Don't forget adequate lighting sources, including light for nearby steps and paths.
About the process: Building an outdoor kitchen starts with drawing up plans for how to accommodate your kitchen fixtures. Once you have a plan, you'll need to have professionals connect your water and/or electricity as needed. Next comes the DIY part, where you build a frame, add walls to the frame and then add outdoor-friendly accents, such as artificial stone or tile. Only then do you add any fixtures, drawers or cabinet doors.
A Cozy Fire Pit
A Cozy Fire Pit
An outdoor fireplace is great for relaxing and socializing when the weather is cool. There are premade, freestanding fire pits and fire pit kits, but constructing your own fire pit is fairly simple.
Design considerations: Some areas do not allow fire pits, and some impose limits on their size or location, so check with your city authority and homeowners' association before building. For safety reasons, your fire pit should be at least 10 feet away from your home as well as any property lines, flammable structures, bushes or trees. You'll also want enough space to keep your outdoor furniture 6 to 7 feet away from the fire.
Experts recommend making a fire pit between 36 and 44 inches wide to allow multiple people to use it while maintaining intimacy. Heights can vary from ground level to 20 inches tall, depending on your preferences and whether or not you want people to be able to prop up their feet on the walls.
About the process: While most people recognize that digging a fire pit requires digging out the actual pit, they don't realize the importance of leveling the area for the blocks that make up the walls. It's also important to recognize that no matter what type of heat-resistant exterior blocks or pavers you use, you may need to also install firebricks on the inside of the fire area.
A Functional Outdoor Shower
A Functional Outdoor Shower
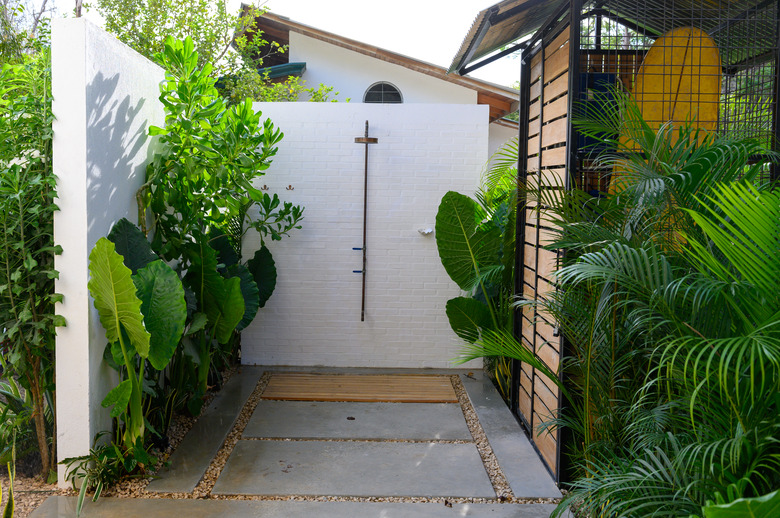
An outdoor shower is a perfect yard addition not only for those with a swimming pool but for anyone who gets dirty outside, like runners, mechanics, pets, gardeners and more.
Design considerations: Most homeowners want their shower near their back door so they can clean up before going inside, but you might also want it close to your pool or garage. Usually, the best location is somewhere near an existing water line so the water hookup is less expensive. You'll want the shower somewhere sunny to prevent mold and mildew problems and to keep you warm while you bathe. Finally, you'll need to ensure some level of privacy unless you intend for people to use it only while in their bathing suits.
The price and difficulty of installing an outdoor shower will vary drastically depending on your specifications. If you don't mind being a little chilly, you can set up a shower that hooks up to your hose bib and save the price of a plumber. A simple outdoor shower might have a freestanding folding screen and a wooden floor that lets water flow into the yard. More complex designs can feature hot and cold water, a full drainage system and four walls designed to give the user complete privacy.
About the process: If you're not hooking up the shower to a garden hose or if you want to set up a real drainage system, then the first step is contacting a plumber to set up the water connections. Again, the specifics will vary based on the sophistication of your shower, but the basic process to DIY an outdoor shower involves building a frame, adding some type of flooring, assembling the plumbing and finally connecting and turning on the water.
