How To Build A Flagstone Patio
We may receive a commission on purchases made from links.
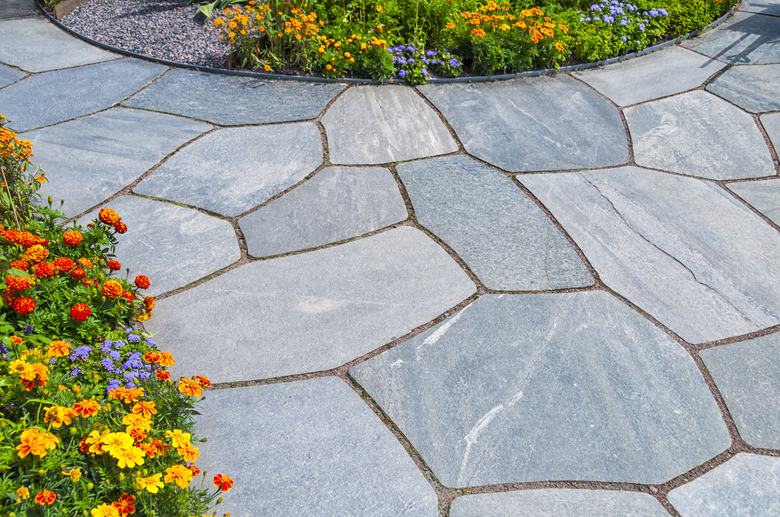
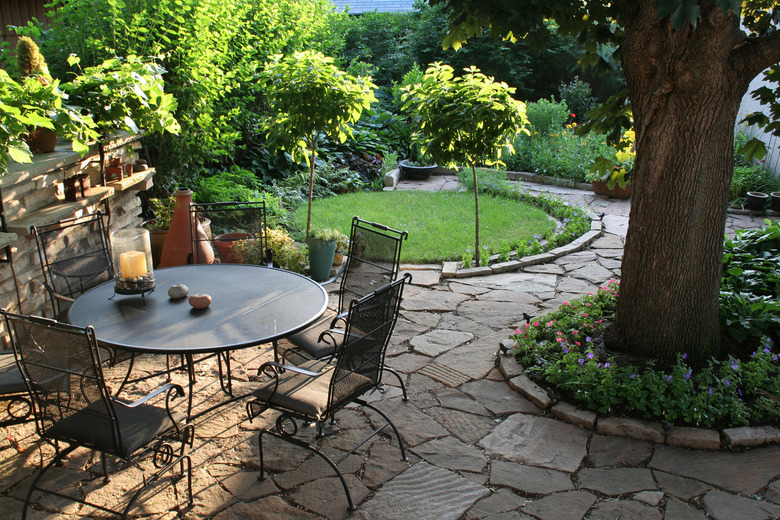
A stone patio is a luxury addition to your landscaping, and while it's a good candidate for a DIY project, it's a little more challenging than most, especially if you opt for irregular flagstone pavers. Flagstone is a sedimentary rock akin to sandstone, shale and limestone, created under pressure from hardened layers of sand, clay and organic sediments. The layers create thickness variations in the mostly flat rocks, and these variations are one of the challenges you have to overcome when using flagstone.
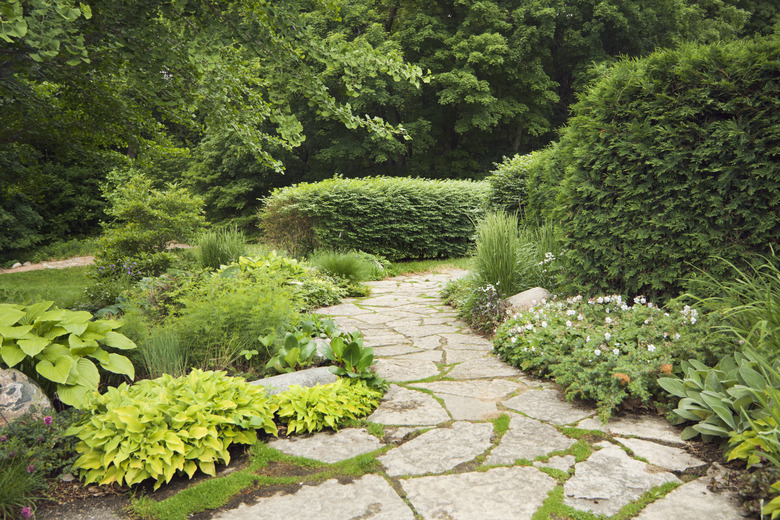
Another challenge is the irregular edges formed when large sections of rock are broken apart to form individual pavers. Some pavers, including granite, marble and others formed from igneous rock, are factory hewn with smooth, straight edges, and some are molded from concrete or clay, but the layered nature of flagstone, slate, shale and other sedimentary rocks makes this impossible, and that's part of the appeal as well as the challenge. Building a flagstone patio is a bit like putting together a puzzle, and you often have to settle for wider gaps between the pavers than you would prefer.
Unlike concrete pavers and brick pavers that will sit uniformly on a flat surface, flagstones must be set and adjusted individually to prevent rocking and surface unevenness. When you're laying flagstones, you may have to lift each stone several times to move sand around underneath it until you can get it to lie flat and at the same level as the rest of the patio. Flagstones can be heavy, so this might be a two-person job.
Choosing Flagstone for a Stone Patio
Choosing Flagstone for a Stone Patio
Flagstones are split or cut into thicknesses from 1 to 3 inches, and while it's tempting to try to save money by choosing thin ones, that's usually a bad idea. Thin stones can crack when you move around furniture, drop something or even walk too hard. As a rule, the minimum thickness for a patio is 1 1/2 inches, and 2 inches is better. The really thick flagstones are intended for driveways, and while it wouldn't technically be a mistake to opt for 3-inch stones for your new patio, it's overkill. In terms of coverage, it's good to get a mixture of large stones, which are less work to lay and are more stable, and small ones, which are easier to fit in gaps and corners.
Being a natural product, flagstone displays a variety of colors depending on which minerals are mixed in, and that in turn depends on where the stones originate. Gray is the most common color, but there are often tinges of blue, red, yellow, green and gold. Many quarries ship their products across the country, and you can find them at your local stone supply outlet, but some may have to be custom ordered and shipped from the quarries that produce them. This is an extra expense, but it may be worth it to get bluestone from New York, yellow-toned limestone from Minnesota or deep-red pavers from Colorado.
It's best to purchase all the flagstone you need for your patio and other landscaping projects from a single source. The colors may vary, but they will vary in a natural way that is characteristic of the land from which they were quarried, not in a way that looks like you're mixing dissimilar products. Be sure to order enough because if you need more and your source runs out, you'll be out of luck.
Creating a Border for a Stone Patio
Creating a Border for a Stone Patio
Your flagstone patio needs a border to prevent the stones from moving and to keep the material you use for backfilling the gaps from spilling out into the landscape. Several border options exist, including edging stones, plastic edging and wood bender board. The finished border typically sits at the same height as the flagstone pavers, so if you're using stones, you'll have to dig out extra room on the perimeter to fit them.
Depending on the type of border you use, you may want to install it before or after you lay the pavers. When using stones, it's generally a good idea to create the border first so you have a clear edge with which to align the pavers. Some plastic edging, on the other hand, has to go in after the pavers because it has braces that slip underneath the pavers to hold it in place. Plastic and wood border material usually comes with the spikes you need to secure it to the ground.
Things Needed
How to Build a Flagstone Patio
1. Measure and Lay Out the Perimeter
Mark the corners of the patio area by driving wooden stakes into the ground and then stretch string between the stakes to mark the perimeter. Measure the lengths of the sides with a 50-foot tape measure and calculate the area, which you'll need to purchase sand or other filler material and flagstone. Include a 10 percent overage when purchasing stone to make sure you have enough. You can always use any leftover stones to make a walkway.
2. Excavate the Patio Area
Dig deep enough to accommodate the thickness of the stones, a 3- to 4-inch layer of packed gravel and 1 or 2 inches of leveling material, which can be sand or crushed gravel with plenty of screenings. Typically, you need to dig to a depth of 6 to 8 inches, so have a plan for all the dirt you remove. You can use it to grade another part of the yard or to create drainage berms in places they are needed, or you can simply haul it away.
Tip
The amount of dirt you have to remove can be considerable. For example, for a moderately sized 100-square-foot patio, you need to remove 50 to 70 cubic feet (a little less than 3 cubic yards) of dirt. Rather than taking the DIY approach and using a shovel, you may want to rent an earth mover or have a pro do the excavation.
3. Level the Ground and Tamp It
Level and grade the ground after you've removed all the dirt using a rake and shovel. There should be a slight slope of about 1/8 inch per foot toward the side of the patio where you want water to drain to prevent puddling on the patio. Use a long, straight 2x4 and a 4-foot level to check the grade.
Wet the area with a garden hose and then tamp the soil with a hand tamper or a plate compactor to create a solid base. A plate compactor is preferable for patios larger in area than about 100 square feet. After tamping the ground, laying a layer of landscape fabric is recommended to prevent weeds from growing. This won't prevent you from having grass or flowers grow between the stones if that's your design idea, but it will prevent weeds from growing underneath the stones and displacing them.
4. Lay the Fill and Leveling Layers
Shovel 1/2-inch drain rock or a similar type of angular, compactable gravel into the patio area to a depth of 3 to 4 inches. Wet it, tamp it down and double-check the grade. Then, lay 1 to 2 inches of leveling material on top. You can install a layer of sand, but for a more solid base, spread crushed gravel instead. Mist the leveling layer and rake it smooth, making sure the final surface is the same distance from ground level as the thickness of the stones.
This smoothed surface determines the slope of the finished patio, so double-check these parameters by using your 2x4 and 4-foot level.
5. Lay Out the Flagstone
Begin by laying larger flagstone around the perimeter and aligning the edges to form a smooth, continuous border. Gradually fill in the entire area by working your way toward the center, laying large pavers in strategic places and filling in the gaps with smaller ones. This part of the job can be challenging for DIYers and landscaping professionals alike because the irregularity of the edges necessitates a certain amount of trial and error to maintain an ideal minimum gap of 1 inch between pavers. You'll inevitably have to cut some of the pavers to make them fit.
6. Cut Pavers With a Chisel or a Saw
Chip small pieces from the edges of the flagstone with a cold chisel and a mini sledgehammer, being sure to wear goggles to protect your eyes. Use moderate pressure and chisel progressively until the stone separates rather than trying to do the job with a single blow, which could crack the stone. If you need to make a longer cut to separate a stone or modify an edge, use a circular saw or angle grinder with a diamond-tipped blade. To control dust, wet the stone lightly before cutting it with a saw or grinder.
7. Set the Flagstone Pavers Individually
Once you are happy with the layout, begin leveling the stones, starting at one corner and working your way over the entire patio area. Some pavers won't need much adjustment, especially the smaller ones, but you'll probably have to lift larger ones and rearrange the sand or gravel underneath to prevent them from rocking. You can, of course, level the stones as you lay them out, but this may end up creating a lot of extra work if you have to rearrange the pavers like puzzle pieces to get them to fit.
Carry a bucket of the sand or gravel and a trowel around with you as you level the pavers so you can add and subtract material as needed.
8. Fill in the Gaps
Backfilling is the fun part of the job for DIY homeowners, and it's virtually impossible to do it wrong. You basically dump and pile fill material — which can be sand, crushed gravel or even native soil if you like the idea of grass and flowers growing on the patio — and sweep it into the gaps to create a smooth surface. After filling the gaps, wet down the entire area thoroughly, which will cause the fill material to settle, and then sweep in more as needed.
Maintaining Your Flagstone Patio
Maintaining Your Flagstone Patio
Flagstone patios are very low maintenance. Sweep occasionally to remove filler material that gets displaced from between the stones and add more as needed. Flagstone colors will inevitably fade, and the stones will get stained by leaves and things that get spilled by partygoers. You can remove most stains by power washing or scrubbing with a cleaner specifically designed for flagstone, preferably one with oxygen bleach. Remove tough stains and efflorescence with muriatic acid.


