8 Craft Room Organization Ideas That Will Make Your Inner Artist Sing With Joy
If you're not careful, the place you store DIY supplies and art materials can become overwhelmingly busy and cluttered. But don't worry, there are plenty of craft room organization tricks to help you out.
Your craft room is probably your fun room, so your storage tactics should mirror that. We don't want you to tuck away all of the colorful supplies; we want them to have designated zones so you can always find them in a flash.
So ahead, we've provided eight craft room storage ideas to help you out. Get ready to spend more time crafting and less time searching for those missing scissors.
1. Add floor-to-ceiling shelves.
1. Add floor-to-ceiling shelves.
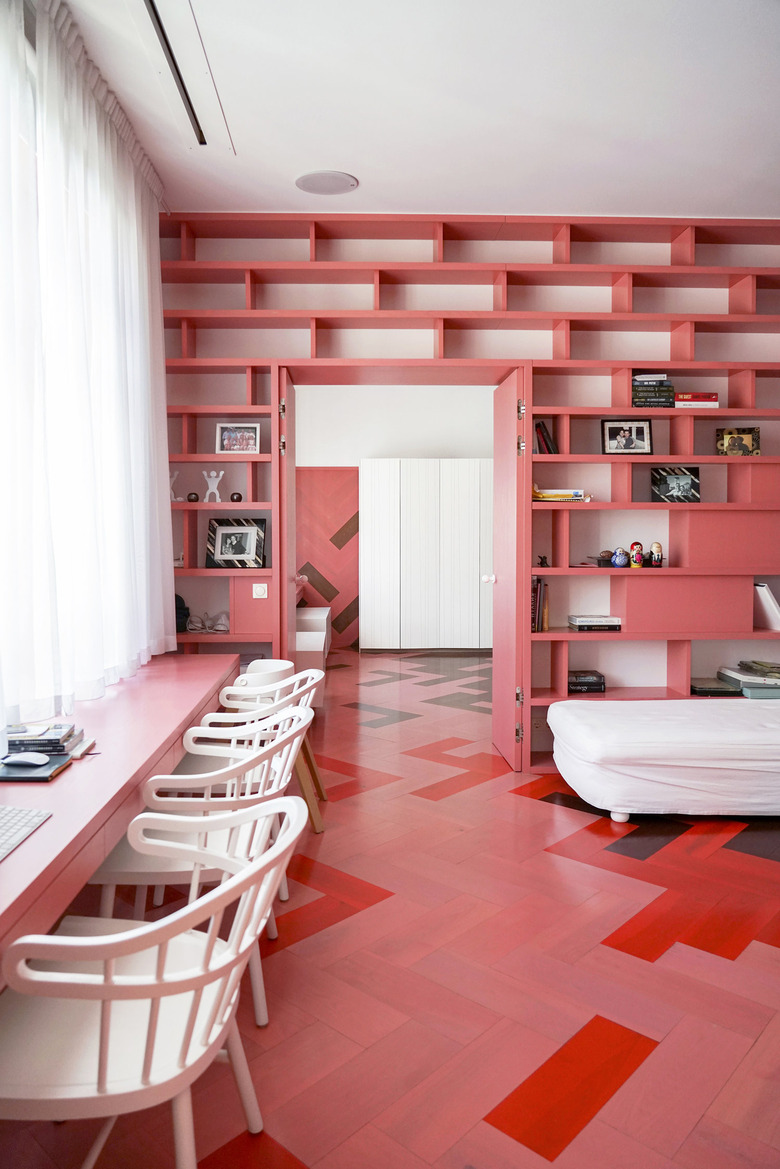
The best form of organization is shelves, right? So why not line a wall — or multiple walls — with as many shelves as you can fit? In this room, the whole back wall has ledges from floor-to-ceiling. And they're laid out in a staggered pattern to look more visually appealing. This is a great way to organize your craft supplies, but it also doubles as a major home decor moment.
2. Keep everything sorted.
2. Keep everything sorted.
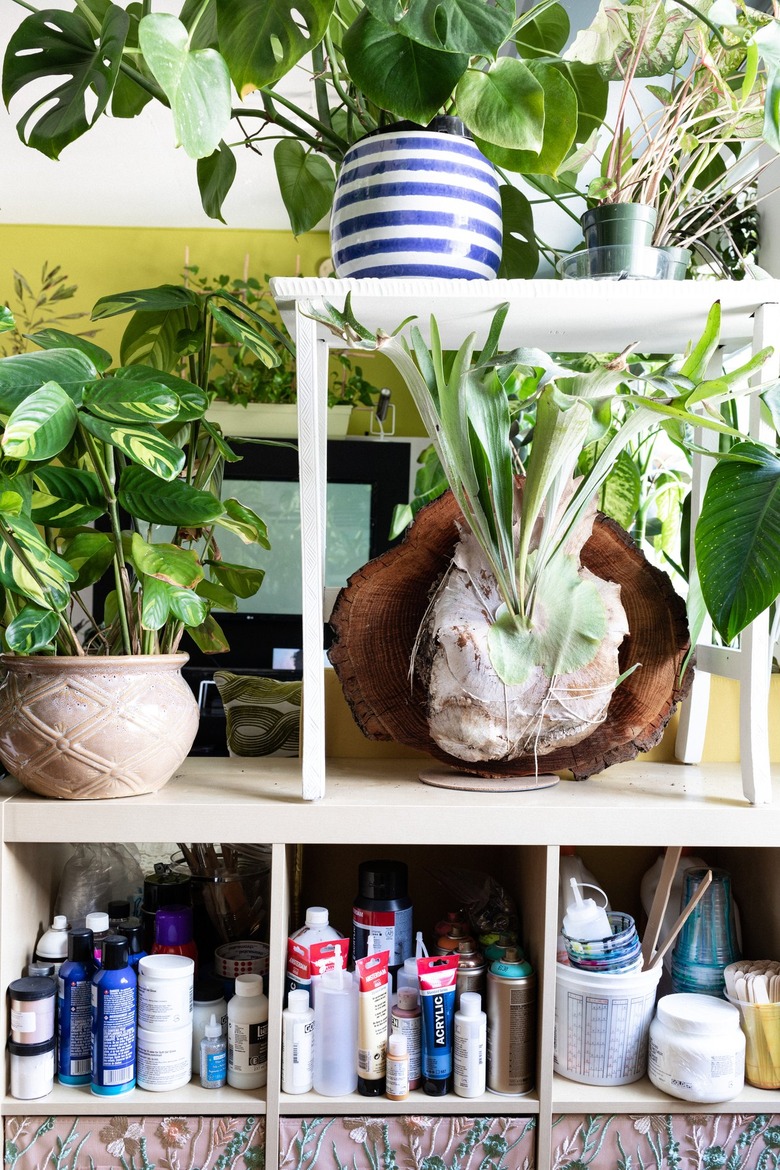
If you have a wide variety of supplies in your craft room, take the time to sort each item by type and frequency of use. Paints should go with paints, for example, while leftover fabrics should be stored with other spare cloth scraps. And if you can corral everything in drawers or cubbies with dividers, even better.
3. Don't skimp on storage bins.
3. Don't skimp on storage bins.
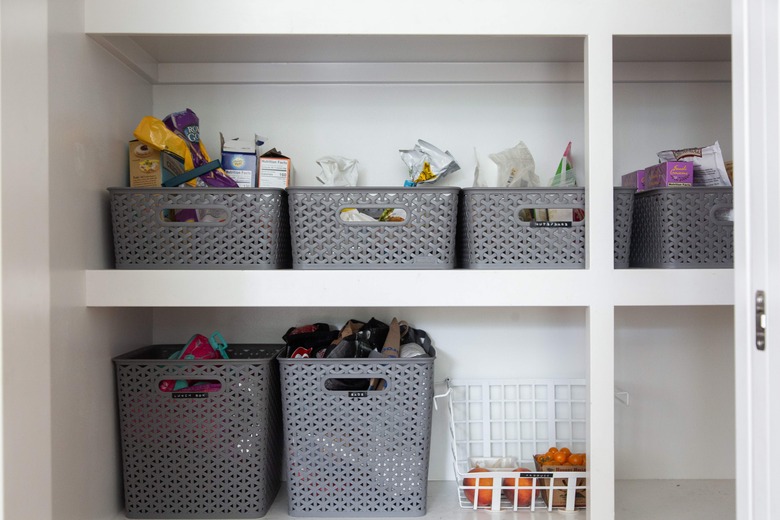
There's no way around this — you'll need storage bins. There are a million styles to choose from (we like the selections at The Container Store), so pick ones that complement your space for the ultimate craft room organization makeover. You can even put the baskets on floor-to-ceiling shelves. Pro tip: Label your bins, so you know exactly what goes where.
4. Get glass cabinets for the most efficient craft room organization.
4. Get glass cabinets for the most efficient craft room organization.
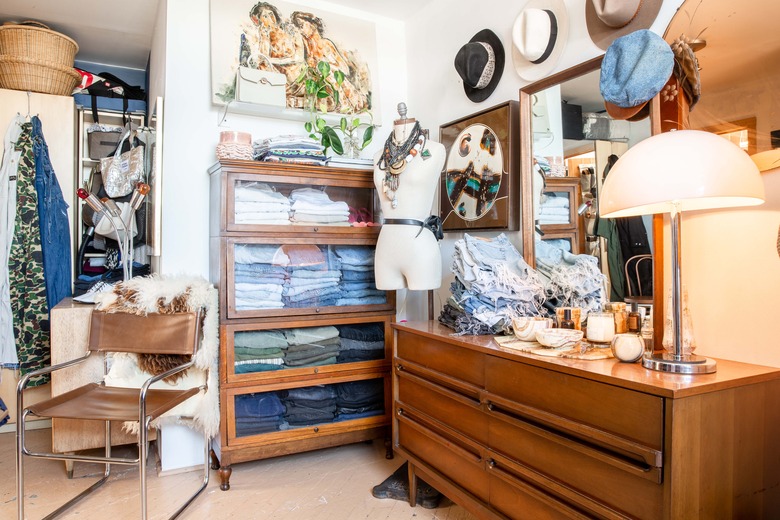
This craft space uses a glass-front cabinet to store jeans, but you know what else you could store in a cabinet like this? Craft supplies. All the bits and bobs and trinkets — when organized — can be so pretty and even double as decor.
5. Hang it up.
5. Hang it up.
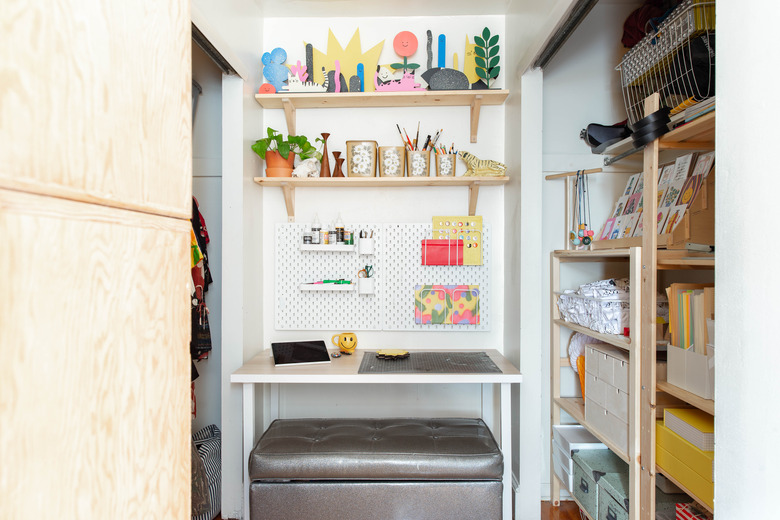
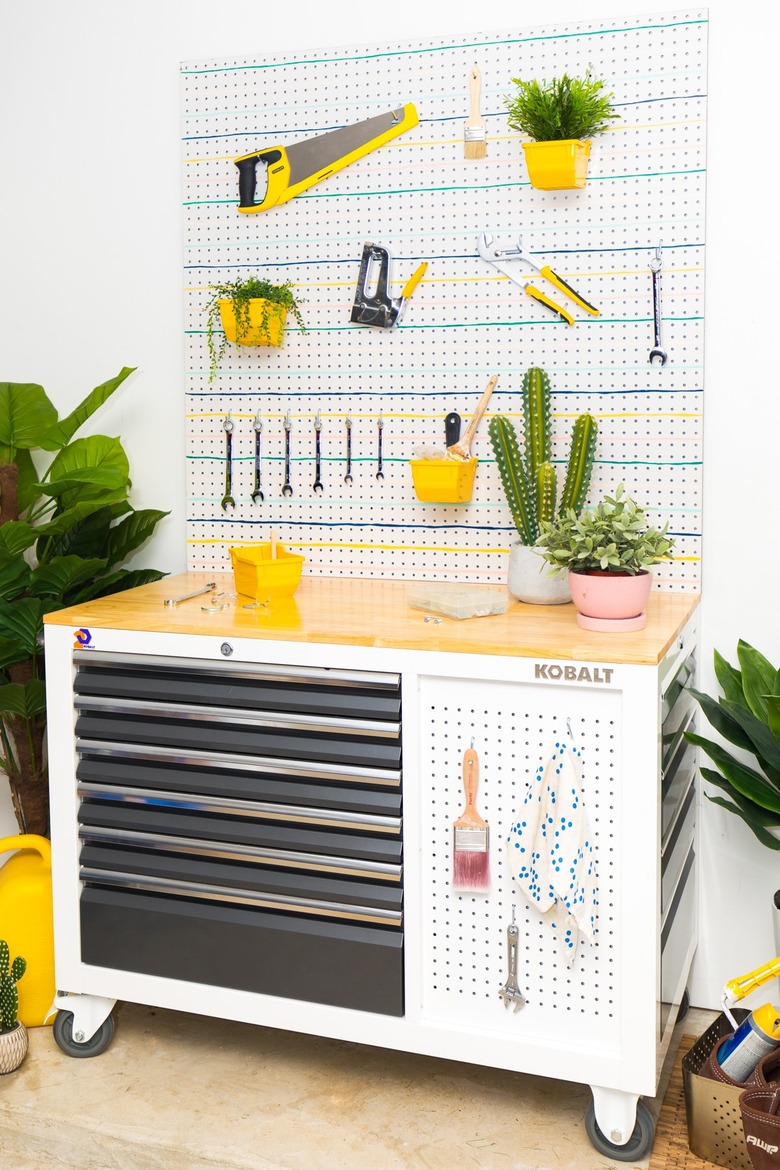
Hanging utensils is a common kitchen trick, but it's a great option for craft room organization as well. You can DIY a pegboard, or buy one, but whatever route you choose, get ready to hang ribbons, scissors, washi tape, and so many other cute knickknacks.
6. Consider unconventional storage solutions.
6. Consider unconventional storage solutions.
Your craft room doesn't need bland organizational storage. Just look at this cute rolling console that was designed for a she shed. It would work really well in a craft room and corral all sorts of tiny art supplies. Plus, with a little paint, it'll feel a lot less industrial.
7. Spread out.
8. Go up.
8. Go up.
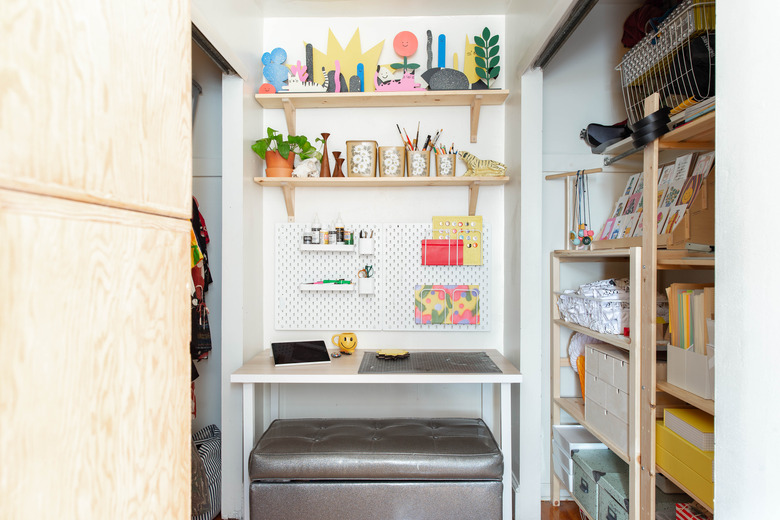
On the flip side, if you have a small space, think about craft room organization a little differently. Try going vertical with storage and shelves. That way you can maximize the square footage you have. This space uses every inch possible and even incorporates a storage bench as seating.
