What Type Of Compost Bin Is Best For You?
If you're ready to take your gardening game to the next level, it's time to start a compost bin. Making your own compost is an environmentally friendly way to get rid of some of your food scraps and yard waste. It's also great for your plants, which get a super nutritious snack when you compost around them. A compost bin lets you skip the chemically laden fertilizers at the garden center and make your own plant superfood for free. But as great as the benefits are, you still have to determine where you're going to store your compost — and all of the smells and mess it can create.
Interested in composting? Here are all of the different options you have for compost bins.
Tip
The type of compost bin that works best for you will vary depending on the amount of space you have, how much compost you need and how quickly you need it.
Compost Pile
Compost Pile
Pros
- Does not require a bin
- Simple and inexpensive
Cons
- Exposed to elements and animals
- Requires turning with a pitchfork
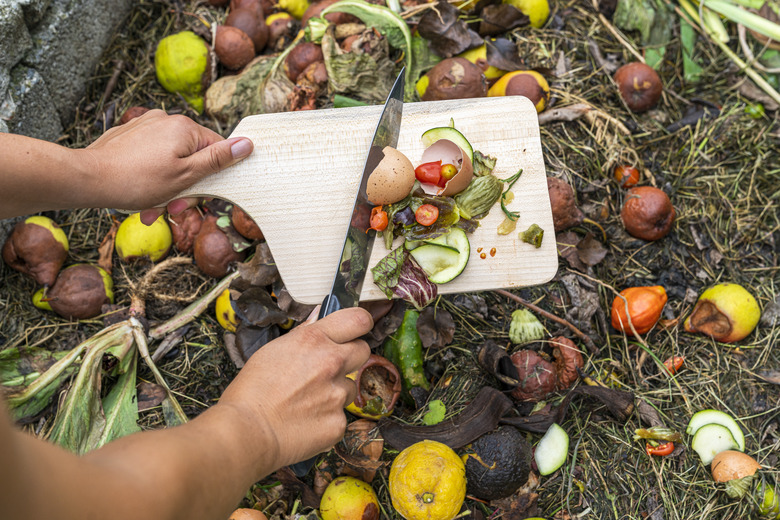
Sometimes, the best bin for composting is no bin at all. If you have a large garden to tend, a simple compost pile (or several) may work best. The ideal compost pile is at least 3 x 3 feet, but a pile as large as 5 x 5 feet will also work. You can leave your pile open or build a homemade bin from wood or old pallets to contain it if desired.
Here's how to start your own compost pile:
- Place your pile in a place out of direct sunlight and away from windy areas.
- Make sure the ground on which you set your pile is level with or sits above the surrounding ground. A pile that sits in water will get soggy and smelly.
- Build your pile by alternating layers of brown carbon-based material and green nitrogen-based material. Ideally, your pile will sit about 3 to 5 feet high.
Open compost piles are the least expensive to build because they don't require you to purchase a bin at all. They're the hardest to maintain, however, because they're exposed to the elements. If the weather is dry, for instance, you may need to add water to your compost pile. Too much water, however, will make the pile soggy and may cause an odor. You may need to cover your pile with plastic during heavy rains to keep it from getting too wet.
Your compost pile also needs heat to work properly. The center of your pile is where this heat is generated. Your pile can be taller in cold weather to help contain this heat, but a high pile might get too hot during warm weather. Your pile will also need aerating, which is achieved by turning it about once a week with a pitchfork. You'll also need to turn the pile if it gets too wet.
If you get all these factors right, you can have usable compost in four months to a year depending on the size of your pile and conditions, and you can do it without paying for a compost bin. If monitoring your pile to try and get the heat and moisture balance just right sounds stressful, however, modern compost bins can offer some assistance.
Conventional Compost Bin
Conventional Compost Bin
Pros
- Enclosed to contain mess
- Absorb more light and heat
- Trap doors allow easy access to compost
Cons
- Requires turning with a pitchfork
- Open bottom can attract rodents
- Slower to compost
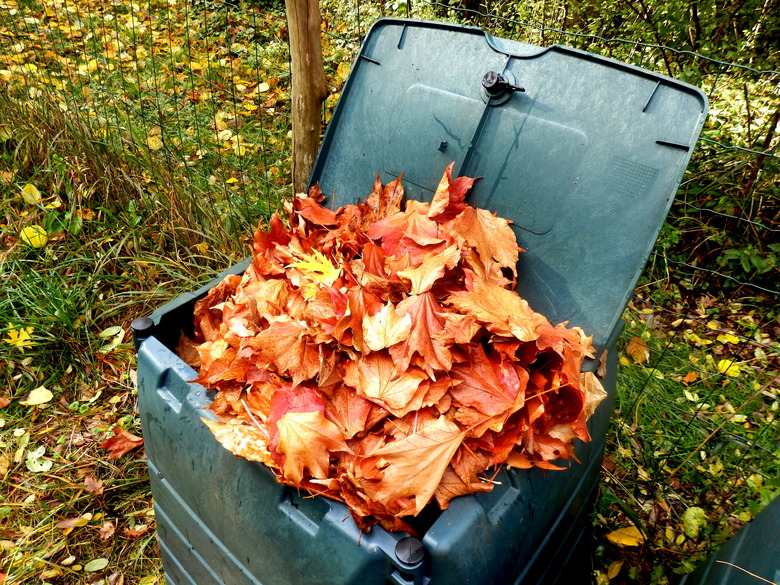
The traditional compost bin is your least expensive option. Although these stationary bins aren't fancy, they get the job done and offer a few features that make life easier. Essentially just a plastic box, conventional bins come in small, medium, and large sizes, holding 1 to 10 gallons, 12 to 30 gallons, or 31 gallons or more, respectively.
Basic compost bins are often dark in color so they will absorb more light and heat. Many offer trap doors or bins at the bottom to make scooping out your compost easy. Another feature for which to look is a lid that bears small holes. These collect just enough rainwater to keep your compost moist but not overly saturated.
Traditional bins have a lot to offer, but they do have their drawbacks. Many have open bottoms that can attract mice and other rodents looking for a warm nest. It's also important to be aware that you'll still need to periodically turn your compost pile with a pitchfork just as you would on a traditional open compost pile. This means going for a thick plastic that won't be easily pierced with your pitchfork.
Conventional compost bins also take the longest. If you choose a basic bin, it could take anywhere from four months to a year depending on the conditions and the size of your compost pile.
Tumbling Compost Bins
Tumbling Compost Bins
Pros
- Easy to spin
- Composts very quickly
Cons
- More expensive than conventional bins
- Handles less volume
- Requires multiple containers
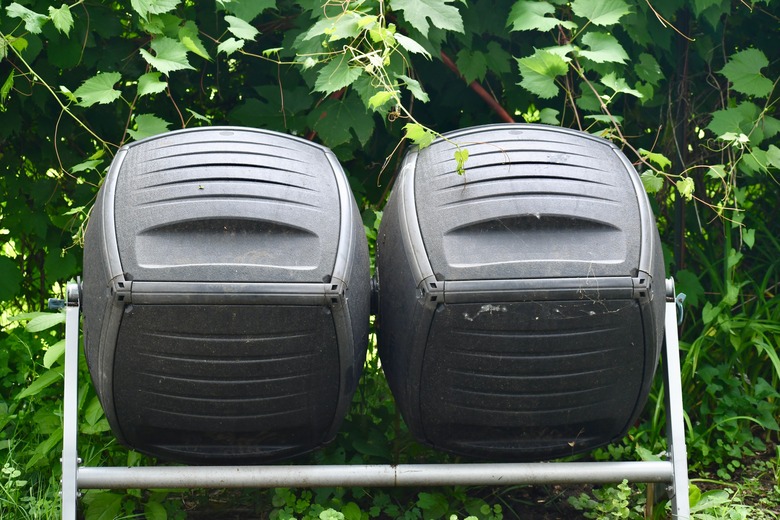
If turning your compost pile with a pitchfork every few days or even once a week sounds like too much work, consider getting a compost tumbler. Tumbling composters hold anywhere from 5 to 12 cubic feet of compost. Despite being a tad smaller, tumbling composters cost about 30 percent more than traditional composting bins, but they're worth every penny to many gardeners.
Mounted on a sturdy metal frame, tumbling compactors are designed to spin. Giving your compost a daily spin aerates it well and prevents you from manually doing the job with a pitchfork. The extra aeration also makes compost tumblers work quicker, creating compost in as little as four to six weeks.
One downside to compost tumblers is that you can't keep adding to them as you go. When the bin is full, you shut the door and keep it closed until it's time to unload your compost. Many gardeners work around this by buying tumblers with two separate compartments. This lets you fill one while the other is composting.
It's also important that you choose a tumbling composter with a very sturdy frame. Compost gets heavy, and a cheap frame can buckle under the weight. You'll also want to talk to the salesperson and read some reviews about the turning process. Tumblers that start out stiff and hard to turn may be impossible to spin when they're full.
Worm Composters and Boxes
Worm Composters and Boxes
Pros
- Requires very little space
- Faster than conventional compost bins
Cons
- Handles the least volume
- Must be kept indoors or somewhere warm
- Occasionally leads to odors in kitchen
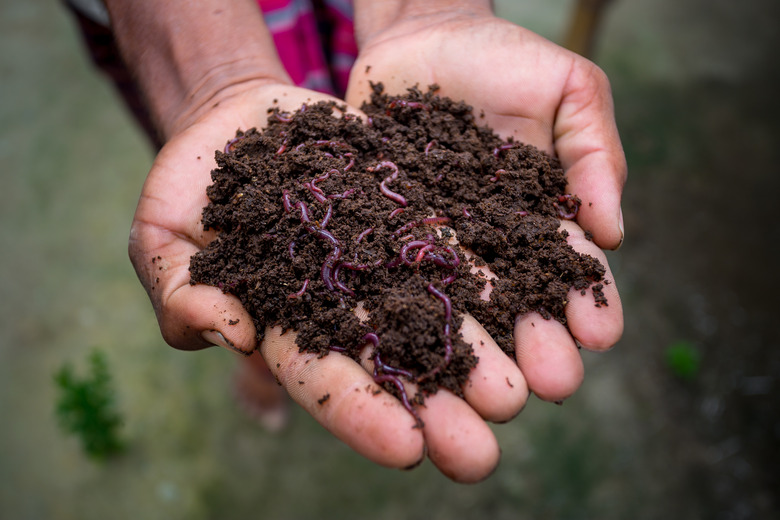
In the movies, it's usually songbirds and furry woodland creatures who show up to help with housework and gardening. In the composting world, it's worms. They may not be as cute, but they're incredibly hard workers. The process of using worms to make compost is known as vermicomposting.
Often called worm bins, vermicomposters consist of a base and usually three trays that stack on top of it and each other. You begin the composting process by placing your kitchen waste in the bottom bin along with your worms. When the bottom tray gets full, simply start adding your scraps to the tray above it.
When they're done with the first tray, your worms will move up to the second tray. You can then retrieve the compost from the bottom tray and set it back on top of the stack. Many worm bins have a spout at the bottom as well. This allows the liquid part of the worm's waste to gather at the bottom of the composter, making a nutrient-rich compost tea that you can easily access from the spout.
Worm bins are much smaller than traditional compost bins, making them perfect for apartment dwellers and people who don't have a lot of space. The tray size can vary from one composter to another, but most are 16-inch square bins. Worms are quicker than a typical compost bin as well, churning out a small batch of compost about every three months.
If you need large quantities of compost, a worm bin probably won't work for you. Worm bins aren't for those who are overly squeamish either. To keep the worms alive, you need to keep your bin in an area where the temperature is constantly between 40 and 80 degrees Fahrenheit. This often means tucking the bin in a kitchen corner, and some gardeners just don't like the idea of having worms as roommates.
Keeping your compost inside can also cause some odor issues from time to time. When done correctly, there are no foul odors associated with composting. Every so often, however, the balance between carbon and nitrogen can shift and cause a smell. Solving this problem in a worm bin is easy; just stop feeding the worms for a bit until they can catch up. This usually isn't an issue, and some worm bins contain a charcoal filter to help trap the smell if and when something does get a little out of balance.
Countertop Food-Waste Processors
Countertop Food-Waste Processors
Pros
- Food waste is processed in hours
- Handles more food scraps, like meat and dairy
Cons
- Does not generate true compost
- Makes small batches
- Not appropriate for leaves or grass clippings
Though countertop food-waste processors aren't exactly composters, these compact kitchen appliances (measuring about 1 cubic foot) can handle almost any type of food scraps. Unfortunately, food waste processors can't handle yard waste like leaves and grass clippings.
They may take yard waste out of the equation, but these processors handle food scraps remarkably well. Although they don't make true compost, they do make a nutrient-rich substance that fertilizes plants well, and they do it in only three to four hours.
Given their small size, countertop food waste processors make only small batches of fertilizer. If you're looking to feed only a few houseplants, however, this is a fast and easy way to do it.
A Compost Bag
A Compost Bag
Pros
- Use as needed
- Easy storage
- Bag can be sealed and turned
Cons
- Requires frequent turning
- Slower to compost
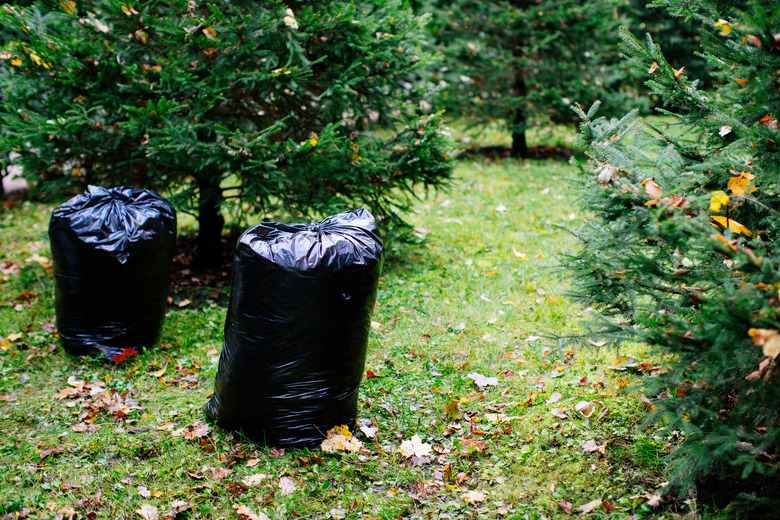
Compost bags work in much the same way as a compost tumbler, but they're much more compact. A bag will make you compost when you need it and then flatten out for easy storage when you don't. You can make compost in almost any bag, including a black plastic trash bag. A bag designed specifically for composting is best, however, because it will have holes that allow for adequate ventilation.
To compost in a bag, add one part brown (carbon-rich) ingredients, like dead leaves, straw or dead flowers. Then, add one part green (nitrogen-rich) ingredients, like lawn clippings, coffee grounds and food scraps. Throw one part rich soil or compost on top to get the process started and then add a bit of water if the mixture is dry.
Seal your bag and set it out in the sunlight. Turn your bags once a day to mix up the contents and aerate them. If the bag you're using is airtight, open it to let in some fresh air before turning. The compost is ready to use when it's a deep, dark color and contains no more food or lawn scraps. Like a traditional compost bin, a bag can take four months to a year to produce quality compost.

