How To Clean Your Garden Tools Properly
It's so much fun to tend a garden that you may not want to turn from creative pastimes — like putting in an herb garden — to more mundane tasks — like cleaning your garden tools. However, cleaning and sanitizing hand tools is not something you should skip. And it won't even eat up too much of your time if you do it regularly and know the proper steps.
Reasons to Clean Hand Tools
Reasons to Clean Hand Tools
A garden is by its very nature a dirty place. There is soil, compost, debris and plant detritus (or debris). That may suggest that cleaning your hand tools is unnecessary since they will just get dirty again, but this argument can be used for dirty dishes, sheets and exercise clothing as well — and it's safe to say that we all routinely clean those.
Cleaning and sanitizing garden tools serves two important purposes. The first is to prevent the spread of disease, especially when you are pruning infected shrubs and trees. The second is to keep your tools in good working condition for longer. Tools that have been cared for last longer and perform better than rusty or broken tools.
Spreading Disease Among Plants
Spreading Disease Among Plants
When you look at your garden tools, you can see the dirt on them, but there may also be more dangerous pathogens on those hand tools that you can't spot visually, including bacteria, fungi, viruses, and even small insect pests. Once garden tools are exposed to infected plants or soil, they can spread the bacterial, fungal, viral, or insect infestations throughout the garden if they aren't properly cleaned.
That means cleaning and sterilizing your tools is a must. These are not the same thing, and they comprise two distinct steps. Cleaning comes first, and it involves brushing, wiping or washing off the dirt and garden debris that has lodged on them. Once the soil is cleaned off, you then need to sterilize them with some type of sanitizer or disinfectant. You will find more than a few products that will accomplish this, but Lysol has been found to be least corrosive to the tools.
Frequency of Cleaning and Sterilizing
Frequency of Cleaning and Sterilizing
Cleaning your tools is an everyday task. Although it may seem cumbersome, you should aim to wipe the soil off your hand tools after every use. Before putting the tools away for the winter, take the time to give them an especially thorough cleaning (and you'll probably want to do another tool cleaning in spring just before you bring them out).
Sterilizing tools, however, can be done frequently, but it doesn't have to be. It's a good idea to sterilize tools when you transport them from one garden site to another, and you will certainly want to clean and sterilize every tool you use to dig up or trim diseased or infected plants. If you use the tools without sterilizing them, pathogens or pests present in the affected soil or plants are very likely to be transferred to healthy plants.
As for pruning tools, is it necessary to sterilize them after every cut you make? Experts recommend it when you are trimming trees or woody plants that are infected with diseases that invade the plant's vascular system or form oozing cankers. These diseases are very likely to be transmitted by contaminated pruning tools. Add your disinfectant to a bucket of warm water and dip the pruners into it between cuts. Dry off the liquid before making the next cut.
How to Clean/Sanitize Tools
1. Wash Away Soil
Turn your garden hose onto a setting that produces a rapid stream of water and blast off all dirt and debris from the tools. Scrub off caked-on dirt with a stiff brush. Use the blast or a pressurized sprayer to remove all soil. Scrape away any remaining mud with a garden knife.
2. Soak the Tools in Water
Fill a bucket with hot water and add a small amount of dish soap. Place the working end of each tool in the water and leave the tools to soak for 15 minutes.
3. Rinse the Tools
Rinse the tools in cool, clear water to get off any remaining soap and dirt. Dry them carefully.
4. Remove Sap From the Tools
Touch your tools as you are drying them to see if they feel sticky. If so, this is likely sap or grime that will not come off with soap and water. Dip the end of a rag in turpentine or lighter fluid and wipe off the sap. Be sure to remove all sap from tool hinges.
5. Remove Rust From the Tools
Inspect your hand tools carefully at this point, looking for any spots of rust. Scrub off these rust spots with steel wool. For severely rusted tools, use rough sandpaper or a wire-bristle brush. Alternatively, pour white vinegar into a glass jar or tin can and soak the tools overnight. This removes or loosens rust.
6. Sterilize the Tools
Prepare a solution of 2 cups of household bleach mixed with 1 gallon of water. Give tools used to dig up or prune infected plants a 10-minute bath in this solution. For tools with sharp edges, use undiluted Lysol instead since bleach will dull them. Rinse the tools well in clear water after soaking. Alternatively, wipe the tools carefully with a cotton rag soaked in 70-percent isopropyl alcohol.
7. Treat Wooden Handles
Take a special look at your garden tools with wooden handles to see if the handles need attention. Prevent the wood from drying out and splitting by treating the wood once or twice a year. Use medium-grit sandpaper to smooth any rough patches. Then, apply linseed oil, rubbing it into the wood as a protective water barrier. If the handle is beyond saving, remove the metal pieces and replace the old handle with a new one (available through agricultural and tool supply retailers).
Other Tool Maintenance Tasks
Other Tool Maintenance Tasks
Cleaning tools and disinfecting them are two important garden tasks, but there are other things you want to put on your garden tool maintenance list, like sharpening them properly, storing them appropriately and lubricating them every now and then.
When it comes to edged tools — anything from a hoe to plant loppers — you'll want to keep them sharpened. Dull edges mean longer and less efficient work. This is easier than it sounds as long as you have the proper materials. You'll want to use a 10-inch flat mill file to sharpen large tool edges and a whetstone to sharpen smaller ones. Wipe down the tool edge or blade with WD-40 and then file the edge. Put the file or whetstone at a 20- to 45-degree angle to sharpen, working with the existing bevel. When sharpening V-shaped (double-bevel) edges, remove the same amount of material from both bevels (both sides of the edge) so the edge remains centered. Remove metal shavings with a soft cloth.
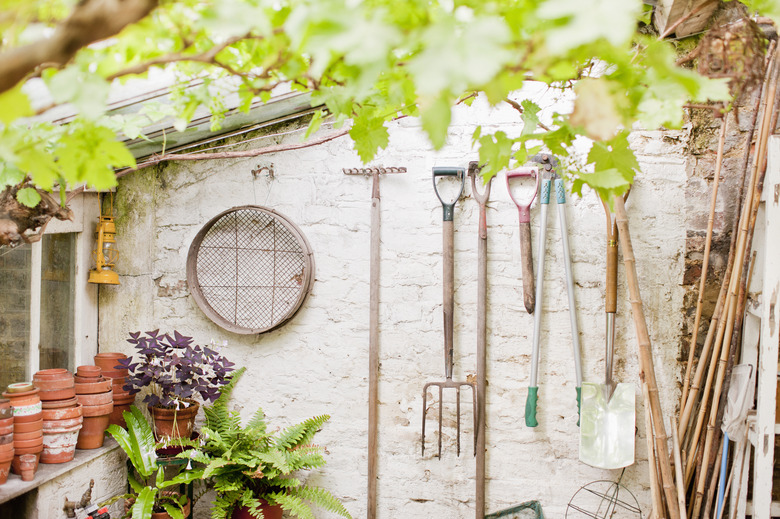
It's a good idea to store your garden tools carefully every night instead of leaving them outside. That way, they have a shot at staying dry and rust-free. The best way to store larger tools is to install hooks on a shed or garage wall and hang them off the floor. For smaller hand tools, like trowels, you can fill a bucket with sand and mix in a cup of vegetable oil. Poke the metal ends of the hand tools into the sand.
Many tools have moving parts, including pruners, shears, loppers and post-hole diggers. These tools need to be lubricated occasionally in order to keep them working smoothly. Buy machine oil from your local hardware store and dribble a little on the hinged areas. Every year or so, it helps to take these tools apart completely and rub down all components with the oil to remove any hidden rust.
References
- University of Minnesota Extension: Clean and Disinfect Gardening Tools and Containers
- Fiskars: Garden Tool Care
- University of Florida IFAS Gardening Solutions: Disinfecting Your Garden Tools
- University of Vermont Extension: Cleaning Garden Tools
- Puyallup Research and Extension Center, Washington State University: The Myth of Cloroxed Clippers


