Use These 7 Ideas To Update An Outdoor Shed
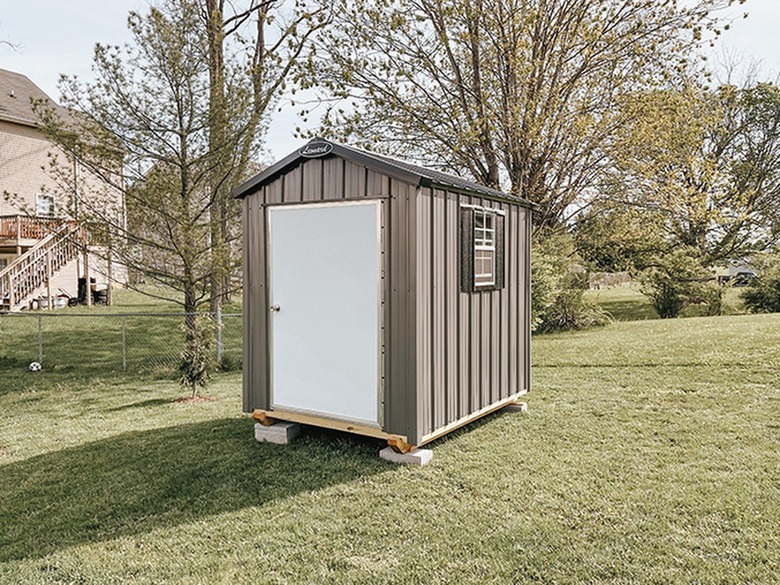
If you're planning on buying a shed for your outdoor tools, but don't love the look of it, you can easily make adjustments so it's easier on the eyes. There are plenty of simple DIY ideas that will make your storage shed look anything but plain, including a door color upgrade, a modern handle, and custom landscaping to go around it. And best of all? It won't break your bank. Keep scrolling for seven tips to try, including before/after photos of each step along the way.
Things Needed
-
Plain storage shed (ours is the 6-feet-by-8-feet Pilot Premium metal shed from Leonard)
-
Exterior latex paint for the door (we used "Illusive Green" by Sherwin Williams)
-
A roll of vinyl wood-look flooring
-
Exterior latex paint for the base (we used "Tricorn Black" by Sherwin Williams)
-
Shovel
-
Level
TIP #1: Repaint the Door
TIP #1: Repaint the Door
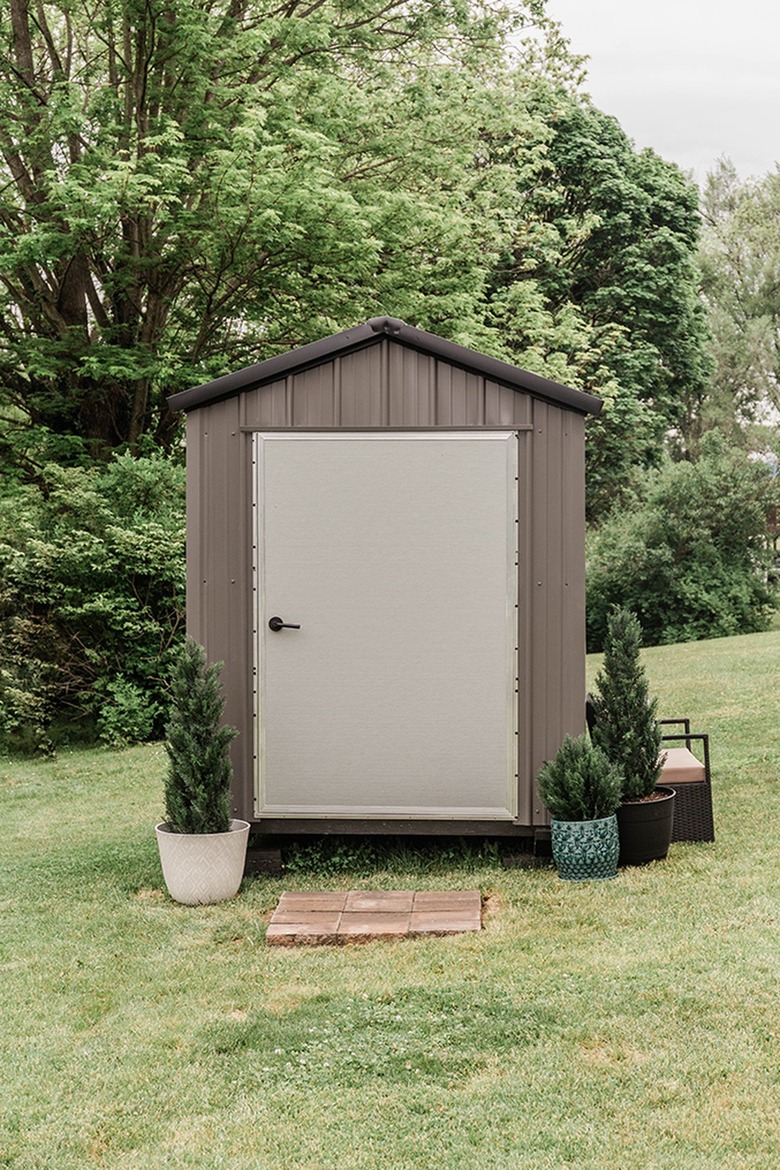
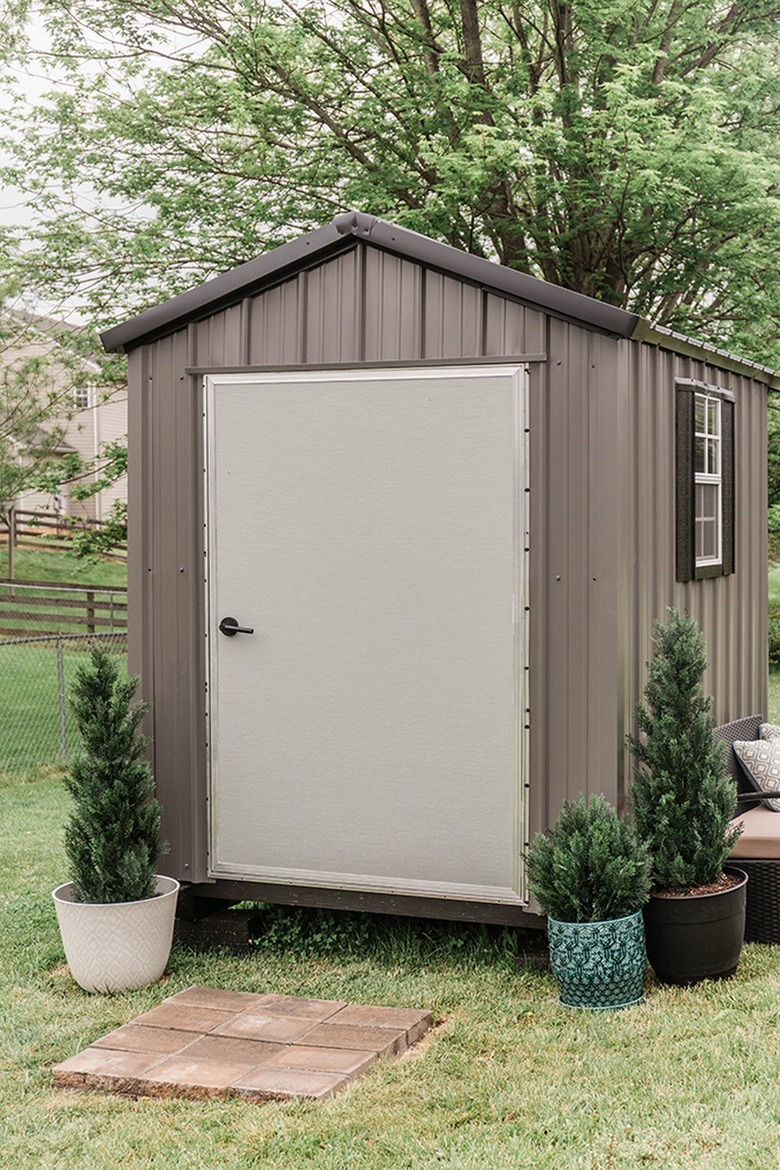
An easy upgrade is to repaint the door with a new color. To begin, we sanded the door down, primed it, and then used "Illusive Green" from Sherwin Williams as the topcoat. Consider matching your paint color to your front or back door so that your shed complements your home.
BEFORE:
AFTER:
Tip #2: Change the Door Handle
Tip #2: Change the Door Handle
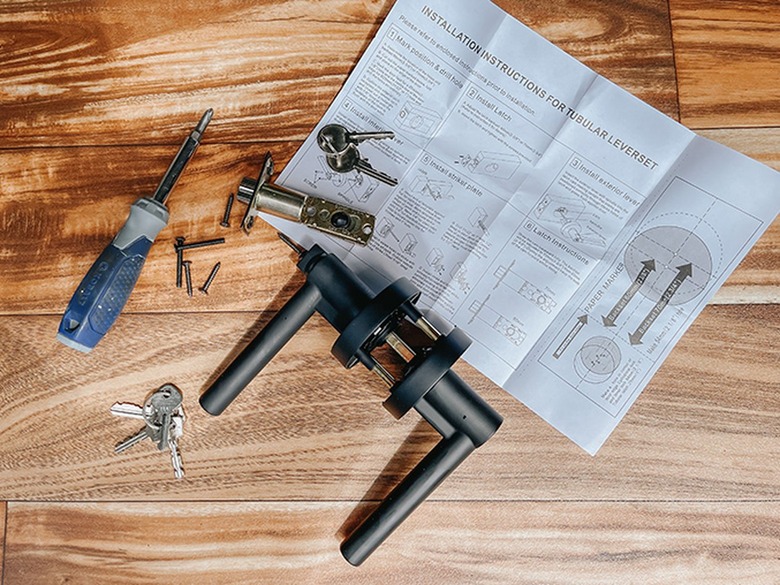
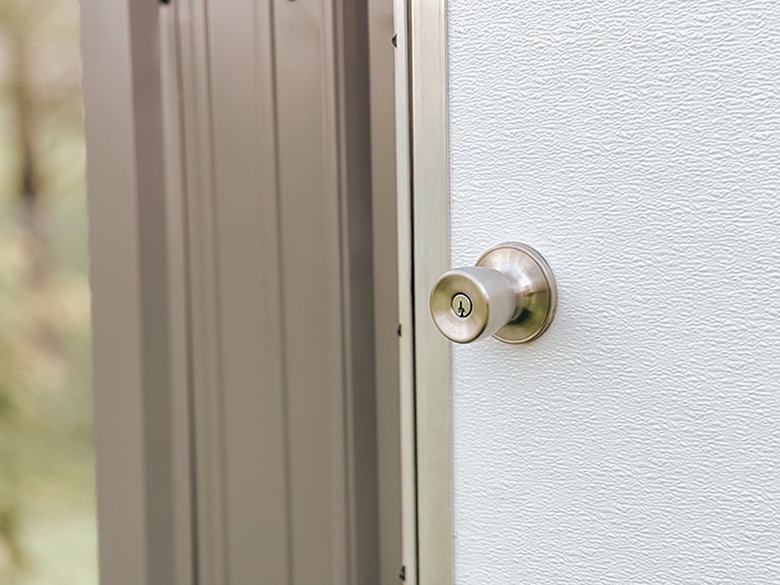
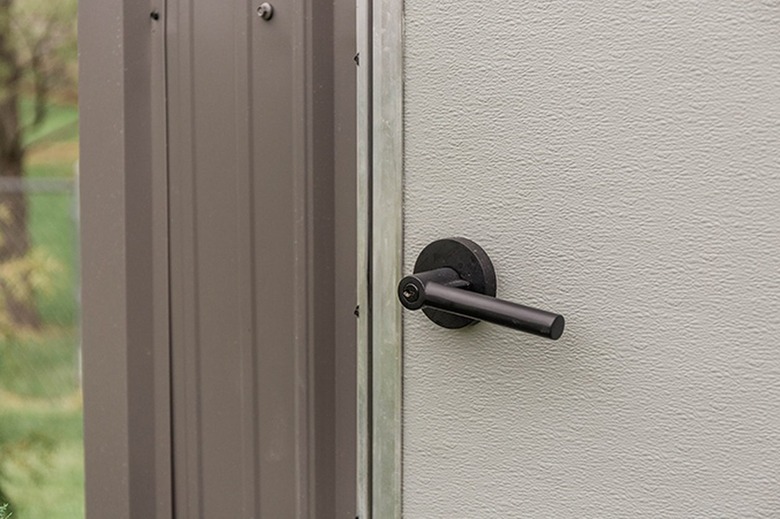
Swap out the original door handle for something more modern. If the handle that's included with your shed is a standard plain design, change to something more eye-catching, like this sleek matte black handle. It will give your shed more of a high end look. Just make sure that you choose one that has a keyed entry so you can lock any tools and valuables inside the shed.
BEFORE:
AFTER:
Tip #3: Remove the Label
Tip #3: Remove the Label
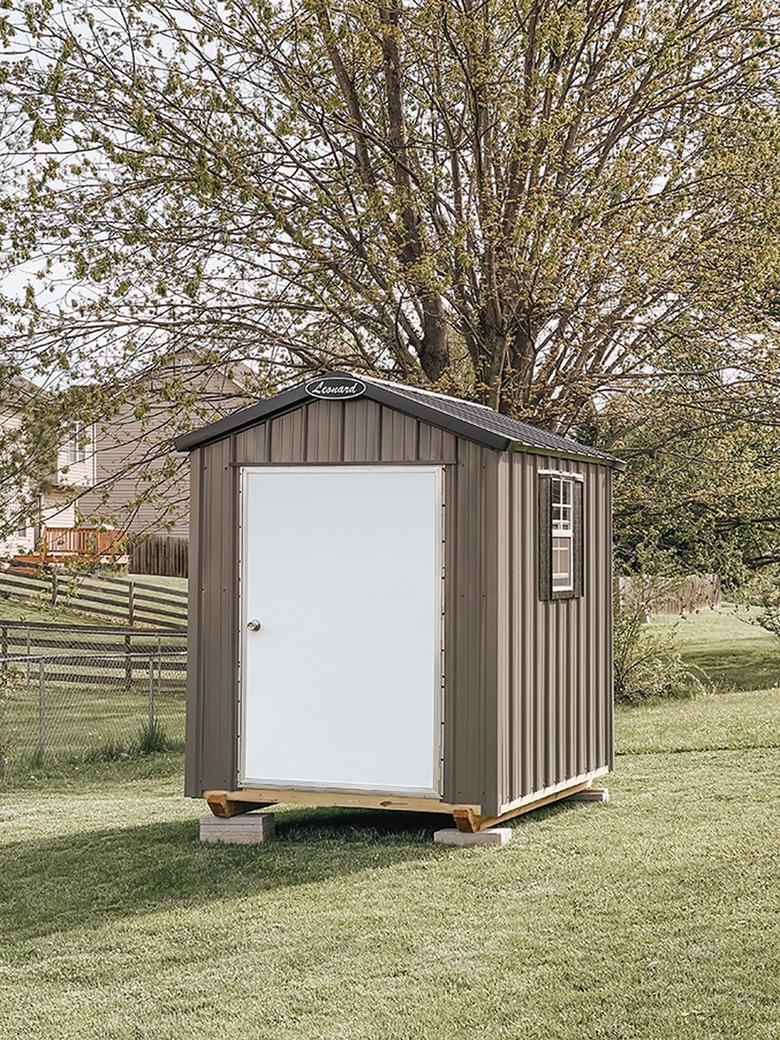
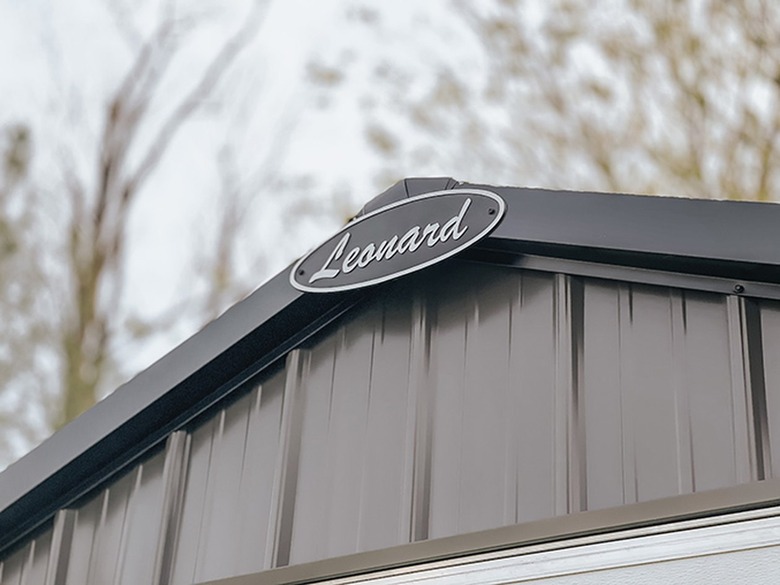
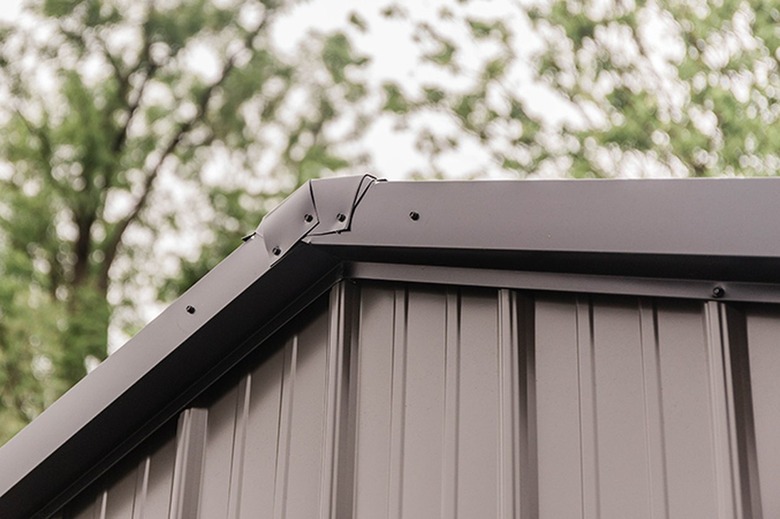
Here's an extra easy DIY that you can do right off the bat. Grab a ladder, and simply remove the branded label to make your shed look more seamless and custom-built.
Tip #4: Add Vinyl Flooring
Tip #4: Add Vinyl Flooring
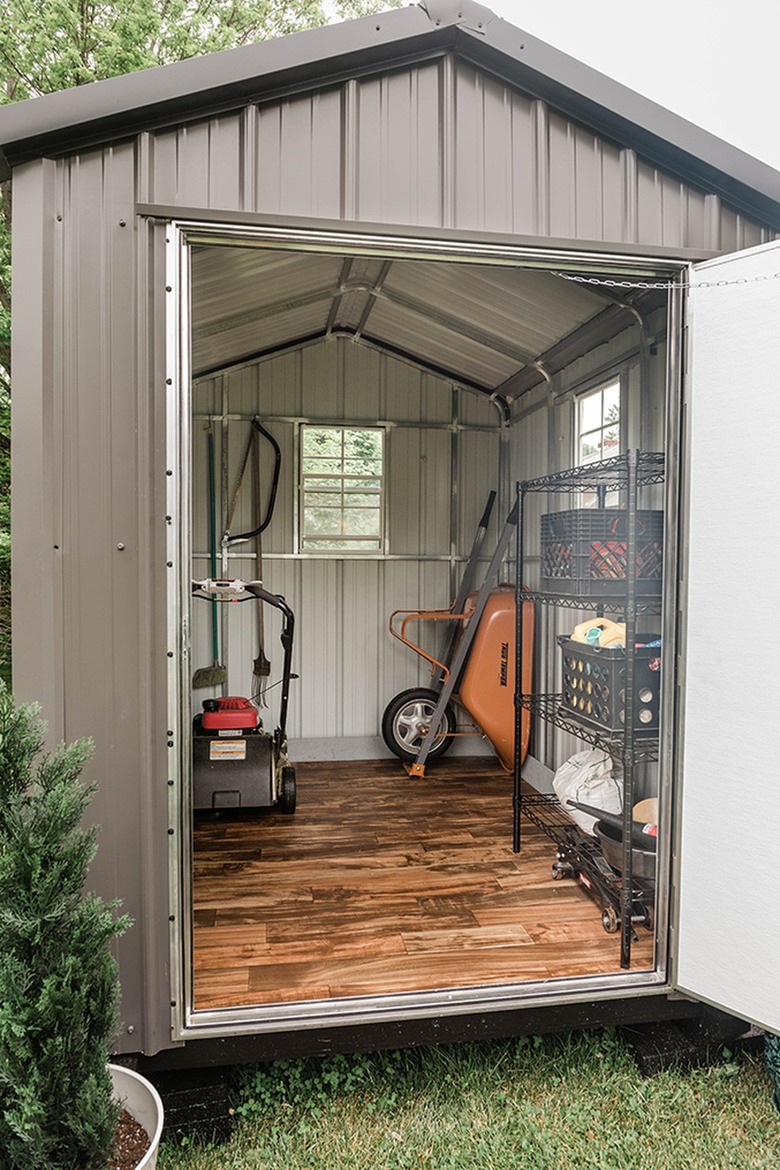
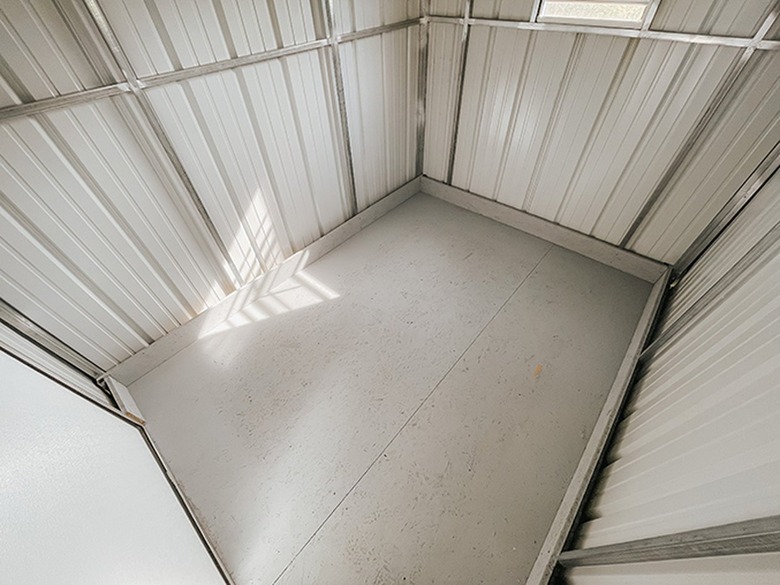
If your shed came with raw plywood flooring, like ours did, head to the hardware store and have an associate cut a roll of new vinyl flooring to match the dimensions of your shed's floor. Trim it to size, if needed, and then unroll it to cover the plywood base inside your shed. No need to nail the vinyl down. It's heavy enough that it should unroll and stay in place on its own, especially once you weigh it down with gardening tools and storage shelves.
We chose a wood-look pattern vinyl flooring to make the shed look like it had a hardwood floor base, and to give the all-gray interior more warmth and character. The extra bonus is that it protects the original base of your shed from muddy and/or wet tools. Just pull the vinyl out every few years to clean it, and you're good to go!
BEFORE:
AFTER:
Tip #5: Repaint the Wood and Base
Tip #5: Repaint the Wood and Base
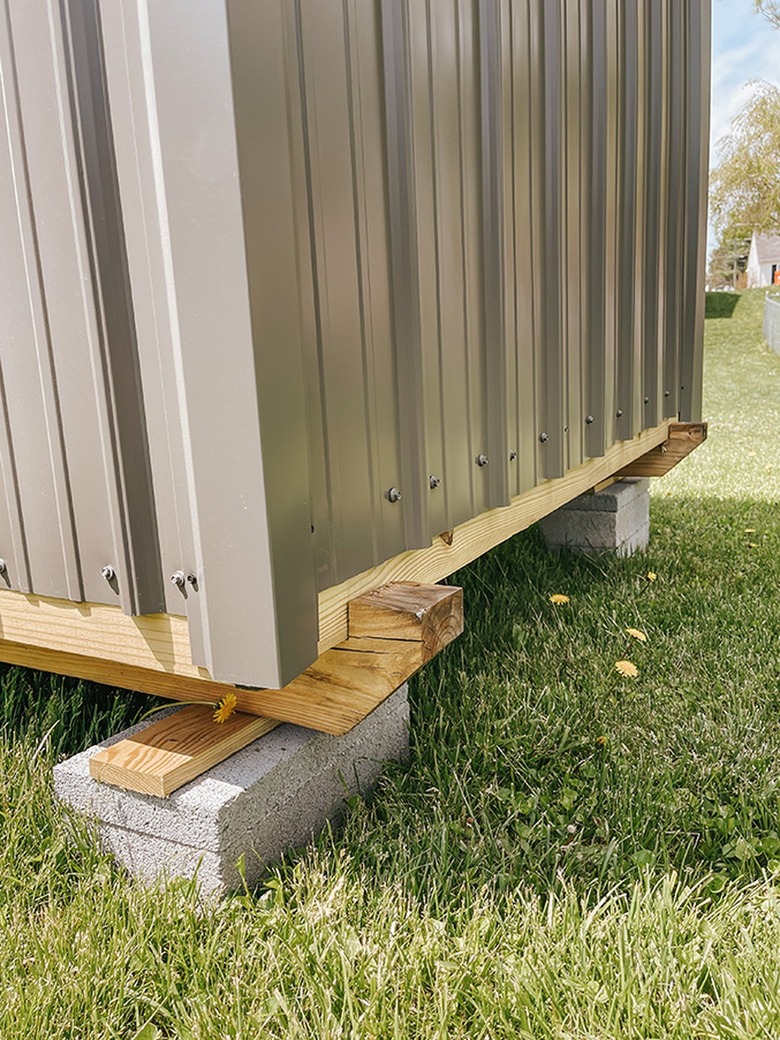
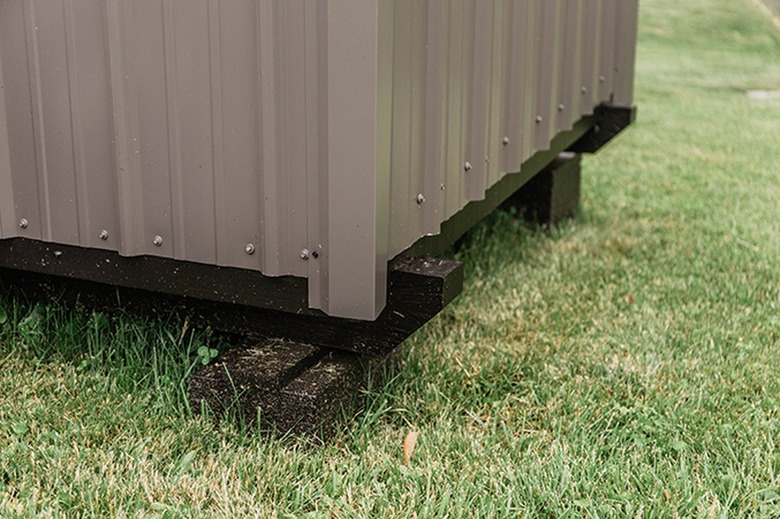
Repaint the raw wood and concrete block base (if you are raising your shed with blocks) one uniform color using exterior latex paint. This will make it look more finished. We chose a color called "Tricorn Black" from Sherwin Williams to give our shed a modern look. Just keep in mind that, like the door, you'll need to prime everything first before adding layers of topcoat.
BEFORE:
AFTER:
TIP #6: Add a Stepping Stone at the Entrance
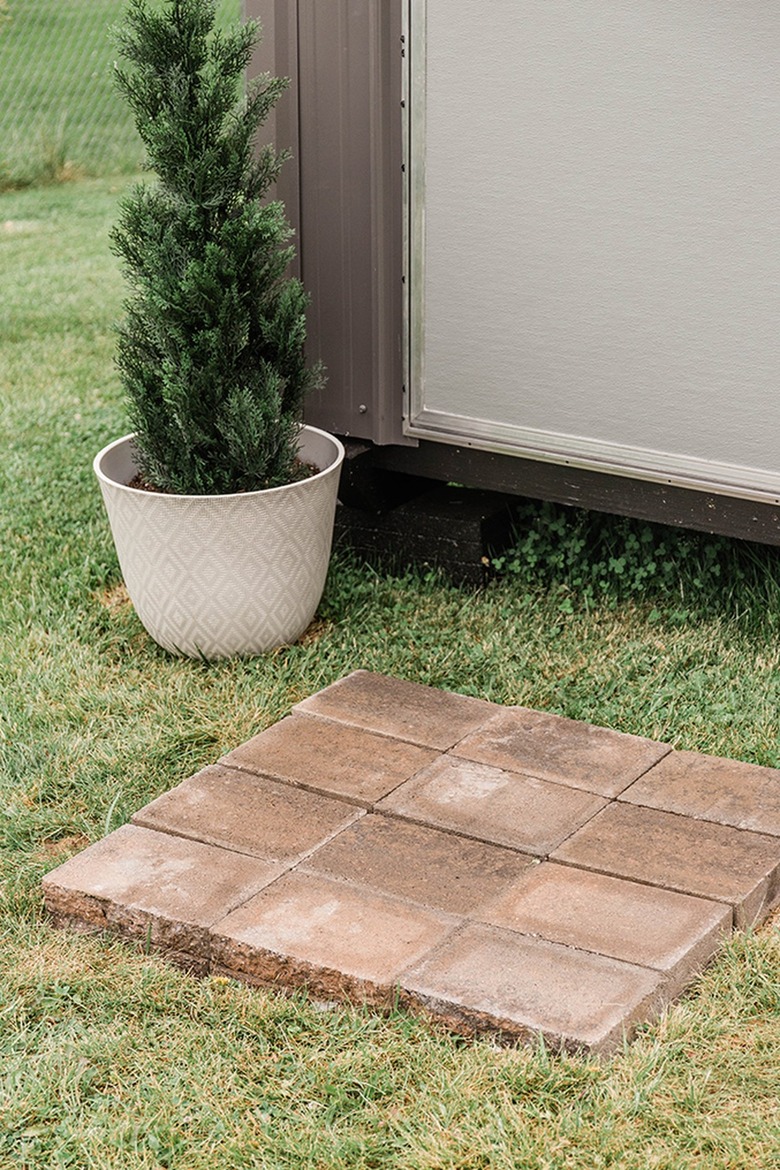
Add a patio stone block pad out by the front door to give your shed more of an inviting feel. To do so, use shovels to level out the lawn and remove the grass, then lay your blocks next to and on top of each other until the block pad is high enough to feel natural next to your shed's specific elevation. This trick also provides you with a level platform that you can use when rolling out your bigger tools, like the lawn mower.
BEFORE:
AFTER:
TIP #7: Surround It With Plants and Seating
TIP #7: Surround It With Plants and Seating
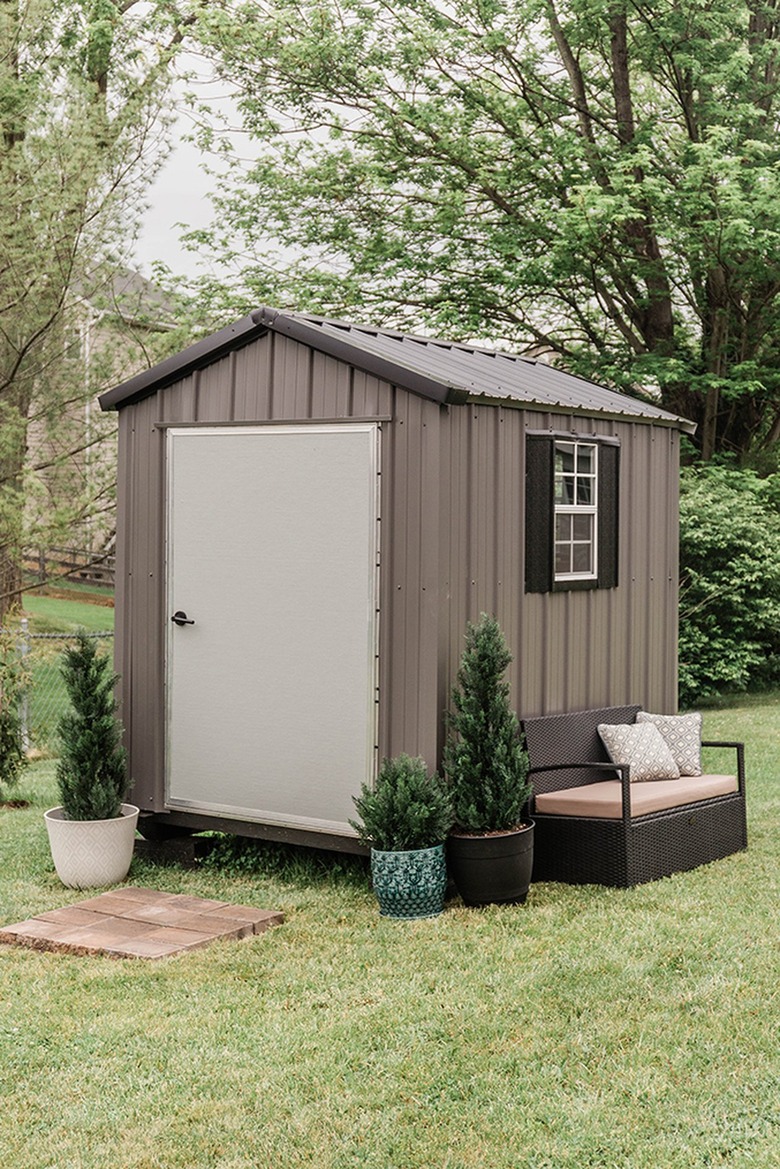
Layer potted plants (the ones you see here are actually faux!) and an outdoor storage bench around your shed to help it feel more like a natural part of your home's decor and landscaping.
