Remove And Prevent Ice Dams — A DIY Guide
We may receive a commission on purchases made from links.
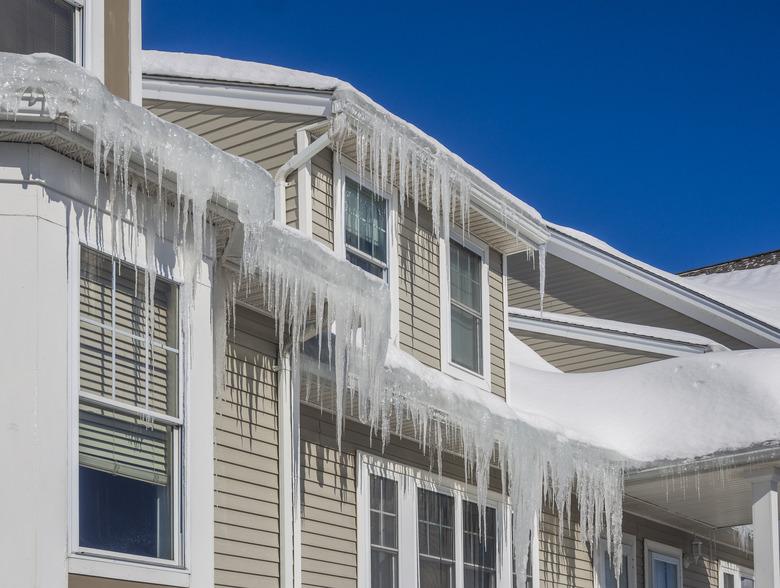
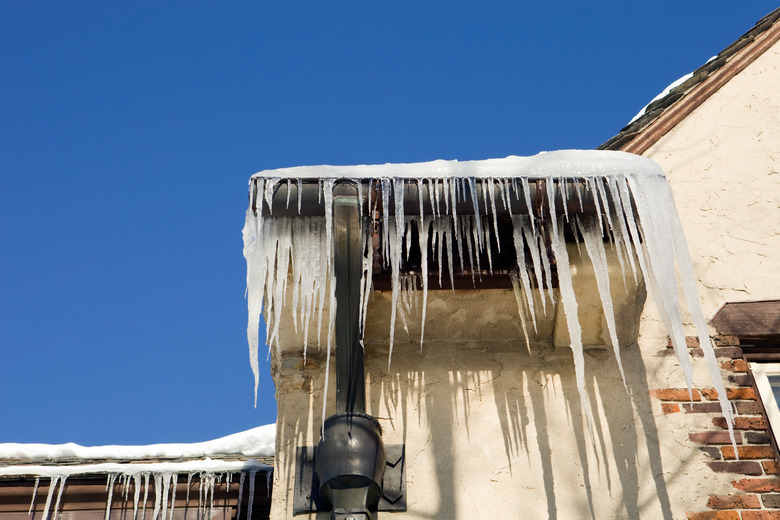
Once you understand how ice dams — or icicles as they're more commonly known — form, you'll appreciate why the best way to prevent ice dams is to insulate and ventilate your attic, which is a worthy home improvement project to undertake even if you don't live in a snow zone. If you do live in one and ice dams form on your roof every winter, you may appreciate the beauty of the glistening icicles that hang from your eaves during the coldest months, but their brilliance distracts from their destructive nature. The sheer weight of ice dams and icicles can rip the gutters right off the eaves and cause woe to the visitor standing at the front door when an icicle breaks off and falls.
The icicles are just the most visible features of an ice dam, which usually extends several feet up the roof line and is a serious problem for the roofing. When they occur year after year, ice dams deteriorate the shingles and roof decking, causing roof sags and leaks that can damage the inside of the attic, leaving you with expensive repair bills for the attic (and often the ceiling below) as well as the gutters. The best maintenance strategy is to prevent ice dams from forming in the first place, but if you're not quite there yet, you should at least know how to deal with them when they form.
Ice dams form when the roof is warm, and in combination with the daytime sun, the warmth melts snow that has accumulated on the roof. Ideally, the water would flow down the roof and into the gutters, and the downspouts would direct the snow melt away from the house. Because the edge of the roof is cooler than the rest of the roof, however, the water can refreeze along the edges, creating a dam that keeps the rest of the runoff on the roof, where it backs up inexorably toward the peak. If the gutters aren't clean, what meltwater does make it there can't drain, and it fills up the gutters and overflows, creating all those glistening icicles.
Attic Ventilation and Insulation
Attic Ventilation and Insulation
You might think that the best way to break the cycle that creates ice dams would be to make the roof warmer to prevent the snow melt from refreezing, and in some places with heavy snow and colder-than-usual temperatures, this is a necessary strategy, but it calls for the installation of energy-consuming heating elements under the shingles or heat cable on top of them. A less energy-intensive ice dam prevention method is to keep the roof cooler to reduce the amount of melted snow, and you do this by ventilating the attic and adding more attic insulation. This approach is widely favored, but not all authorities — in particular, the Minnesota Commerce Department — agree with it.
Current building codes call for a minimum of 1 square foot of open vent space for every 300 square feet of attic floor space. The vent space should be split equally between exhaust vents at or near the roof ridge (or a ridge vent) and intake soffit vents protected by baffles to prevent them from getting clogged with insulation. The combination of intake and exhaust vents creates a convection current in the attic that expels warm air through the roof vents while at the same time drawing in cooler air through the soffit vents, and the net result is that the attic — and the roof — stay cooler.
If you have an older home that doesn't meet this standard, it's time to remedy that because proper attic ventilation will keep your attic drier and mold-free in the summer, and the house will be more comfortable year-round. Even if it doesn't eliminate ice dams altogether, it will make the ones that do form smaller and less damaging. Additionally, boosting the R-value (or how well a building element resists the flow of heat) of the floor insulation by adding more will prevent heat loss from the living space into the attic and will also help keep the attic and roof cooler while reducing the costs of maintaining the climate in your house.
More Tips for Cooling Your Roof
More Tips for Cooling Your Roof
By itself, attic ventilation may not make your roof cool enough to prevent snow melts on the roof, and it may take some extra work on your part to make a difference. The bulk of attic heat comes from the living space, and while insulting the floor with more material, such as unfaced fiberglass, reduces the transfer of this heat to the attic, you also have to plug air leaks in the attic floor and the ceiling drywall surrounding air vents, plumbing vents, recessed light fixtures and the attic access panel with caulk, weatherstripping or spray foam. In places where leaks are visible, particularly near the roof edge, it may take a blast of cold air from a fan to refreeze the water and stop the leak.
Older recessed light fixtures radiate a not insignificant amount of heat into the attic, and homeowners are advised to replace them with newer ones that can be covered with insulation. These fixtures are rated for insulation contact and have the letters "IC" printed on the box and somewhere on the fixtures themselves. Even better, recessed fixtures rated "ICAT" (insulation contact air tight) are also air-sealed to prevent warm air in the living space from leaking into the attic.
Any ductwork that passes through the attic should be insulated to prevent heat from radiating into the surroundings, and the light fixtures that provide illumination in the attic space should be off when no one is there.
Finally, kitchen and bathroom exhaust fans should always be vented outside the building and never into the attic. This is a general building code requirement because exhaust fans fill the attic with moisture as well as warm air. If any of your fans exhaust into the attic, you should reroute the vents outside the building whether or not you have problems with ice dams.
How to Prevent Ice Dams
How to Prevent Ice Dams
Ice dams won't occur if you remove the snow before it melts, but this is something you should never do by climbing on the roof. Do it from the ground using a roof rake, which is a telescoping lightweight tool with a plastic blade that you can use from the ground. Use it immediately after a snowfall while the snow is still fresh and powdery. The rake won't reach to the roof ridge, but you don't need it to do so. Just rake snow from around the roof edge as far up the roof line as the rake will reach, which is where most ice dams form in the first place.
In areas with heavy snowfall and cold temperatures, many homes have steep metal roofs that shed snow and water so efficiently that they hardly ever develop ice dams, and when ice dams do form, these roofs are unlikely to leak. To protect shingled roofs, homeowners have the option of installing heat cable on the roof edges. This comes with clips to hold it to the shingles, and it plugs into an exterior GFCI outlet. The cable is visible from the ground, so it isn't the most aesthetic solution, and you may want to remove it for the summer months. Keep in mind that heat cable is a last resort, and prolonged use can damage your roofing and gutters.
When installing heat cable, it's also a good idea to install a moisture sensor cable that will prevent the cable from heating up when the weather is dry, and there's no snow, thus saving energy and money. To do the job:
- Install the cable clips on the shingles in a zigzag pattern that extends from the roof edge to about 2 or 3 feet up the roof line. These fit tightly around the edges of the shingles, and you may need a flat-head screwdriver to push them on.
- Beginning at a point farthest from the downspout, snap the cable onto the clips, feed the end with the plug through the downspout and retrieve it from below.
- Mount the moisture cable to the fascia just under the drip edge by screwing the clips that hold it to the fascia. Feed the end of this cable through the downspout along with the heat cable.
- Mount the socket on the end of the moisture cable to the side of the house in a protected spot and plug the cord on the other end of this socket into an outdoor GFCI outlet.
- Plug the heat cable into the moisture cable socket.
If you don't already have an exterior GFCI outlet within reach of the moisture cable, you can either install one yourself or have an electrician do it.
How to Remove an Ice Dam
How to Remove an Ice Dam
There are several ice dam removal strategies, but they aren't all DIY ones. For example, if an ice dam has grown large enough to pose a danger to the roof, and damage is imminent, you might want to consider having it steamed away. A professional will shovel excess snow from the roof and then use steaming equipment or hot water to melt channels through the dam so water can flow to the gutters. This can cost from $200 to $300 an hour, so it isn't a job you want to have done often.
A DIY variation of the steaming method is to use a chemical to melt pathways in the ice for water to drain down toward the roof overhang and into the gutters, but don't use rock salt for this. Sodium chloride is corrosive enough to damage the roof and the exterior walls of the building, and when it falls to the ground, it will kill any vegetation with which it comes in contact. Calcium chloride, which costs about $10 for a 25-pound bag, is much safer if used correctly.
The correct way to use calcium chloride to melt roof ice is not to simply sprinkle it onto the roof. That will only melt the top layer of snow, leaving the bottom ice layer untouched and possibly making the problem worse. Instead, fill a nylon pantyhose stocking with the chemical and use a roof rake to place the pantyhose on the roof perpendicular to the roof edge with one end as close to the edge as possible. It will melt a channel in the ice so water can drain.
What Not to Do
What Not to Do
When an ice dam forms and icicles hang from the gutters, your first inclination may be to climb on the roof and bust up the dam with a mallet. Besides the fact that there are few activities more dangerous than walking on an icy roof, you risk damaging the roof by attempting this. You shouldn't even shovel snow off the roof yourself because the shovel can damage the shingles, and the damage will be exacerbated by your efforts to break the ice by pounding it. You may succeed in breaking up the ice, but the depressions you create will collect water, and the next ice dam that forms will probably be worse than the one you just broke up.


