Dealing With Water Damage? Here Are All The DIY Cleanup Tips You Need To Know
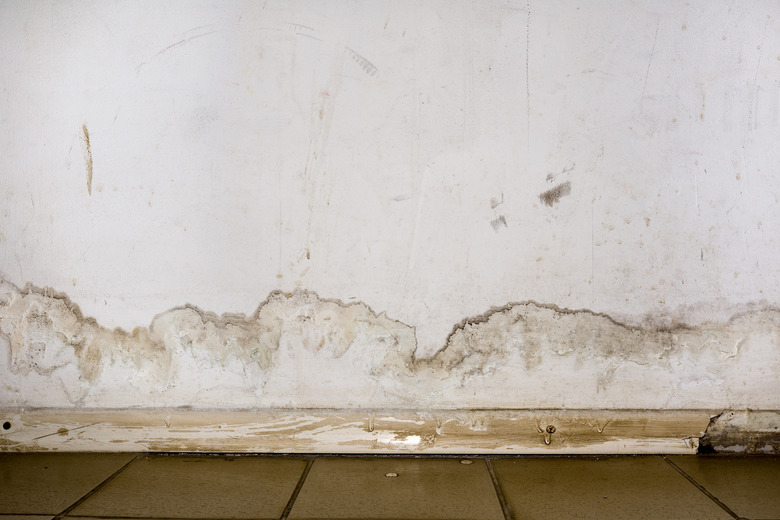
If you're dealing with water damage, your first step is to find out why things have flooded in the first place. The answer is pretty obvious if your home is underwater after local flooding, but other water sources are more discreet. You may have a leaking pipe inside your wall or discover that your washing machine is draining where it shouldn't drain.
Once you've found the affected area, your next step is to fix it. There's no point in drying out your home if it's only going to get wet again. That being said, it's important that you move quickly. Mold and mildew problems can start in as little as 24 hours, so fix your issue as quickly as possible and then immediately start your cleanup if you can.
Although you want to move quickly, take a minute to review your homeowners' insurance policy or, if applicable, flood insurance policy. Some insurance policies dictate that they won't cover water damage cleanup or repairs if the work isn't done by a professional restoration company or licensed contractor. If that's the case, step away from the toolbox and call a pro so you know you're covered.
Know Your Water Source
Know Your Water Source
Before you grab the shop vac and old towels, make sure you know the kind of water with which you're dealing. Clean water comes from leaky water supply pipes, overflowing bathtubs or rainwater leaking from a roof. This is fresh, unused water that is safe to handle. You can mop up clean water yourself without taking any special precautions. If you decide you want a professional to perform the cleanup, you can get one for around $3.75 per square foot.
Sometimes, water damage is caused by greywater. This water is no longer clean, but it isn't necessarily dangerous. Greywater is the rinse water that comes out of your washing machine, the drained water from a bathroom sink or used bathwater. In some areas, water drained from a dishwasher or kitchen sink is also considered greywater.
You can deal with greywater yourself but do so carefully. This water may contain some bacteria and contaminants, so wear protective clothing, like gloves and rubber boots, if you decide to do it yourself, and wash your clothes immediately when you're done working. If you decide that you would rather not handle greywater, professional backup costs an average of $4.50 per square foot.
You may also encounter blackwater. Blackwater may contain sewage and other contaminants you don't want to meet. It can come from within your home (typically from a toilet drain), but it doesn't have to come from your home. Floodwater is often blackwater. It's best to stay away from blackwater and have a professional clean up the water and the damage it leaves behind. This typically costs about $7 per square foot.
Water Damage Safety
Water Damage Safety
As with all home improvement projects, consider safety first when handling DIY water damage repair. Be sure to turn off the electricity to your home — unless you need to move through standing water in order to do so. In that case, call an electrician to turn everything off. And if you're dealing with a leak, turn your water off so that water isn't accumulating as fast as you can remove it.
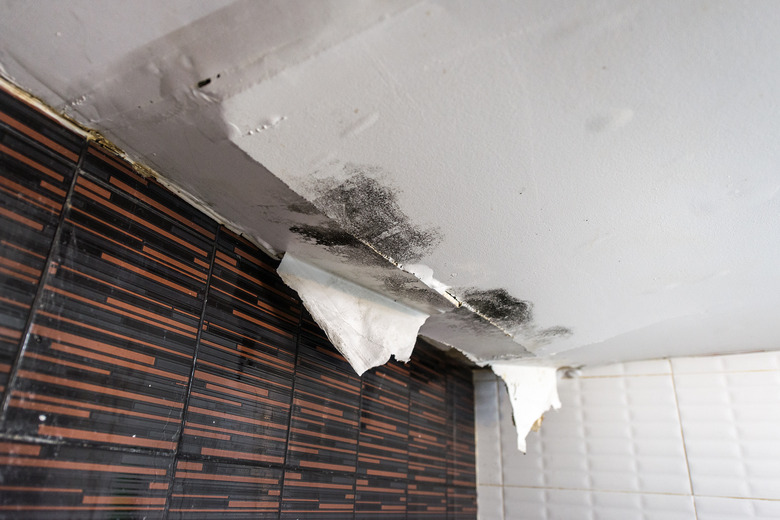
Before you get too far into the process, take a moment to look up. Wet drywall and plaster are both very heavy and very subject to the laws of gravity. If the ceiling is badly damaged, you may want to tear it down before it falls down. Keep everyone well away from the damaged area until it's safe.
Always check your ceilings before turning on ceiling fans as well. Ceiling fans can help dry things out, but you don't want to use them if they or the electrical wiring running to them are wet.
If you're pumping out a flooded basement, do so slowly. Removing the water too quickly can create a quick and dangerous drop in pressure. If your foundation suffered any damage, changing the pressure in the room too quickly could cause the foundation to collapse.
Use Every Tool You Can
Use Every Tool You Can
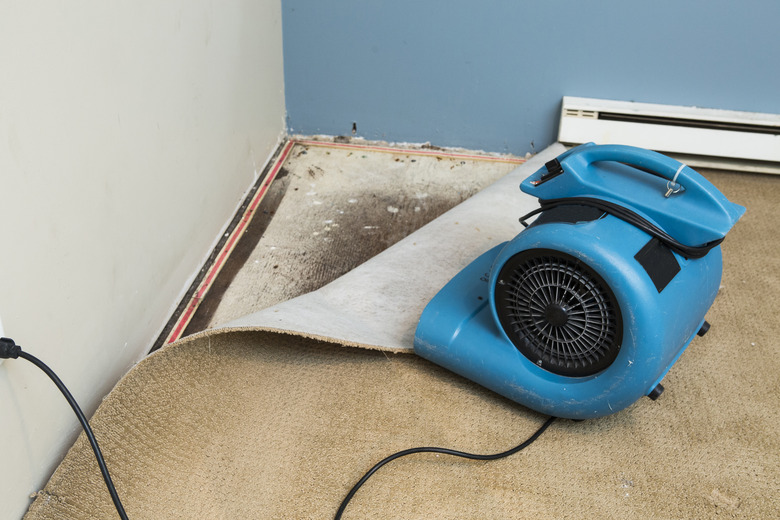
The first step in cleaning up water damage is, of course, removing the water. You can achieve this with a wet/dry vacuum cleaner. If you don't have one, many home centers and rental stores rent them. For smaller water problems, a towel or mop may be all you need. Once the water is gone, you'll need to dry out as much as you can as quickly as you can.
To do so, open all of the doors and windows in your home. Use fans to help circulate the air and set up some dehumidifiers to help remove additional moisture. If you're dealing with large amounts of water, move furniture and other items out of the room, setting them outside to dry in the sun if you can.
Repair or Replace?
Repair or Replace?
While things are drying out, inspect your home with a realistic eye. Take a look around and determine if it's best to repair or replace items around the home that sustained water damage. Soggy drywall, for instance, is very difficult to dry. If yours is saturated, it's best to remove it and replace — and particularly while you're airing and drying the home. This way, the wall studs, insulation and other items inside your wall will get more air and dry more quickly.
On the other hand, homeowners with foam insulation board inside their walls are in luck. You can easily repair wet foam insulation by removing it, hosing it off with clean water to remove bacteria and then drying it in the sun. When it's dry, you can pop it right back into the wall. Keep in mind, however, that fiberglass and cellulose (blown-in paper) insulation often needs replacing after soaking up water.
Carpets, upholstered furniture and other porous materials are also difficult to dry thoroughly. You can try, but in many cases, it's best to simply replace these items rather than risk mold growth.
Clean and Disinfect Mold and Bacteria
Clean and Disinfect Mold and Bacteria
Just because the water is gone doesn't mean that the cleanup is over — and in fact, it's only just beginning. Mold and bacteria can pop up quickly after water damage has occurred, and it's best for the health and safety of your household that it gets eliminated as soon as possible.
After all standing water has been removed, start by tackling mold. Caulking, painting or otherwise covering mold is a bad idea (because it'll inevitably keep growing), so it makes sense to tackle mold early in the restoration and cleaning process.
You can scrub any mold off hard surfaces with some detergent or bleach and a scrub brush. Wear gloves and goggles while you do and consider wearing a mask so you don't inhale mold spores. If you see mold on porous items, like fabric and drywall, it's best to dispose of the material and replace it.
Mold spores and bacteria can linger even after your home is dry, so you'll want to disinfect every item that you plan on keeping. Wipe down baseboards, walls, salvaged appliances and other items that got wet but not ruined. Your washing machine, for instance, is probably fine if it sits in some water no more than an inch or two deep, and simply disinfect the bottom of the appliance where the water was sitting. A half cup of bleach mixed into 1 gallon of water makes an excellent disinfectant and kills lingering mold spores.
You can often save wooden furniture and plastic items after water exposure as well. After you dry the item out, wash it down with a disinfectant to help eliminate the risk of future mold and mildew problems. If applicable, throw out any food that was exposed to the water and wash your dishes in the bleach solution.
Salvaging the Irreplaceable
Salvaging the Irreplaceable
You can always buy a new couch if yours suffered from water damage, but some items are irreplaceable. Unfortunately, you can't always reverse the water damage, but it's always worth trying depending on the item. Family photographs, for instance, simply cannot be replaced.
If your photos are wet but you can separate them easily, remove them from any scrapbooks or picture frames. Lay them out to dry, preferably in front of a fan. Take a photo of any pictures that may not dry well so you have a copy of the photo just in case. If the photos curl when they dry, set the dry photos under a heavy object for a few days.
Sometimes, pictures get so wet that they stick to each other in a big pile. In this case, wrap the photo pile in a cloth and place it in the freezer. When you have time, remove the stack from the freezer and let it thaw. As it does, peel the thawed pictures off the pile one by one. If you're not willing to take any chances with your photos, freeze them until you can take them to a professional restorer.
DVDs are often salvageable, which is good news if you have home movies on them. To save wet DVDs, take each disc out of its case and clean it with a gentle soap and water, handling the disc by the edge. If you encounter any tough grime, use a soft cloth to wipe the disc clean. Start in the middle of the disc and pull the cloth straight out to the edge of the disc. Do not wipe it in a circular motion.
Rinse the disc thoroughly in tap water and then rinse again in distilled water. Blot it dry with a wet cloth and lay it out label side down to air dry. Try the discs when they're dry. If they work, make copies of them right away.
How Much Damage Is Too Much?
How Much Damage Is Too Much?
Depending on your comfort and skill level, you may have no trouble restoring your home after water damage. For many DIYers, replacing a soggy patch of drywall or laying a new floor isn't a big deal. There are times, however, when it's better to call a water damage restoration company than attempting to make repairs yourself.
This is certainly the case if there is electrical or structural damage. Problems in these areas can make a home unsafe and are better left to a pro. If you see mold starting to form, don't panic, as not all mold is toxic. Mold that is any color other than black probably isn't dangerous, and you can remove it yourself with some bleach and a scrub brush.
If the mold is black, it may or may not be toxic. Toxic mold takes at least a week to form, so black mold found a day or two after water damage is safe to remove as well. If the mold is black and it's been a few days, it's safest to have it tested and removed by a pro if necessary so no one gets sick.
A water restoration service is also a smart idea if you have a lot of wet furniture, appliances and personal items you wish to save. Restoration services work to dry out and repair damaged household items all the time and can sometimes salvage items you may not have been able to save on your own.
Restoration companies also work surprisingly quickly. Depending on the amount of water damage, a DIY approach may take a long time to get things back to normal. A company devoted to repairing the damage can get the job done in a hurry. What they can achieve in a week might take you four months of weekends.
A pro may also find additional damage that you missed. Leaky pipes and roofs, for instance, sometimes allow water to travel surprisingly far. This is especially true of slow leaks that have been silently sending water to various parts of your home for months or even years.
References
- Service First Restoration: The Top 10 Reasons You Should Call A Water Damage Specialist
- Today: How to Salvage Photos, Videos That Are Ruined From a Flood
- The U.S. National Archives and Records Administration: Optical Media
- Paul Davis Restoration: Tips and Tricks for DIY Water Damage Cleanup
- Restoration 1: 5 Water Damage Restoration Tips Everyone Should Know
- U.S. Environmental Protection Agency: A Brief Guide to Mold, Moisture and Your Home


