How To Clean And Disinfect A Portable Dehumidifier
Whether you're trying to keep a frequently wet basement dry or attempting to get rid of a mildew smell in the house, a portable dehumidifier is a great tool. Like all tools, dehumidifiers work best when they're properly maintained. Your dehumidifier doesn't need a lot of TLC, but giving it a regular cleaning (around once a month) when it's being used frequently can help maintain its performance. It can also keep potential allergens out of your appliance, like mold.
Why Clean a Dehumidifier?
Why Clean a Dehumidifier?
You have enough to do already. Do you really need to add cleaning your dehumidifier to the list? Absolutely. Cleaning a dehumidifier — even on a regular basis — is an easy chore, and there are two compelling reasons to do so.
The first is cash. A dirty dehumidifier doesn't run as well as a clean one. This inefficiency can cost you, especially if you use your dehumidifier often. A periodic cleaning of your appliance can help keep its operating costs down by saving you a little on your electric bill.
More importantly, however, is safety. Obviously, parts of your dehumidifier get wet when you use it. If you just let this water sit inside the unit, there is a very real possibility that mold growth and other nasty grime will grow in there. Emptying the water tank frequently is a good start to keeping things clean, but it may not be enough. A clean dehumidifier ensures that your appliance isn't releasing mold spores and other gross stuff into your living environment, where it can lead to poor air quality and aggravate asthma, allergies or other health conditions.
How to Clean and Disinfect a Portable Dehumidifier
1. Get Prepared
Dehumidifiers are fairly simple appliances and aren't difficult to clean. However, they are all a little bit different. Each one has its own way of accessing the air filter or coils, for example. You can make your life a lot easier if you peruse the manufacturer's instructions before you start cleaning and disinfecting. If you can't find the directions, try to find a manual online and download it.
A little bit of safety gear can also make your life easier. You certainly don't need to don a hazmat suit to clean a simple dehumidifier, but you will be working on an appliance that may have a buildup of mold, dust and other allergens. A mask and a pair of goggles aren't strictly necessary, but they're a good idea if you have allergies.
2. Wash the Bucket
Before you do anything else, unplug the dehumidifier so you can work on it safely. Once that's done, you can start your project by removing, emptying and cleaning out the water collection bucket. Wash the collection bucket with warm, soapy water to remove any residue. You can then disinfect the piece by washing it again in a 50/50 water and white vinegar solution. If you prefer, you can also use a bleach solution: Combine 1/4 cup of bleach and 1 1/4 gallons of water to make a sterilizing solution.
If you're bypassing the collection bucket on your dehumidifier and draining it using a hose, remove the hose now. Submerge the hose completely in a mixture of vinegar and water so that the hose fills with the cleaning solution — this will get rid of mold and other hose-clogging residue. Rinse the hose well. If your hose is too long to submerge, simply run some clean water through it instead.
3. Clean the Grille and Housing
Now that the water bucket is empty and you can move your dehumidifier around without water sloshing everywhere, it's time to clean the case. Using a soft cloth and a mild detergent, like liquid soap mixed with warm water, wipe down the top and sides of the cabinet that houses your dehumidifier.
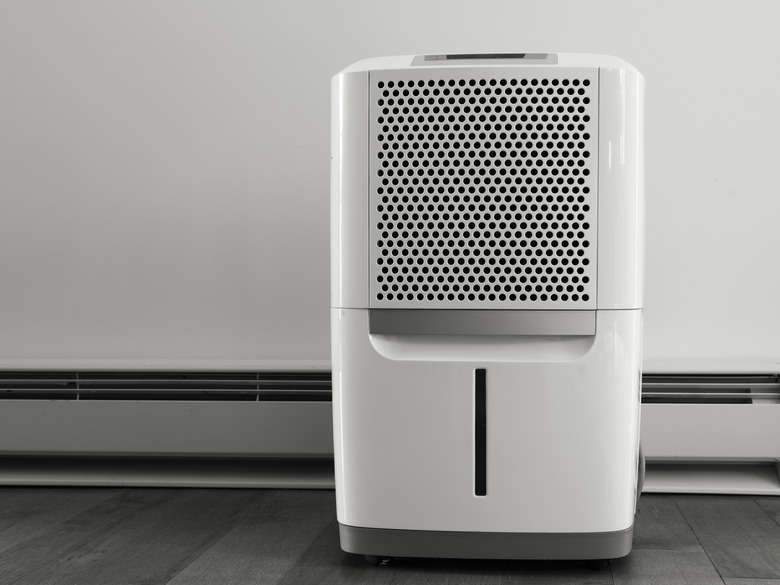
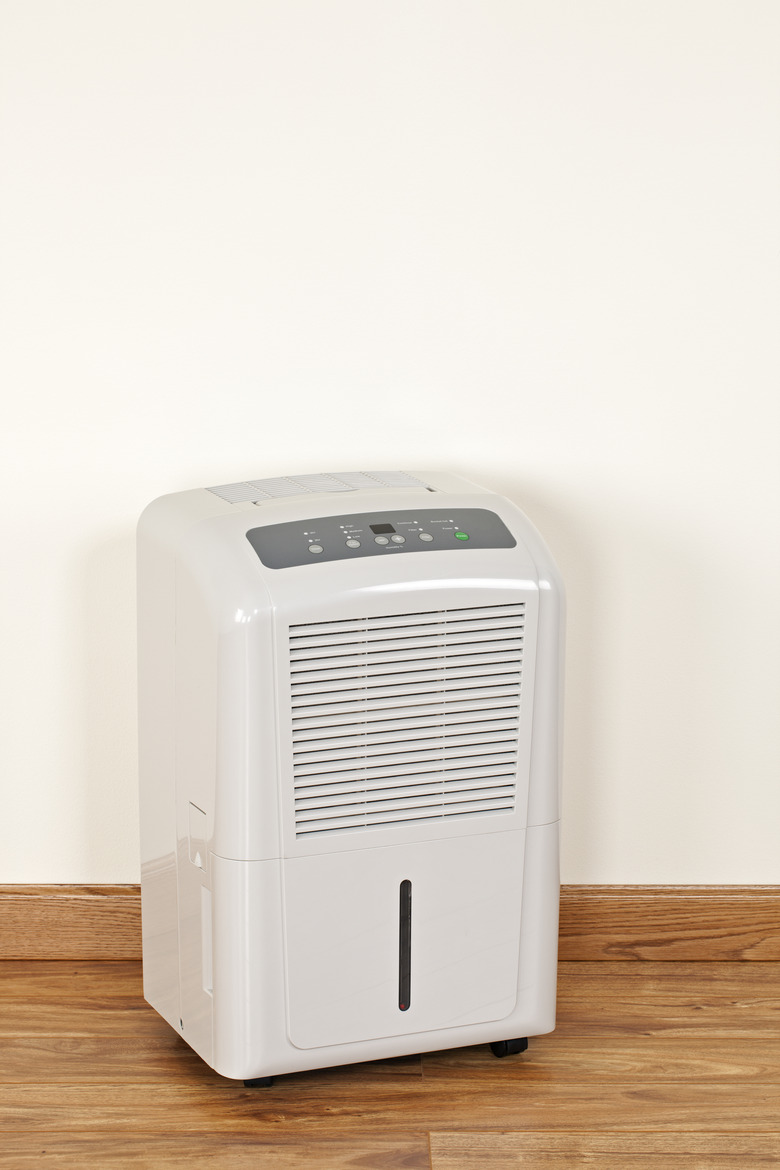
On the front of the dehumidifier case, you'll find a grille. This is where air comes into the appliance, so it collects a lot of dirt and dust. You can try wiping down this area with your dish soap solution and a cloth, but you may have trouble getting things clean if the slots on the grille are small. In that case, suck out any dirt and debris with your vacuum cleaner's hose attachment or a small toothbrush.
4. Refresh the Filters
Depending on the model, your dehumidifier will have one or two filters that you need to address. All units possess an air filter. This filter cleans the air that your dehumidifier draws in, removing dust and airborne dirt particles before they reach the coils.
In many units, the air filter easily slides out of the dehumidifier and there's no need to disassemble. Some pull up and out, while others may slide down, left or right. Other units hide the filter behind a filter cover that easily pops off the appliance.
The filter will be dusty, so begin the cleaning by using your vacuum hose to pull away as much dirt and debris as you can. Then, use a mild detergent and warm water to wash the filter. Be very gentle as you do so to avoid tearing the filter. If you notice any tears or holes, throw away the air filter and replace it.
Rinse the filter well and then wash it again in vinegar and water if you wish to disinfect it. Rinse the filter well and allow it to dry completely before reinstalling it.
Some dehumidifiers have a second filter located in or near the water collection bucket. This small filter is about the size of a thimble and catches any impurities that make it through the air filter. A little soapy water will easily clean this filter if your dehumidifier has one.
5. Carefully Clean the Dehumidifier Coils
Just like your air conditioner, dehumidifiers run air through a set of metal coils or fins. These coils are very delicate and easy to bend. Bent coils block airflow through your dehumidifier and make it work harder than necessary, so you'll want to handle them carefully.
To access the coils, first turn your dehumidifier around and look at the back. Many units leave their coils exposed and easy to find. Others may require you to remove the housing on your dehumidifier. This is usually accomplished easily with the loosening of a few screws, but your user's manual is the best place to find the specifics for your particular appliance.
Once you've exposed the coils, vacuum them gently with your vacuum cleaner's soft brush attachment. Work slowly and gently, remembering that you don't want to push the vacuum cleaner into the coils. Simply float it along them and let the vacuum brush do the work.
6. Wipe the Fan
The fan is the part of your dehumidifier that sucks the air in from the room and then pushes it through the coils — as such, the fan in the dehumidifier is usually located behind the air filter. Unlike the filter, however, the fan is not considered a consumer replaceable part. You'll likely have to remove the cover on your appliance to access it.
Once you've removed the cover, cleaning the fan is as easy as wiping the blades with a damp cloth. You can also vacuum the dust off the fan blades if your vacuum cleaner hose is small enough to fit in the space. Once again, your trusty water and vinegar mix will disinfect the blade if you find mold or have concerns about it.
7. Dry It All Out
Yes, parts of your dehumidifier will get wet when you use it. Remember, though, that the dehumidifier is still a device that combines water and electricity, so you want to be careful about what exactly is wet. Leave your appliance disassembled for a bit to make sure everything is dry before you put it back together. If the weather cooperates, you can even set the unit out in the sun to dry and take advantage of the sun's natural disinfectant properties, but you can also wipe it with a soft, dry cloth.
Once everything is completely dry, reassemble your dehumidifier, plug it in and give it a short test run. If you're planning to store your dehumidifier after its cleaning, empty the water collection reservoir and unplug the unit after the test. Allow everything to completely dry out again before tucking away the unit. You don't want to pull your dehumidifier out of storage later and discover that there are things growing in it.
Tips for Keeping a Dehumidifier Clean
Tips for Keeping a Dehumidifier Clean
Your dehumidifier will stay cleaner and will be less likely to develop mold issues if you follow its usage instructions carefully. These appliances will, for example, turn themselves off when the water collection reservoir gets full. This avoids a mess, which is great, but it also makes your appliance easier to forget.
The longer you leave water sitting in the reservoir, the more likely it is to get funky. If your unit needs to run only sporadically, you may need to empty the reservoir before it gets completely full. This will help prevent mold and other stagnant water problems.
If you run your dehumidifier with a hose attachment for continuous drainage, check on your appliance periodically to make sure all is well. A kink or clog in the hose can cause a real mess, as can a hose that becomes dislodged.
Some dehumidifiers possess built-in condensate pumps to push water out continuously through a drain hose so you need not empty a water reservoir. In that case, it's best to use the hose that came with your dehumidifier if that is an option. Your dehumidifier can push water only so far, and the hose that comes with the unit takes that into account. Using a longer hose can lead to stagnant water lying in the hose and collecting bacteria rather than draining properly.
If your dehumidifier doesn't feature a pump but you want to use a hose, you have two options. One is to install a separate pump. This allows you to pump water out of the dehumidifier and move it where you want it to go, even if that means running a hose into a sink to drain.
Your other option is to let gravity do the work of draining your appliance. In order for this to work, your drain or sump pump pit must be below the drain hole on the dehumidifier. If necessary, you can set the dehumidifier on a table or stand to help get it higher than the drain and then run your drain hose to the appropriate place.
References
- Sears Parts Direct: How to Clean a Dehumidifier
- GE Appliances: Dehumidifiers Cleaning
- Frigidaire: All About the Use & Care of Your Dehumidifier
- CNET: How to Clean a Portable Dehumidifier
- A&J Property Restoration: Dehumidifier Freezing Over? It May Be Time for a Deep Cleaning!
- Sylvane: How to Drain Your Dehumidifier


