Radon Mitigation: A Homeowner's Guide
Getting radon test results that are above 4 picocuries per liter (4 pCi/L) in your home means you should start thinking about radon mitigation. Scientists and the building industry have been studying radon for some time, and they've developed a number of techniques for keeping this harmful gas — which is the second leading cause of lung cancer — out of the indoor air.
Radon, which is a naturally occurring radioactive gas, is not a problem everywhere, but homeowners should test to determine if this odorless, tasteless, invisible gas has seeped into their home. Typically, this process is done when you're buying a new home during the inspection process so that homebuyers can negotiate for remediation costs — and so they can avoid moving in before high levels of radon have been removed. If harmful indoor radon levels are discovered, however, there are a variety of mitigation techniques that can address the problem, including techniques that remove the gas before it reaches living areas.
Radon Mitigation Contractors
Radon Mitigation Contractors
Radon mitigation is not a DIY project, and should be handled by a qualified contractor. Qualified means that the company is either certified or licensed by the state to perform radon mitigation. If your state does not have a certification program, the contractor should be trained and certified by either the National Radon Safety Board or the National Radon Proficiency Program. These organizations can help you locate a certified contractor near you.
Before you hire a radon professional, interview two or three qualified contractors. They should provide estimates after inspecting your home and reviewing the radon testing data. Part of your discussion should include an explanation of how they will determine the recommended radon mitigation technique or techniques. This phase of the project is called diagnostic testing, and it is extremely important. They should spell out what their radon reduction system entails.
Radon Mitigation Contracts
Radon Mitigation Contracts
The contractor you select should draw up a contract before work begins. A radon mitigation contract is similar to other home improvement contracts — it should include the cost of the project, a start date, an estimated timeline, a payment schedule, proof of insurance, a statement saying that the contractor will secure the necessary building permits and arrange for inspections and a guarantee to clean up when the project is complete.
Some items that are specific to radon mitigation include:
- Proof of radon mitigation certification
- A description of diagnostic testing to determine the best mitigation techniques
- A guarantee that the work will reduce radon below a certain level. According to the Environmental Protection Agency (EPA), radon levels can be reduced to 2 pCi/L or lower.
- Details of warranties of products used in mitigation
- A statement regarding whether warranties are transferable should you sell your house
- A description of a warning device should an active system fail
- Provisions for follow-up testing to make sure that the radon mitigation efforts worked
Radon Mitigation Overview
Radon Mitigation Overview
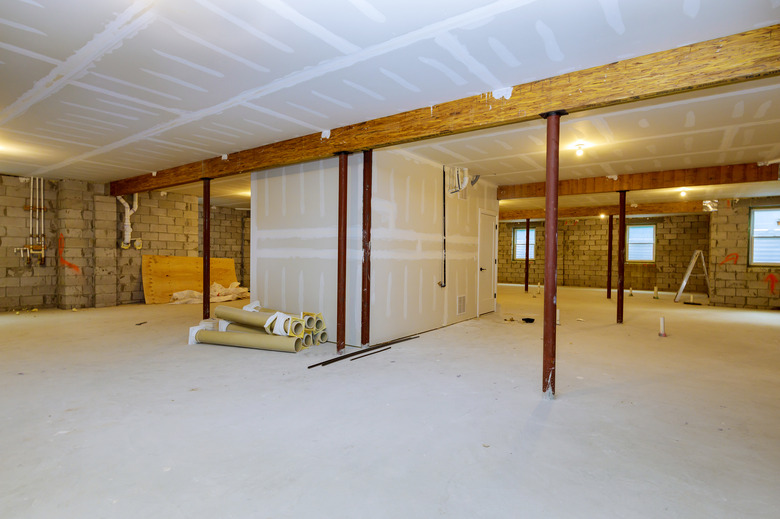
Radon enters the home at its lowest point, and all styles of construction are affected whether you live in a house with a basement, a slab on grade or a crawl space under the living area or some combination of these. Radon can penetrate through cracks in concrete slabs, the hollow cores of concrete block walls and the bare earth of a crawl space. The goal of radon mitigation is to eliminate the hazard by keeping the radon from reaching the living area or at least to reduce the amount of radon below the 4 pCi/L level.
There are a number of techniques that mitigation contractors can use that depend on the situation and the design of the house. The design of the house will also affect the cost of the project. Many techniques rely on stacks (vertical vent pipes) made of PVC, which may not be a problem in an unfinished basement but could be an eyesore in a finished living area. The contractor will have to figure out a way to make the system as unobtrusive as possible.
The type of foundation also plays a part in selecting a mitigation technique. Houses with basements or a slab-on-grade design have concrete floors. Cracks in the floor provide routes for the radon gas. Houses with crawl spaces usually have exposed bare earth that allows the radon to migrate up into the living area. There are techniques for both situations.
When a house has a basement or is a slab-on-grade design, the first step is to seal the visible cracks and other openings using caulks and expanding foams. They pay particular attention to where the concrete slab meets the walls. If possible, they will close off the tops of hollow block walls.
Sealing is important because it denies the radon an entry point, and many mitigation techniques rely on exhaust fans to draw air from beneath the slab. If there are many openings in the floor, the fans could draw in conditioned air from the living space. It is important to realize that sealing alone is not considered an adequate mitigation method because it is not as effective as others.
Subslab Radon Mitigation Basics
Subslab Radon Mitigation Basics
One of the most effective mitigation system installations is called subslab suction or subslab depressurization. The EPA estimates that this technique can reduce radon levels by 50 to 99 percent. Basically, the contractor uses a fan to pull the radon from under the slab and vent it to the outside. The use of a fan makes this an active mitigation system.
The contractor will drill a 3-inch to 5-inch hole through the slab and remove some of the material under the slab to create a sump. This will be the system's main suction point.
To measure the airflow under the slab, the contractor will drill 1/2-inch holes as far away from the main hole as possible. Then, they will perform a simple test of inserting the nozzle of a shop vac into the sump hole. Helpers will use smoke sticks to see if the shop vac draws the smoke into the small holes. The smoke test will tell the contractor the size of fan needed and whether it is necessary to drill additional suction points. A device called a micromanometer can also be used to measure the suction created.
SubSlab Radon Mitigation Construction
SubSlab Radon Mitigation Construction
To vent the radon, the contractor will construct a stack made of PVC pipe. The vertical pipe is sealed in place in the suction hole, and the smaller test holes are sealed closed. The ideal scenario would be to route the stack inside the house so that the system is vented through the roof, but most systems go through a sidewall with the PVC stack, which often contains an in-line fan running up the side of the house.
Note that there are building code requirements about the location of the stack to prevent the vented radon from going back into the house. If the stack goes through the roof, it must rise at least 12 inches above the roof, and it has to be at least 10 feet away from any window.
After sealing the vent stack to the floor, the contractor will install a small manometer that measures the airflow in the stack. This will let you know that the fan is working. That's important because the fan will run continuously. Some systems even include an alarm to let you know the fan needs your attention.
In contrast to active systems, passive subslab mitigation techniques do not use a fan to create suction. These techniques rely on natural air currents and differences in air pressure to vent the gas to the outside. Passive subslab radon mitigation is somewhat effective — a 30 to 70 percent reduction — and there is no cost for the fan or fan maintenance. However, it is not as effective as active mitigation.
Other Active Mitigation Systems
Other Active Mitigation Systems
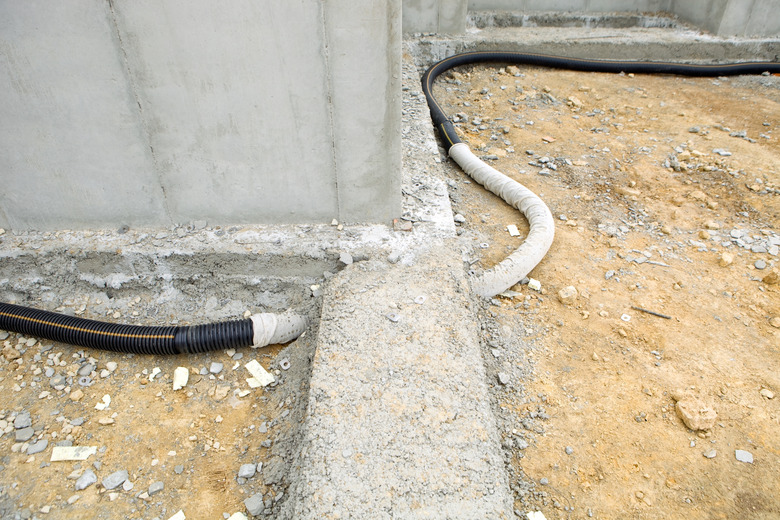
Beyond the subslab mitigation technique, there are other types of systems that will work for removing dangerous levels of radon from your home. If a home has drainage tiles — buried piping that helps prevent flooding — installed around the perimeter of the slab, the contractor will often locate the main suction hole (or holes if necessary) over the drain tiles because they aid in the subslab airflow. They should still perform diagnostic testing, however, to make sure the proper amount of suction is created under the entire slab.
Another possible location for a mitigation system is a sump pump pit. A sump pump and the pit where it is placed is designed to draw water from around the house's foundation to prevent it from entering the living area or basement. The water collected in the pit is then pumped away from the house. A contractor can modify the pit, making it airtight to serve as the location for the main suction stack.
Hollow block walls can also be sealed and depressurized just like the area under slabs. The contractor will drill through the wall and insert a suction pipe. This method is often combined with subslab suction. Both drainage tile suction and hollow wall suction can reduce levels up to 99 percent.
Crawl Space Radon Mitigation
Crawl Space Radon Mitigation
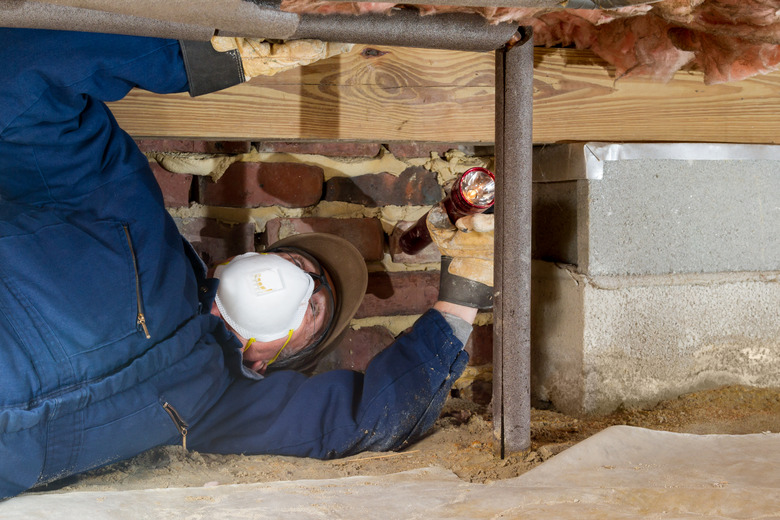
An effective way to reduce radon levels in crawl spaces is to use a technique called submembrane suction. Contractors will first lay perforated drainage pipes around the crawl space on top of the ground. They will then cover the entire area, including the pipe, with heavy plastic sheeting that is a minimum of 6 millimeters thick. The plastic should run up the sidewalls about 8 to 10 inches and be attached to the walls using tape or mastic. Seams should overlap by 12 inches and be taped.
Contractors will build a vent system using PVC pipe that is attached to the drain pipe. The stack extends through the roof or sidewall and contains an in-line fan. This process involves making sure that all seams and all joints be sealed properly, such as where the PVC penetrates the plastic covering. This method is as effective as subslab suction.
Other methods involve ventilating the crawl space through open vents, either passively or with the use of a fan. These can produce variable results with reductions in the 0 to 50 percent range. Another technique, called crawl space depressurization, uses a fan to remove air from the entire crawl space area. This can reduce radon levels up to 96 percent, but it is a tricky process because the crawl space has to be completely sealed off from the living area. Also, there is a backdrafting danger from combustion appliances inside the house.
Other Radon Mitigation Techniques
Other Radon Mitigation Techniques
Basement pressurization can reduce levels between 50 and 99 percent. In this system, the basement is sealed, and air is forced into it. The increased air pressure keeps the radon from seeping into the house. In order to be effective, the basement has to be completely isolated from the rest of the house. The EPA recommends basement pressurization only when other methods are impractical.
Introducing outdoor air can also dilute radon levels inside the home, although it is difficult to quantify how much, and it is not very effective on its own. Of course, opening doors and windows is also inevitably going to increase heating and cooling costs.
Maintaining a Radon Mitigation System
Maintaining a Radon Mitigation System
For the most part, maintaining a radon mitigation system is a relatively simple matter, but it is important due to the dangerous health risks caused by elevated radon levels in your home. The mechanicals for active systems — the ones that use fans — should be checked on a routine basis, but be sure to ask if your contractor will install a warning device should the fan fail.
Other maintenance items include inspecting the mitigation system to make sure everything is in order. The plastic covering the ground in a crawl space should be attached to the sidewalls and not have any rips or holes.


