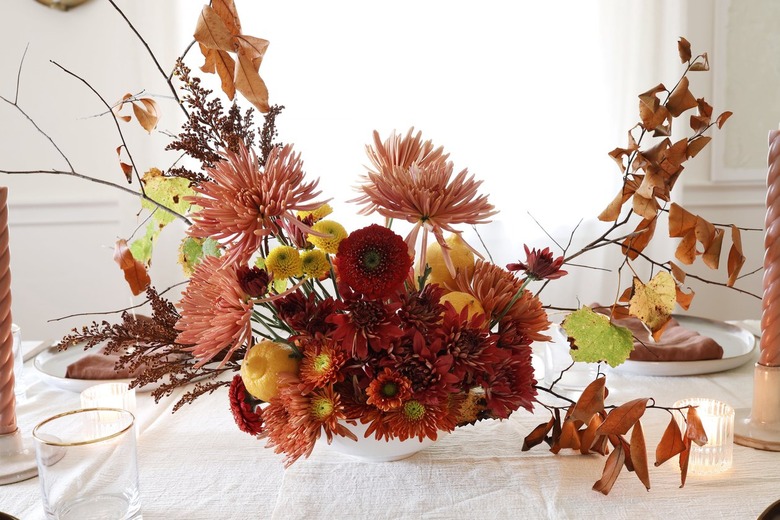
Use Lemons And Flowers To Create This Beautiful Arrangement
We may receive a commission on purchases made from links.
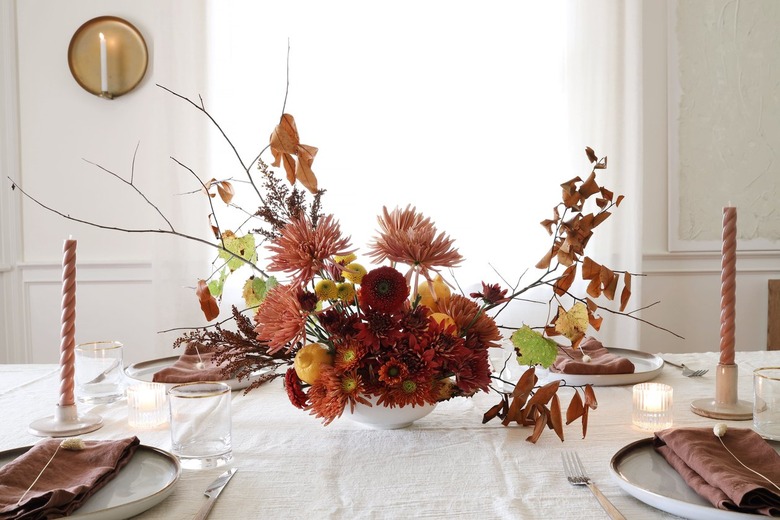
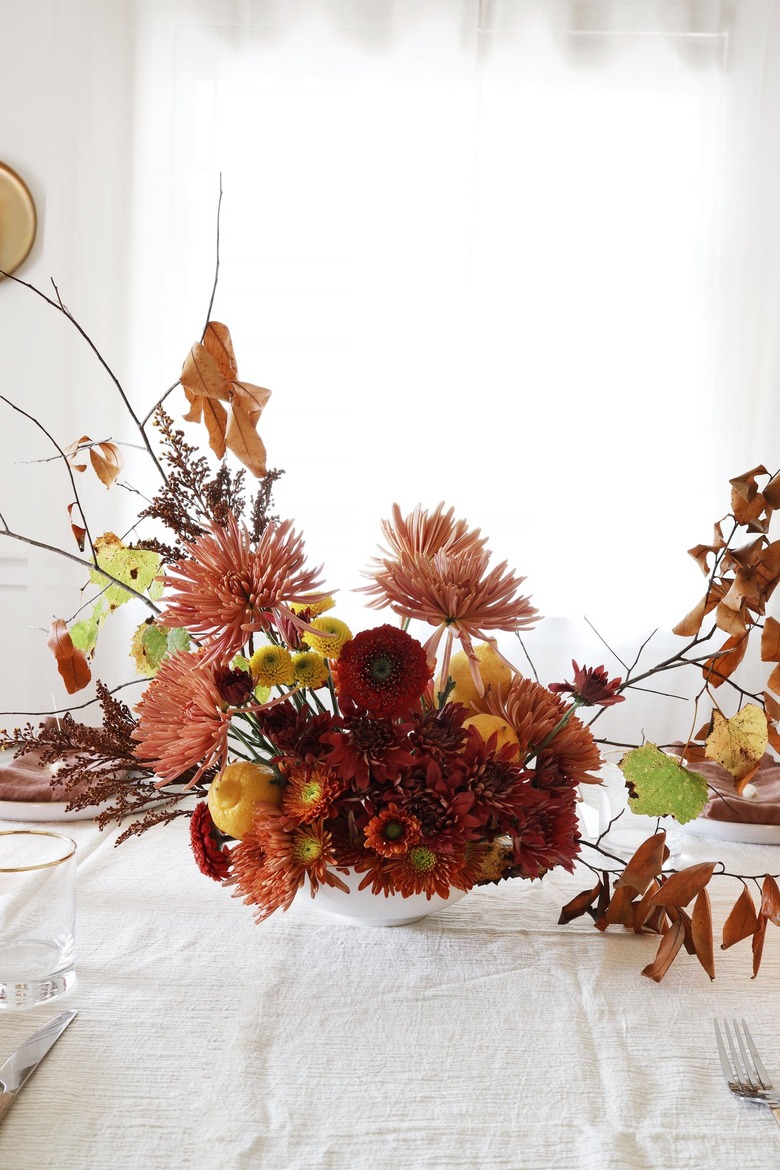
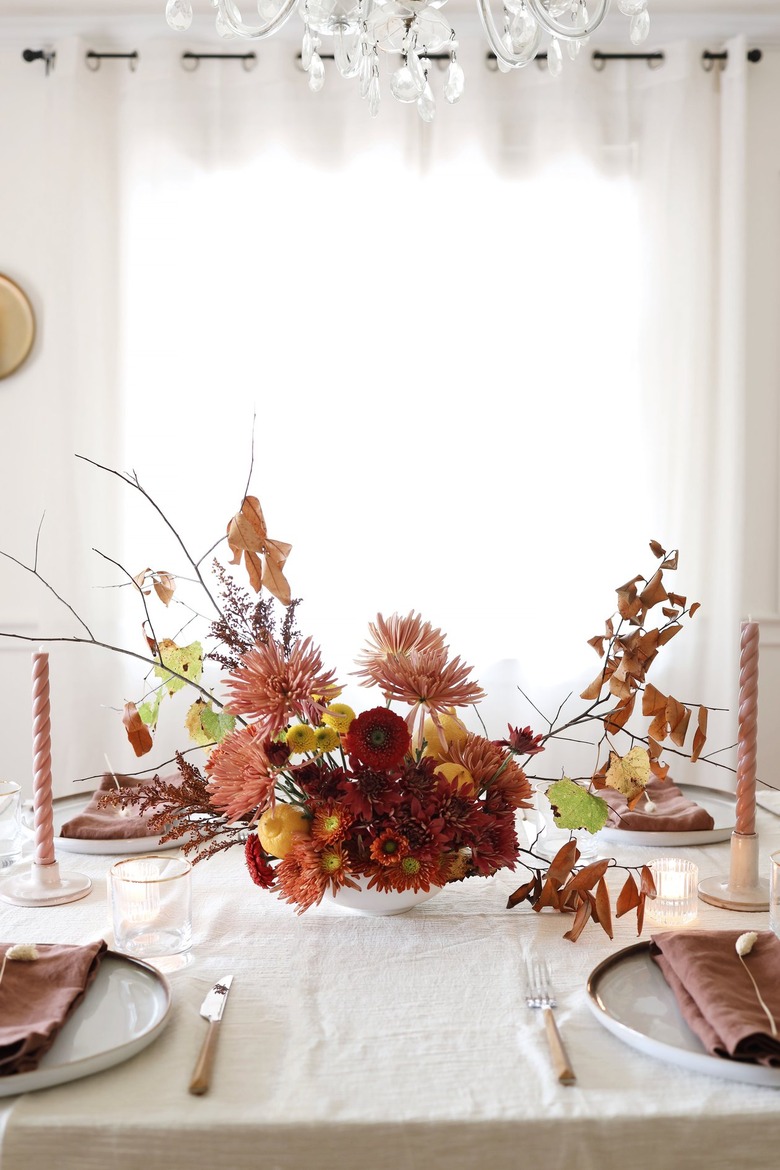
There's a reason why fruit and flowers are frequently used in still life paintings — they both have gorgeous forms and eye-catching colors. Inspired by the masterpieces of old Dutch artwork, we combined lemons with florals to create a unique centerpiece. The unexpected pop of citrus adds a zesty contrast to the dainty florals while a few foraged branches infuses a bit of wild unruliness. We opted for florals in muted shades of pink, burgundy, and golden yellow, but you can easily customize the flowers by season. No matter which blooms you choose, this arrangement would make a lovely focal piece for your holiday table or any other special occasion.
Things Needed
-
Chicken wire (or floral tape)
-
Assorted mums
-
Foraged branches
-
Lemons (small)
Tip
We were able to find an assortment of mums at Trader Joe's and our local grocery store. The foraged branches were found by taking a walk around the yard — the trick is to clip the branches so they're as long as possible. This way, you can cut them down to the desired height for your centerpiece.
Step 1
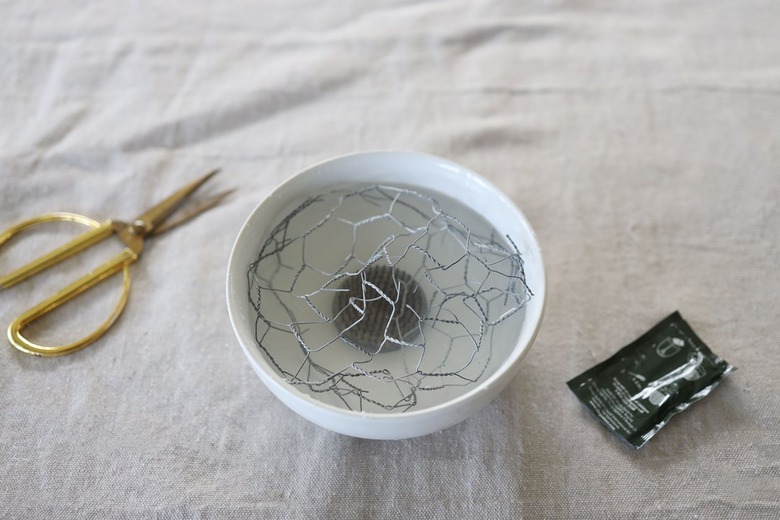
Fill your vessel 2/3 full with water and mix in a packet of floral preservative (we used a soup bowl with a 6-inch diameter). Place a floral frog in the center of the bowl. This will create a sturdy base for your heavier florals and lemons. Then ball up a piece of chicken wire (while wearing gloves) and place it inside your vessel. The chicken wire will add further support for your longer stems.
Tip
If you don't have any chicken wire handy, you could tape a grid pattern on the top of the bowl with floral tape instead. See this tutorial for further details.
Step 2
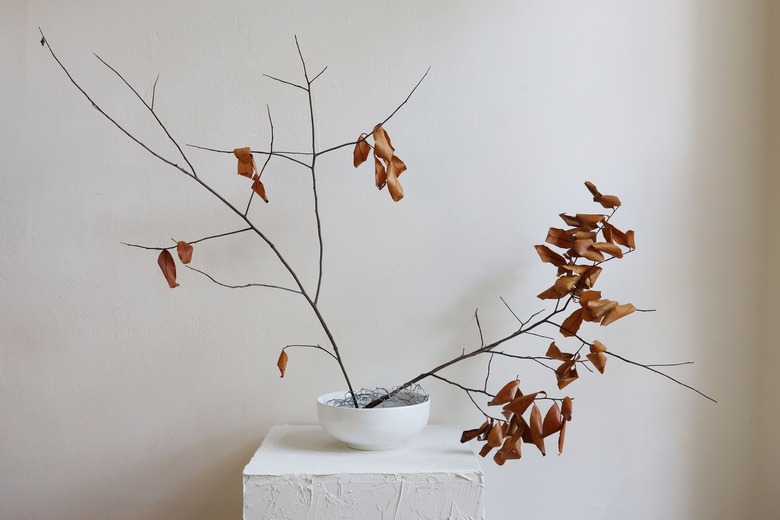
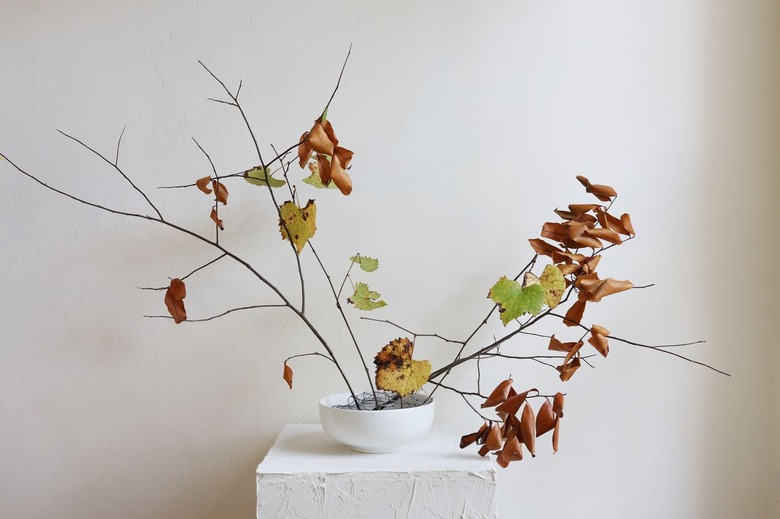
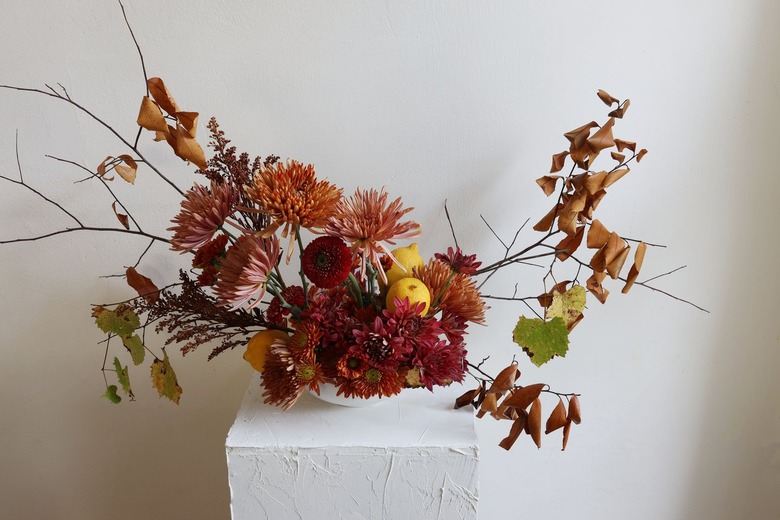
Start by adding your tallest foraged branches to create an overall shape for your arrangement. We placed the branches in a more upright position on the left and let them drape downwards on the right. This keeps the eye moving from left to right when looking at the arrangement. We made sure to insert the stems through the chicken wire and into the prongs of the floral frog to ensure they stay put.
Step 3
We added in a few more branches with daintier leaves to create a bit of contrast, again following the same upright position on the left and downwards position on the right. Make sure to remove any leaves from the bottom of the stems to keep the arrangement fresh as long as possible.
Step 4
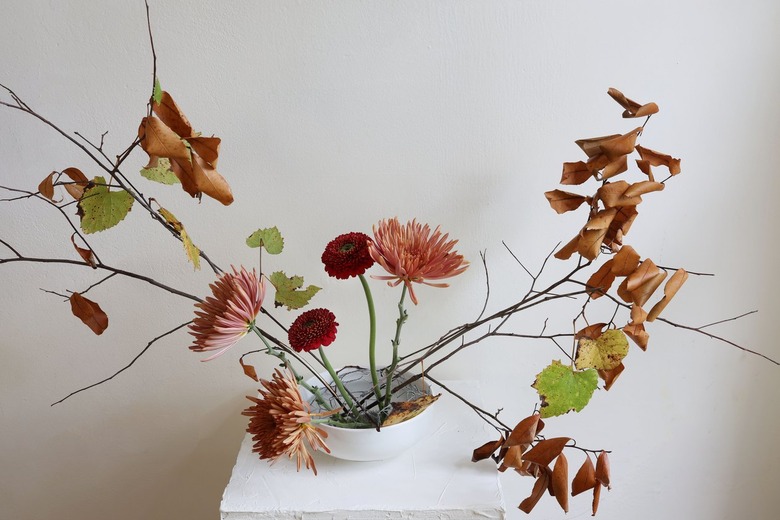
Add in your "showpiece" flowers next — these are the ones that will act as the main stars of the arrangement. Keep the stems on the longer side so they'll sit above most of the fillers flowers. Here we've placed three coral mums and two burgundy mums, varying the heights of all to keep the eye moving from left to right.
Step 5
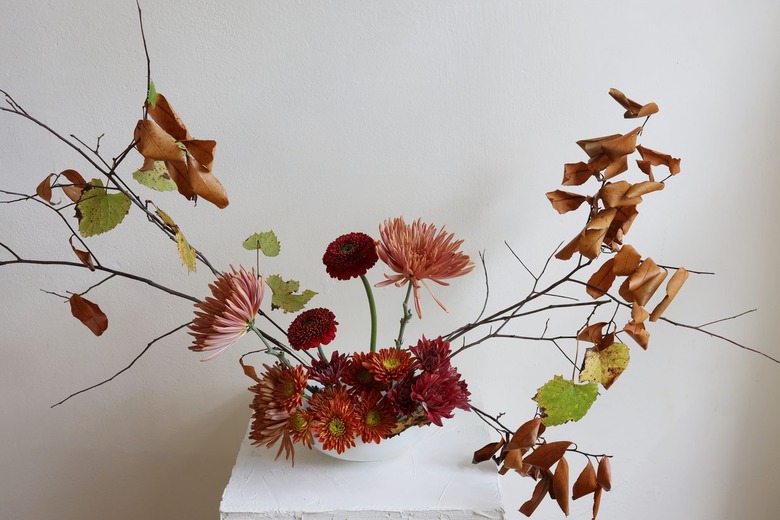
Next add in your "ground cover" flowers. Clip the stems short and place them low to strategically hide the chicken wire.
Step 6
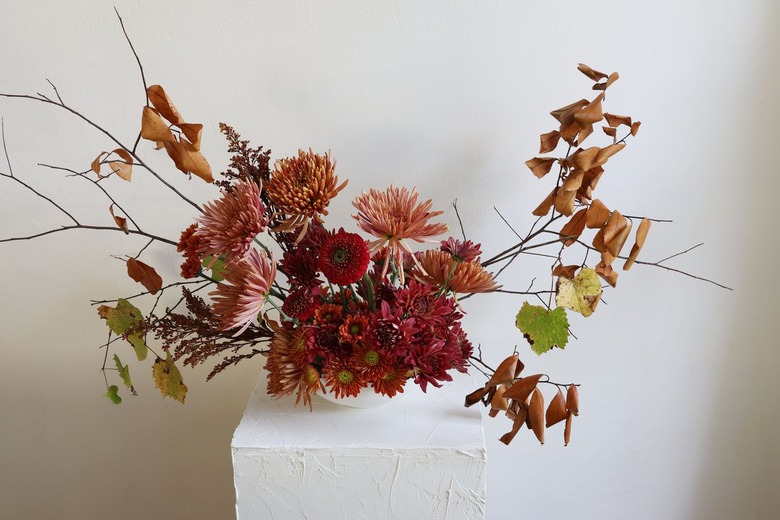
Keep adding filler flowers so that they sit above the ground cover blooms, until the middle of the arrangement feels full. Stand back and see where the holes are that need filling. We felt like the left side needed more height, so we added two tall stems of dried astilbe and two taller mums. Then we added a few more filler flowers in the center and another mum on the right.
Step 7
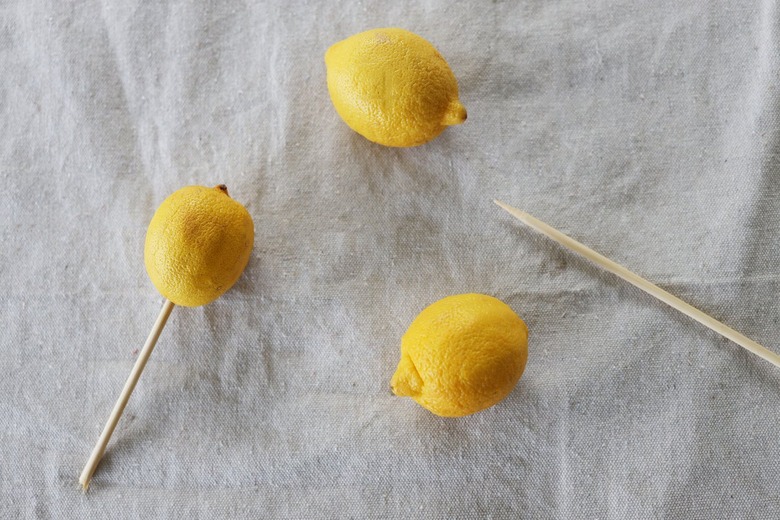
Before placing your lemons in the arrangement, you'll need to create a "stem" for them. (Seek out the smaller lemons, as they'll be less heavy.) Gently insert a wooden skewer in the end of the lemon and press it until it's halfway through.
Step 8
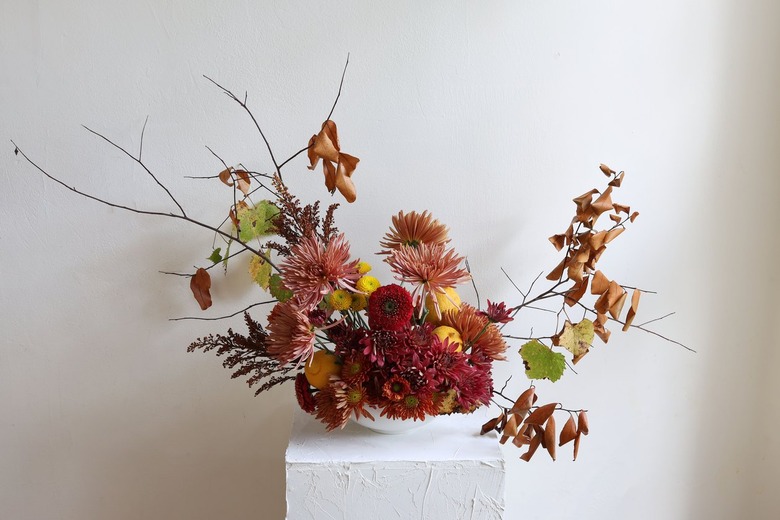
Decide where you want to place the lemons, and then cut the skewers with scissors to the desired height. Be aware they are heavier than your flowers and can crush the petals, so be careful when placing them. We placed one lemon low on the left side and two lemons in an upright position on the right.
Step 9
Some flowers are likely to shift because of the weight of the lemons, so you may need to add a few more filler flowers. We added in some yellow mums on the left to tie in with the color of the lemons, and a few more dark pink mums in the center to conceal the wooden skewers in the lemons.
And that's all there is to incorporating lemons into your floral arrangements. Your centerpiece now is ready to take center stage on your table!
