What Is A Ridge Vent (And Does Your House Need One)?
Though it's not something that homeowners often think about, having a balanced attic ventilation system is crucial — preventing issues like worn-out shingles, ice dams, and moldy insulation. The most efficient attic ventilation systems employ intake vents at the lowest point of the roof (usually the soffits) and exhaust vents near the top. And because it straddles the highest point of the roof, a ridge vent is one of the best types of exhaust vents.
The best time for a ridge vent installation is during a roof replacement, but you may also want to consider it if you notice telltale signs of poor attic ventilation. The installation procedure isn't that difficult, so you can install ridge vents on an existing roof without much trouble. This can even be a home improvement project that you DIY, although you might want to save yourself the trouble and hazard exposure of working on the roof by hiring a roofer to do it for you.
Tip
A ridge vent is a static roof vent that straddles the roof ridge. You don't need one if you already have enough attic ventilation, but because it's the most efficient type of roof vent, you might consider one if you need to add venting or you're redoing your roof.
What's the Benefit of a Ridge Vent?
What's the Benefit of a Ridge Vent?
In a passive attic ventilation system — which is one that doesn't employ an attic fan to move the air — hot air in the attic rises and is exhausted from the roof vents, pulling cooler outdoor air in through the soffit vents under the eave. This airflow helps to moderate the temperature in the attic, preventing condensation from forming in the winter and lower temperatures in the summer.
You can cut standard roof vents into the roof deck at any point, but the higher they are, the more efficient the air circulation. Ridge vents can provide as much exhaust area as square or circular air vent openings in the roof, and because they are on the roof ridge, they are guaranteed to be at the highest point, so they provide optimum airflow.
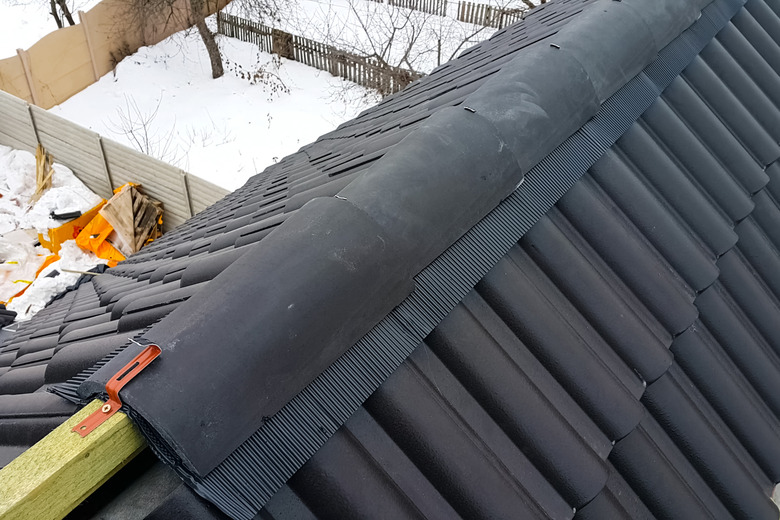
Ridge vents also look better than standard roof vents. Some are designed to simply replace the ridge caps on a shingled or metal roof, while others are designed to be shingled over with roof cap shingles. Either way, the ridge vent eliminates ugly square or round roof vents and is so low profile that it is virtually invisible from the ground.
Signs of Insufficient Attic and Roof Ventilation
Signs of Insufficient Attic and Roof Ventilation
The only reason to install ridge vents in an existing roof is if the attic doesn't already have adequate ventilation, but how can you tell? Some of the telltale signs are:
- Shingles that wear out before their warranty period expires: GAF, a top shingle manufacturer, offers a 15-year warranty against wind. If the shingles deteriorate to the point that they start blowing off before this period expires, it's likely because of excessive heat from a poorly ventilated attic.
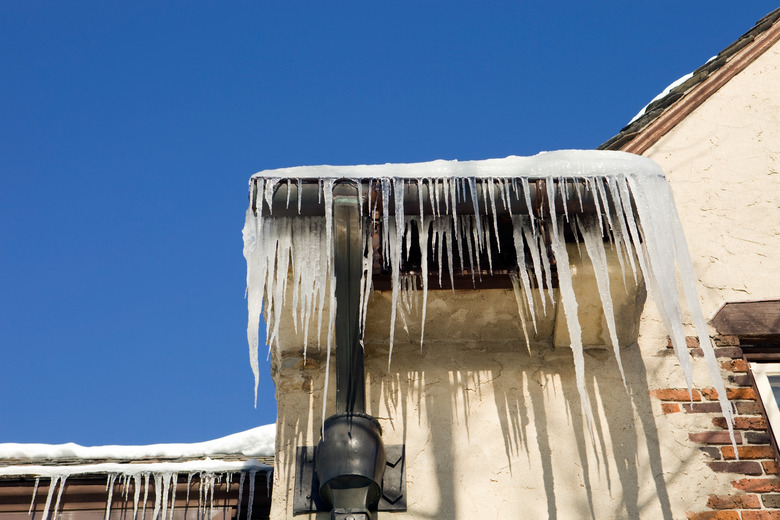
- Ice dams: Ice dams form in cold climates because heat from below infiltrates the attic and warms the roof, causing snow to melt. Proper roof ventilation cools the attic and prevents this.
- Moldy and clumpy attic insulation: Condensation settles on the insulation in a poorly ventilated attic, providing an ideal environment for mold to grow and for musty smells to permeate the space.
- Rotted framing and rusty metal: Condensation from inadequate ventilation also causes rot and rust.
Sometimes, the problem isn't an inadequate number of vents but blockages in the existing ones. The airflow path from soffit vents should include baffles (essentially a chute-like product) to keep insulation away from the vent opening and to direct the airflow up along the underside of the roof deck. The problem may also be that the existing roof exhaust vents aren't placed properly to promote airflow. An attic space that relies on gable vents or poorly placed roof vents for air exhaust may have good airflow in some parts and poor airflow in others.
How Much Vent Area Do You Need?
How Much Vent Area Do You Need?
The Federal Housing Authority recommends 1 square foot of vent area for every 300 square feet of attic space, and this is also written into many building codes as a requirement. This ratio assumes that the venting area is equally shared by intake and exhaust vents, which is a balanced system. An unbalanced system that has significantly more intake vent area than exhaust area (or vice versa) needs twice as much total venting area, so it's best to design a balanced system, which is more efficient.
If your attic has an area of 1,200 square feet, for example, you need a total of 2 square feet of soffit vents and 2 square feet of exhaust vents. A typical ridge vent provides 18 square inches (0.125 square feet) of venting area per foot, so you need 16 feet of ridge vent to completely exhaust this attic. If the ridge isn't long enough, you'll need to provide at least one supplemental roof vent, and if the attic already has an exhaust vent, calculate the venting area it provides so you can determine the length of the ridge vent you need for additional venting area.
Installing a Roof Ridge Vent
Installing a Roof Ridge Vent
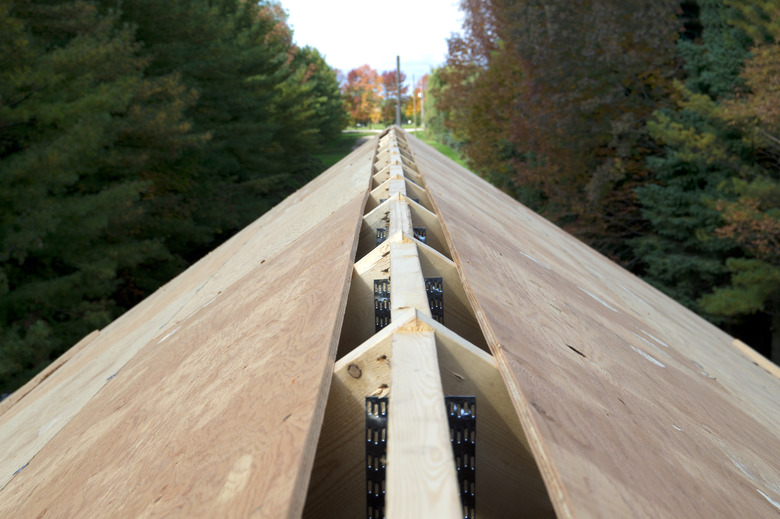
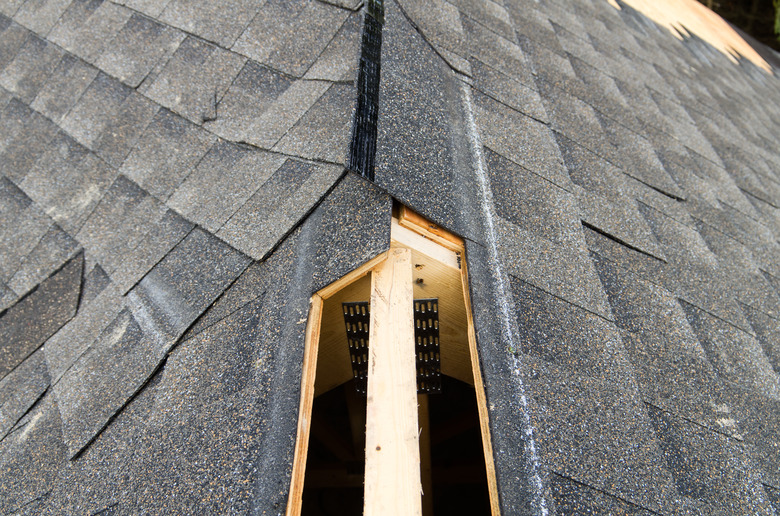
You install a ridge vent over an opening you cut in the roof decking. If the roof already has shingles or metal roofing, you have to remove the ridge cap shingles or the metal ridge cap. If you're installing a new roof, you would lay the roof covering up to the ridge, leaving a 2-inch space on either side of the ridge uncovered.
To create the air space for the exhaust vent, you cut away the roof decking. Check the manufacturer's specifications for the amount of decking you need to remove, but it's usually 3 1/2 inches total, or 1 3/4 inches on either side of the roof peak, which provides about 1 inch of clear venting area on either side of a standard 1 1/2-inch-thick beam.
When cutting the decking, you have to be careful not to damage the ridge beam or the rafters. You can usually do this by setting the depth of the saw blade to slightly more than the thickness of the roof decking. If you have shingles that extend closer to the peak than 2 inches, you can cut through them but be sure to account for their thickness when adjusting the cutting depth. Pry up and remove the cut portions of the decking.
Next, cut the ridge vent to length. If it extends to the edges of the roof, it should be flush with each edge. Center the ridge vent over the opening you cut in the roof, ensuring it overlaps the roofing on either side of the ridge and nail it through the predrilled holes in the nailing flange of the vent. When installing more than one section of vent, allow an 1/8-inch gap between pieces for expansion. If you have a shingle-over ridge vent, follow the manufacturer's instructions for installing roof shingles to cover it. Complete the job by installing a cover on either end of the new vent.


