5 Ways To Fix A Warped Door
We may receive a commission on purchases made from links.
Doors that bind and stick when you try to open or close them are not only annoying, but they can also be dangerous if you need to make a quick exit in an emergency. But if you encounter this problem, it doesn't necessarily mean you need a brand new door. Oftentimes, the problem is caused by a warped door where the shape of the wood changes from a flat surface to one that is distorted in some way, such as bowing out or shrinking, which sometimes causes them to stick in the door frame.
Both entry doors and interior doors can warp when the humidity level differs from one side of the door to the other. Wood doors can also warp when the internal moisture level changes at different levels in different parts of the door. When one part of the door dries faster than another, warping occurs. Most warped doors are wooden doors — fiberglass and metal aren't susceptible to warping.
Lsuckily, there are a handful of DIY solutions to restore your warped door and get it back into working shape.
Identifying a Warped Door
Identifying a Warped Door
A simple string test will help you test for a warped door. Drape a string that is about twice the height of your door, such as the string on a chalk line, over the top and under the bottom of the door and hold the two ends together while pulling the string taut. Do this in a number of locations on both sides of the door. The distance between the string and the door should be equal or nearly equal for the entire door. An uneven gap indicates warpage.
Most door manufacturers say that differences of 1/4 inch or less are nothing to worry about and should not affect the door's operation. Larger deviations are the problem. If your door is still under warranty, contact the manufacturer. However, some manufacturers says that doors — especially entry doors — need four seasons to become acclimated to the environmental conditions.
Tip
Not all doors stick due to warping. Sometimes, the house settling may have caused the door frame to shift, or the door could have been installed improperly. There are a few DIY solutions for sticking doors that aren't warped.
Often, simply replacing the standard 1/2-inch hinge screws with ones that are 2 or 2 1/2 inches long can correct a sagging door that rubs against the latch-side door jamb. The longer screws bite into the wall framing rather than the 3/4-inch-thick door jamb (on most prehung doors), pulling the door back into its proper position.
1. Change the Conditions
1. Change the Conditions
Doors that separate damp basements and garages from living areas can warp due to the difference in humidity levels on each side of the door. Doors whose top, bottom, or side edges are left unfinished because they were sanded are especially susceptible to warping because the bare wood readily absorbs moisture from the air.
The Fix:
- Run a dehumidifier in the damp area to equalize the humidity on both sides of the door.
- Once the door returns to normal, attend to any unsealed edges.
- Remove the door from its hinges by placing the end of a screwdriver under the top of the hinge pin and tapping with a hammer until the pin is free from the hinge.
- Lift the door off its hinges
- Place the door flat over sawhorses.
- Lightly sand the top, bottom, and sides.
- Apply primer/sealer and paint as needed.
2. Add an Extra Hinge
2. Add an Extra Hinge
Doors that bow out near the center of the door on the hinge side may be pulled into position by adding an additional hinge. To do this, you'll need to remove the door and install a new door hinge about midway between the top and bottom of its hinges.
The Fix:
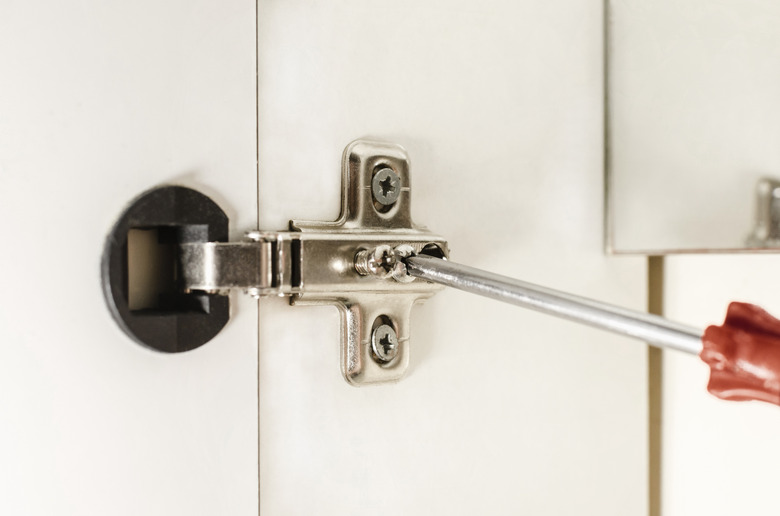
- Use an old screwdriver and hammer to remove the hinge pin from each hinge.
- Lift the door off its hinges and stand the door on edge, hinge side up.
- Trace the outline of the new hinge on the edge of the door and the door jamb and use a sharp chisel to cut a mortise to receive the new hinge leaf.
- Use 2- or 2-1/2 inch screws to attach the hinge to the door jamb; don't use the screws that come with the hinge. The longer screws will sink into the wall framing and not just the door jamb when you drive them home.
3. Dry it Out
3. Dry it Out
Get a little help from nature and dry your warped door outside.
The Fix:
- Place the warped door on sawhorses in full sunlight with the warped, or convex, side facing up. This allows the internal moisture in the wood to stabilize.
- Let it dry and check on it regularly. Some building contractors report getting satisfactory results in as little as 30 minutes, but others say the process takes more like 24 hours (sometimes more).
- If your door needs some extra help, place a heavy object, such as a sandbag, on the warped area after placing it on sawhorses. With gravity, the weight will eventually straighten out the warped door.
These techniques may be worth a try if you can tolerate having a door off its hinges for an extended period. You may be able to miss your interior door for awhile, but if it's your front door that's warped, this may not be the right solution.
4. Sand the Spots That Stick
4. Sand the Spots That Stick
If your door is sticking, you may be able to fix it by removing it from its hinges and sanding it down so that it swings smoothly.
The Fix:
- Close the door and use a pencil to mark the area that is causing the problem.
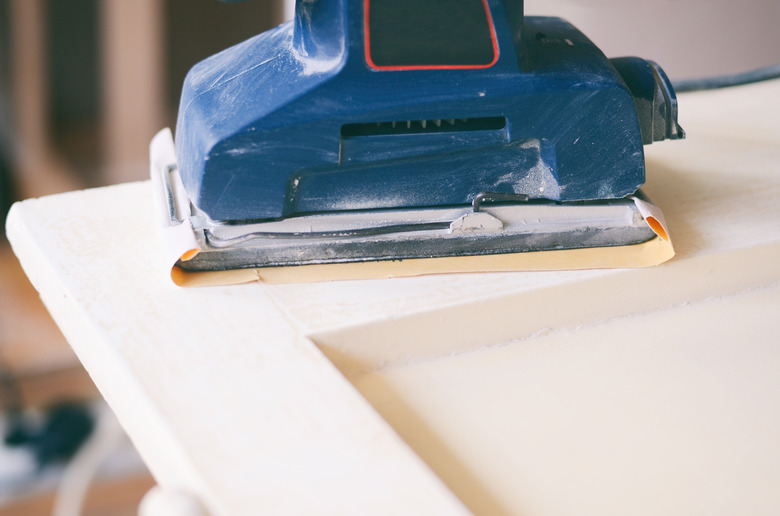
- Remove the door from its hinges and use sandpaper, a sander, a sanding block or a block plane to remove a little of the wood. Don't overdo it, as you can't replace the wood you remove.
- Trim a little and test fit the door a few times to get it right if needed.
5. Reposition the Stop
5. Reposition the Stop
When you close a door, the door stop — a thin strip of wood nailed to the door jamb — stops the door from swinging through the door frame. If the door reveals a significantly uneven gap when it meets the stop, you may be able to reposition the stop to close the gap.
The Fix:
- Remove the stop by inserting a pry bar near the bottom of the stop and gently prying the stop away from the jamb. Work slowly and carefully because you will reuse the stop. Remove any nails in the stop or the door jamb. The stop may pull right off while some of the nails stay in the jamb. That's because door stops are typically attached with finishing nails that have small, smooth heads.
- Close the door and engage the door latch.
- Place the stop against the closed door and reattach the stop using finishing nails. Work from one end of the stop to the other, pushing the stop up against the door as you go; the stop is somewhat flexible and can be bent to follow the door's warp.
- Countersink the nails below the surface of the wood, fill the holes with wood putty, and prime and paint as necessary.

