How To Fix 5 Common Garage Door Problems
As long as everything's working properly, it's easy to overlook your garage door and its many parts. But regular maintenance and occasional garage door repair is necessary to keep it in good shape. Fixing the most common garage door problems is usually easy enough to DIY even without major mechanical or electrical skills.
While most homeowners can tackle these problems themselves, serious garage door problems, like damaged rollers or a broken spring, should be left to the pros. If the damage is serious enough, you may even need a whole new garage door.
1. Faulty Switch or Keypad
1. Faulty Switch or Keypad
If the wall-mounted switch or control panel that opens and closes the garage door suddenly stops working, first look for a lock button somewhere on the control panel; it's possible someone locked it by mistake. Press the lock button and then try the switch or keypad combination that opens the door. If that doesn't solve the problem, you can deduce if the switch is the issue by trying the remote control or another switch instead. If you determine that you have a faulty keypad, try these DIY fixes:
- If your keypad setup uses batteries and isn't hardwired into the garage's electrical system, replace the batteries and try opening the door again.
- It could be that the antenna on the motor isn't pointing downward or isn't aligned in the best position to pick up the signal. If you or anyone else has done some work near the door opener's motor, there's a chance the antenna was bumped and moved. Climb a ladder if necessary and reposition the antenna. Then, have a friend try the keypad. While you're on the ladder, also check that the motor is fully plugged into the nearby outlet.
- There's a chance that a breaker tripped, disabling power to either the outlet the motor plugs into or to most of the garage. If the power is working at the motor outlet and the power seems fine in the garage, you may need to reprogram the keypad. The exact method varies for every model, so check your manual for how to use the "learn" button on the control panel so the switch or keypad and the opener communicate with one another.
If you've tried all of these options, the control panel may need to be replaced, and it's worth having the garage door opener installation company come check it out.
2. Broken Garage Door Opener
2. Broken Garage Door Opener
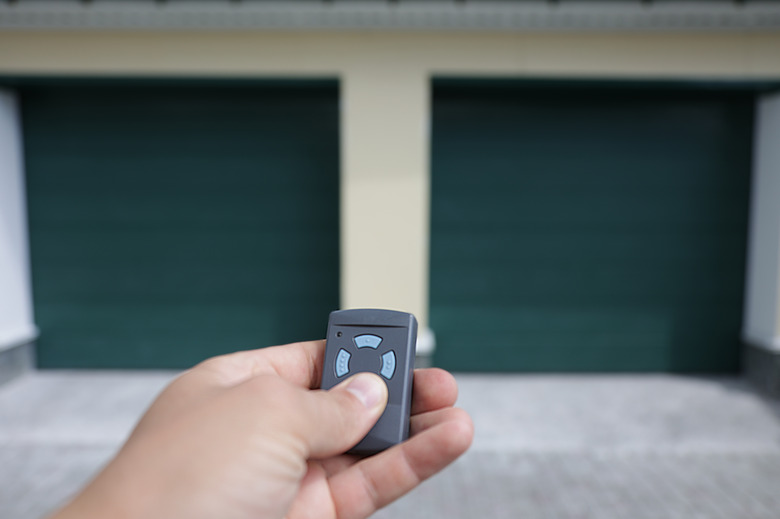
Troubleshoot a garage door remote by using the wall-mounted switch or keypad to see if that opens the door. If it does open, your remote control may be broken. Make sure the lock button on the control panel or keypad on the wall isn't active, as this will prevent the remote control from working too. Try these fixes if your garage door remote opener isn't working:
- Check to make sure no one has bumped or adjusted the antenna on the motor unit, as this could cause issues with the remote's operation.
- Garage door opener repair is often as simple as replacing the remote control's batteries. After you've installed new batteries, test the remote opener by pressing the open/close button again while you're well within range of the motor assembly that controls the garage door, such as while standing in the garage.
- In some cases, the remote control might need reprogramming. Check the manual or the garage door company's website to determine how to reprogram that specific model.
If you suspect the remote control has a more serious issue and you don't see any signs of loose wires or corrosion at the battery contact points, it's probably time to buy a new remote. Most garage door opener companies sell replacements for fairly current models.
3. Safety Sensor Issues
3. Safety Sensor Issues
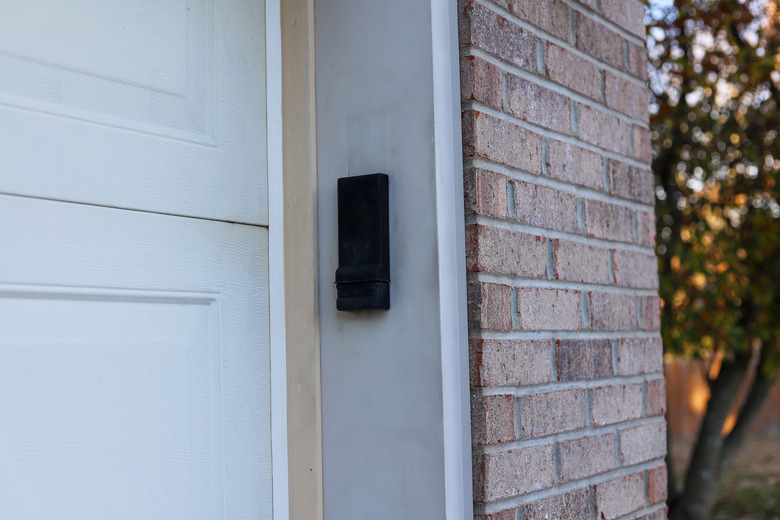
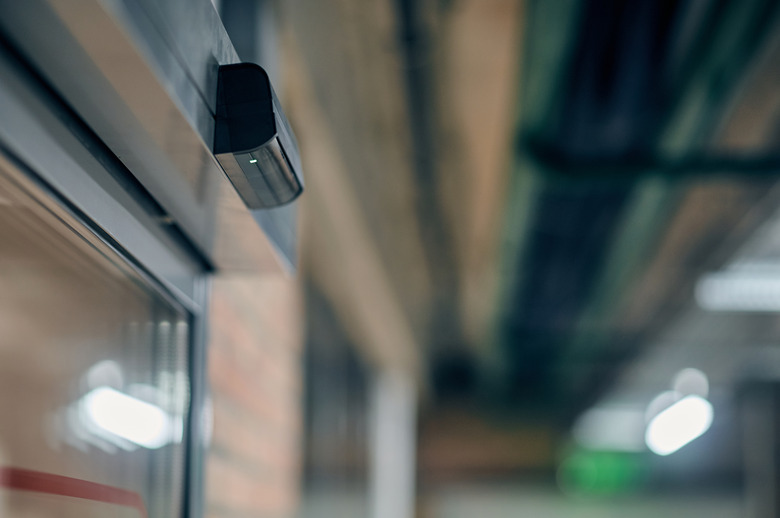
Modern electric garage doors come equipped with photoelectric safety sensors to detect objects that might be in the path of the door as it closes, such as a bicycle parked beneath the open door. These sensors are like those spy-thriller-movie beams of light surrounding a pile of priceless jewels, setting off alarms when the beam breaks. But with garage doors, the beam is invisible and disables the door's operation when something crosses its path.
If you can't close your garage door using either the remote or the wall-mounted switch or if the door goes partway down and then backs up, it could be a sensor issue. Try these solutions:
- Make sure nothing sits in front of the sensors, which are located at either side of the door. Even a bag of yard waste or a garden tool partially blocking a safety sensor could hinder door operation.
- Wipe off the safety sensors using a soft cotton or microfiber cloth; sometimes, cleaning them is all that's needed. Try closing the door again.
- Inspect the safety sensors closely if the door still won't close. They should both be tightly secured and at the same level, aiming at one another. If one sensor has come loose, reattach it back where it belongs, as they have to be perfectly aligned to do their job. Even if the door does close, the sensors might not stop the door if an obstruction is in the door's path unless the sensors are properly aligned, so it's important to ensure they're straight and secure.
4. Track and Roller Problems
4. Track and Roller Problems
Whether your garage door is brand new with an electric opener or generations old and requires manual operation, the door most likely relies on a track-and-roller system to keep the door properly aligned and easy to open. If you don't maintain the tracks (or if someone accidentally backs the car into the door), the tracks and rollers may come out of alignment with each other. Misaligned rollers will prevent the door from opening properly or cause it to sit at an angle if some of the rollers come completely off track.
Some issues, such as severely bent rails or the door coming completely off track, are best left to the pros, but minor issues and routine maintenance are easy enough to handle on your own. If you're noticing a noisy garage door that sounds like it's binding up somewhere as it opens or closes, if it's far louder than normal, or if something just seems off, it's time for a visual inspection. Even if everything seems fine, it's wise to inspect the tracks and rollers once in a while to ensure everything is as it should be. Here's the proper course of action:
- Inspect all the nuts, bolts, or screws along the tracks on either side of the door, tightening anything that seems loose. Make sure to check every point where the track attaches to the garage walls or ceilings, as any loose area could cause other areas to wiggle loose over time, eventually resulting in alignment issues or the rollers coming off track.
- Wipe grease and debris out of the tracks with a rag.
- Lubricate the roller bearings and shafts as well as any hinges, torsion springs, and moving metal parts attached to the door or the track system using a silicone-based lubricant or a spray-based lithium grease rather than water-displacing liquid lubricants that attract dirt. If you notice any bent areas hindering or altering roller movement on the tracks, it's best to have a garage door service pro determine whether they're repairable or if they need replaced.
- Rust on the rollers or tracks could also prevent the door from opening and closing smoothly. Use a wire brush to remove minor amounts of rust from the tracks, wiping the tracks with a rag to remove debris afterward.
If the rollers make a popping or clicking sound when you operate the door even after you've lubricated them and cleaned the track, they may need to be replaced. If you see rusted metal rollers or severely bent rollers that need replacing, don't do it yourself. Hire a pro from a garage door repair service to get the job done safely. A pro is able to assess any such problems with door operation even if you can't visually determine what's causing issues with either the track alignment or the rollers.
5. Issues With Limit Settings
5. Issues With Limit Settings
The limit settings are how the garage door opener knows when to stop operating when the door is fully opened or closed. If the limits are not adjusted properly, the door may open again after closing, or it may not close or open all the way. The limit adjustment settings are controlled by a screw on the side of the garage door opener, so you'll need a stepladder and a flathead screwdriver to make adjustments. Consult your owner's manual to determine the exact location if you can't spot the screw while you're looking for it. In most cases, the limit-setting screws are clearly noted with up and down arrows or diagrams. Here's how to adjust it:
- If the garage door doesn't close all the way, turn the down limit screw counterclockwise. One full turn of the screw averages 2 to 3 inches of extra distance the door will travel as it closes.
- Turn the down screw clockwise if the door opens after it closes all the way. Do one full screw turn first and then test the door. Turn the screw again if needed.
- For a door that doesn't go up all the way, adjust the up limit setting. Turning it clockwise one full turn makes it travel farther up by about 2 to 3 inches, while turning it counterclockwise decreases the upward travel by the same amount in one full turn of the screw.
- Always test the door's upward and downward operation after adjusting the limit settings. Also test the safety features by placing an object in the path of the door, as it's important that everything works as intended after making any adjustments.
