How To Spray Paint Metal Furniture For A Lasting Finish
We may receive a commission on purchases made from links.
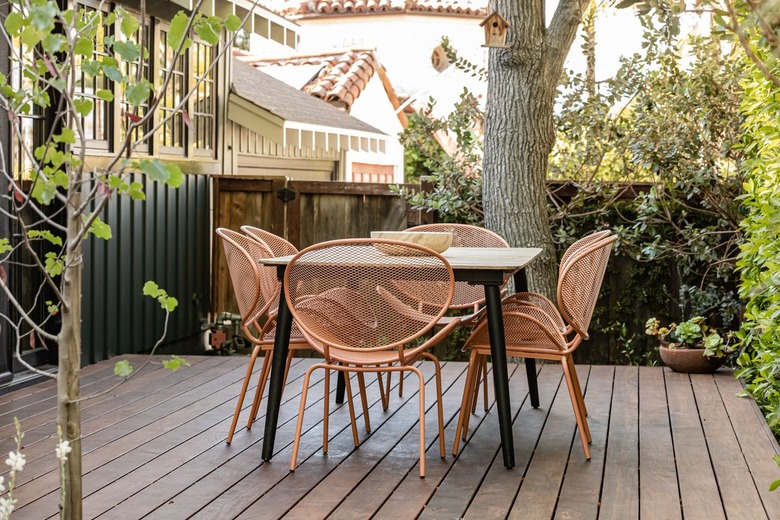
Metal furniture may seem indestructible, but most pieces occasionally need to be freshened up, and some may need a total makeover for a new lease on life. The best way to update your metal furniture is with a coat of spray paint. This is especially true of outdoor furniture that has to withstand everything the elements can throw at it on a regular basis.
In addition to its durability, metal furniture fits into a number of outdoor design schemes. Because outdoor living areas tend to be more casual and fun, metal furniture pieces are good vehicles for spots of color that would not work inside. The intricate designs of many types of metal furniture make spray paint a good choice for these DIYs.
Types of Spray Paint
Types of Spray Paint
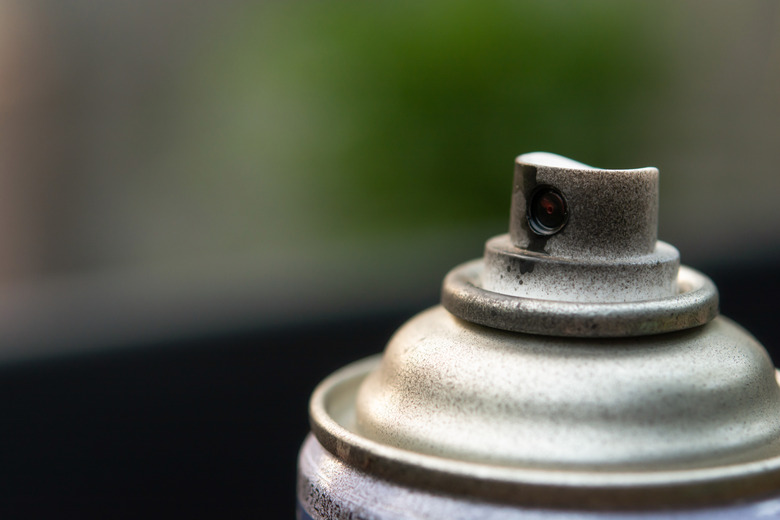
Spray paint works well for painting metal furniture as opposed to paint brushes that tend to leave visible brush strokes, especially when painting curved surfaces. Plus, spray paint has no trouble covering the nooks and crannies included in some furniture designs — spaces that are difficult, and sometimes impossible, to reach with a brush.
But not just any can of spray paint will do. When you select a paint for outdoor metal furniture, be sure it is formulated for metal surfaces. Paints are available in both water-based (acrylic) and oil-based (alkyd) formulations.
|
Water-Based Paint |
Oil-Based Paint |
|
Flexible, crack-resistant coating |
Durable, moisture-resistant coating |
|
Dries quickly |
Dries slowly |
|
Does not release VOCs |
May release VOCs |
|
Require oil primer before painting unfinished metal |
Can be applied directly to unfinished metal |
Whichever type of paint you choose, be sure to read the label. Some water-based paints are listed for indoor and outdoor use, but the surfaces specified for application tend to be vertical (think fences, doors, and the like) and allow moisture to slide off. For horizontal surfaces, like table tops and chairs, oil-based paints may offer better protection. In fact, most spray paints for metal furniture are oil-based.
Spray paints designed for metal furniture are usually enamels, which means they dry to a glossy, hard finish. They come in a wide variety of colors, which means you can match it to your existing outdoor decor or give your entire space a makeover.
Applying Spray Paint
Applying Spray Paint
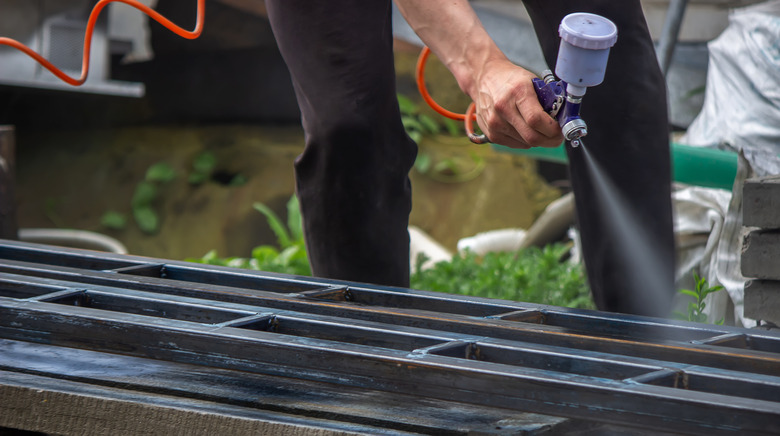
Metal paints come in gallon cans that you can load into a paint spray gun. There's the type of spray guns the pros use, called airless spray guns, as well as models aimed at do-it-yourselfers that cost about $150. If you already have a spray gun, feel free to use it on your furniture, but a more convenient method would be to use individual spray cans of metal paint and primer.
The cans hold about 12 ounces of paint, which means that if you're painting a small piece of metal furniture, you'll have less leftover paint to store somewhere (or dispose of) than you would if you used a larger can. Aerosol cans are also easier to control, unless you have experience with a spray gun. Another bonus: you won't have to clean the nozzle and reservoir when you finish painting as you would if you used a sprayer.
But it's more comfortable to pull the trigger on a spray gun than to hold down the nozzle on a spray can, especially for large pieces of furniture that will receive multiple coats of paint. But in an effort to prevent finger fatigue, paint manufacturers have developed snap-on triggers that convert spray cans to spray guns.
Most metal furniture painting projects will involve the use of a primer. As with all primers, metal primers provide a smooth, even surface for the topcoat. There are different types of primers for metal surfaces. Some primers are designed for rusty surfaces, and they encapsulate the rust and stop it from spreading, while others are designed for rust-free metal.
Spray Paint Prep
Spray Paint Prep
Spray painting metal furniture is no different than painting anything else — thorough preparation leads to the best paint job.
- Surfaces need to be clean and free of rust, which may require you to use wire brushes and sandpaper. Brushes come in different sizes, and there are wire brush drill attachments that can tackle tougher rusted areas.
- You'll also need to set up your painting area. The slightest breeze will produce overspray, so you'll need a lot of drop cloths to protect the area you're painting in. There are also spray booths that can help keep the overspray contained or you can create barriers out of cardboard or pieces of plywood.
- Wear your regular painting clothes but remember that some overspray comes with the territory, so wear gloves and long sleeves and never spray paint without a respirator mask and eye protection.
Spray Painting Tips
Spray Painting Tips
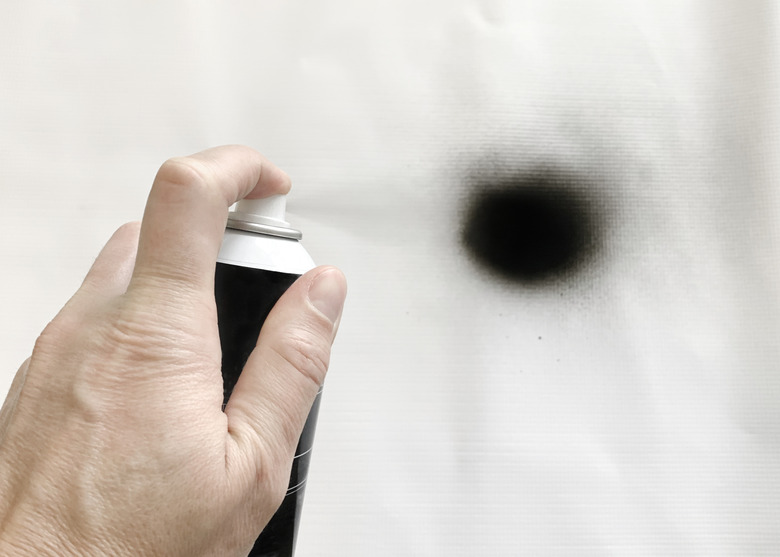
It takes a little practice to achieve a smooth, even coat of paint without drips or see-through areas when spray painting. It's worth the $5 to $8 to use a can of paint to practice on a piece of old plywood or even a large piece of cardboard before painting your metal furniture. When painting furniture, you will probably be working on both vertical and horizontal surfaces, so position your practice sample in both orientations to get a feel for working on each.
Here are some other painting tips to keep in mind:
- Follow the directions on the paint can.
- Keep your wrist straight and keep the can the same distance from the surface over the entire pass.
- Hold the spray can about 12 to 16 inches from the surface you're painting.
- Start the flow of paint before you reach the furniture surface and don't stop until you pass the end of the surface.
- Each pass should overlap the previous pass by about 50 percent.
- Stop after every two to three passes to quickly shake the can.
- The general rule of applying two coats of paint to walls does not apply to spray painting metal furniture. Plan on applying three or more light coats of paint but give each coat a little time to dry before applying the next. This will help prevent drips.
- Use mineral spirits for cleanup.
Things Needed
-
Small scrap wood blocks
-
Rags or sponges
-
Mild detergent
How to Spray Paint Metal Furniture
How to Spray Paint Metal Furniture
1. Make a Plan
To give your metal furniture a full makeover, you'll not only be painting the visible parts of furniture, but also the underside, back, and legs. One strategy is to start on the underside of the items. When you flip them over to paint the top, the underside will have time to dry slightly, so you can go back and apply another coat but follow the manufacturer's recoating instructions.
2. Prepare to Paint
Set up your painting area. It's best to overprotect the area from overspray.
- Cover everything within 10 to 15 feet of the painting area with drop cloths, including patios, lawn surfaces, and plants if you are painting outside.
- Use wood blocks that you don't mind getting paint on to elevate the furniture. This will help eliminate the possibility of the item sticking to the drop cloth.
3. Remove Rust From the Furniture
Use a wire brush and/or sandpaper to remove any loose rust from the surface of the furniture. You may have to get creative in attacking furniture with intricate designs. Cut the sandpaper into thin strips or roll it up to get into tight spaces.
4. Clean the Furniture
Wipe down the piece using mild detergent and rags or sponges. Rinse and let the piece dry completely.
5. Apply the Primer
Select the primer that best suits your circumstances. There are products designed to cover and stop rusty surfaces as well as those designed for rust-free metal. In both cases, the primer will help prevent rust in the future.
- Turn the piece upside down.
- Shake the paint can per the manufacturer's directions. This usually means shaking the can for a full 60 seconds after you hear the ball inside the can start to rattle.
- Apply the primer to vertical surfaces.
- Apply the primer to horizontal surfaces.
- Flip the piece right side up and prime the top, starting with vertical areas and then horizontal sections.
- Repeat the same process to apply multiple additional coats as needed.
- Allow the primer to dry per the manufacturer's directions.
6. Apply the Paint
Most paints for metal furniture have a glossy sheen that provides a hard, durable surface. Most are oil-based.
- Turn the piece upside down.
- Shake the can per the manufacturer's directions.
- Apply a coat of paint to the vertical surfaces.
- Apply the paint to horizontal surfaces.
- Flip the piece right side up and paint the top, starting with vertical areas and then horizontal sections.
- Repeat the same process to apply multiple additional coats as needed.
- Allow the paint to dry completely per the manufacturer's directions.
7. Dispose of the Cans
Disposal will vary from location to location. Oil-based paints, like most metal paints in spray cans, are considered hazardous waste and must be collected and recycled differently than acrylic paint containers. Contact your local recycling authority for directions.


