DIY Brass Rail Gallery Shelf That Radiates Charm
We may receive a commission on purchases made from links.
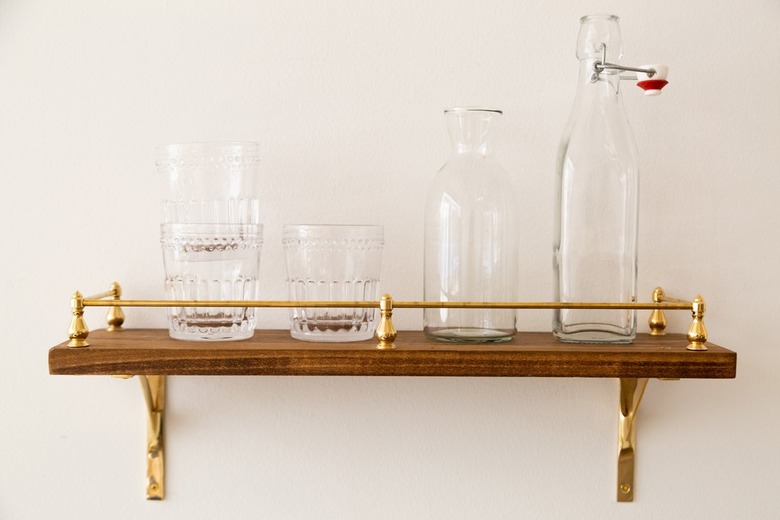
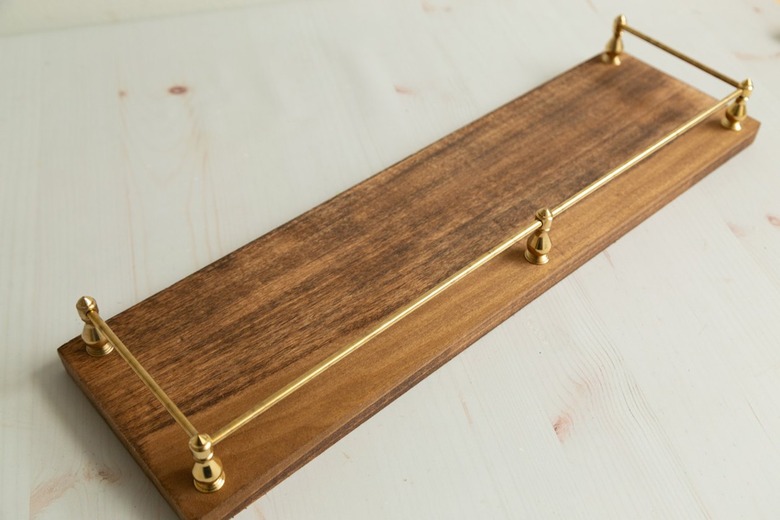
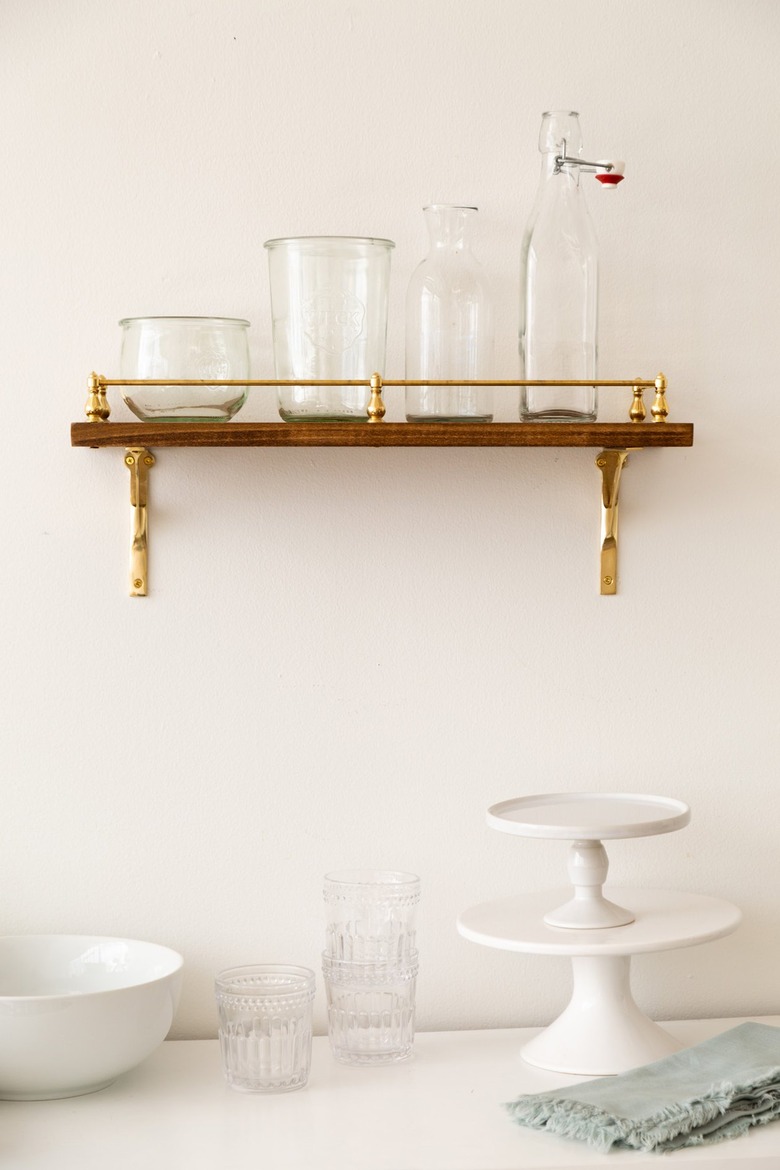
Lately, we've been admiring brass gallery shelves from high-end shops such as Rejuvenation. And while we love the look, we don't necessarily love the price. So, we decided to make our own shelf using brass hardware, rails, and brackets to get a very design-worthy look. No one will ever suspect this wall shelf is DIY.
The brass or gold shelf rails gives this project a lovely vintage vibe — perfect for hanging in a kitchen, bathroom, or as part of a living room home bar.
Tip
You can find the vintage inspired brass hardware for this shelf at many hardware stores online:
- Vintage Hardware and Lighting (we ordered unlacquered brass hardware from this shop)
- Paxton Hardware
- Pepe and Carols
Things Needed
-
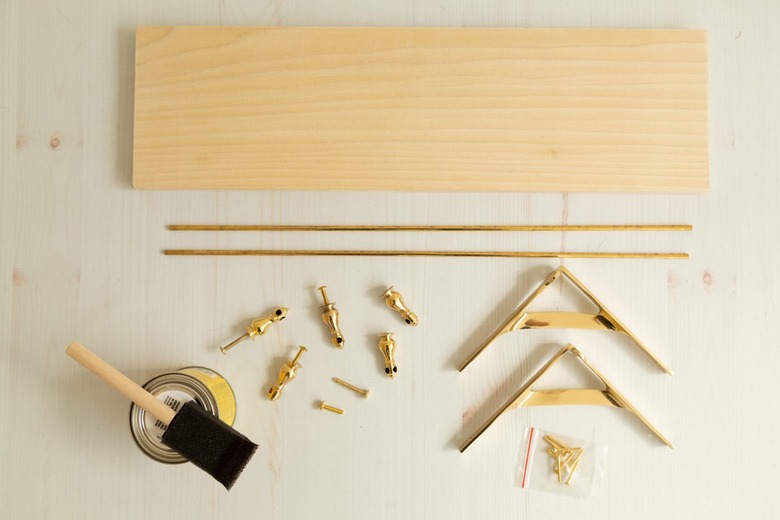
Poplar or oak board (1/2 inch by 6 inch by 4 feet)
-
Shelf brackets (5 ¼
inch)
-
Brass rail hardware — You'll need: 2 x Polished Brass 18" Long Gallery Rail Brass Rod, 3/16" Diameter (R-1) | 1 x Brass Gallery Rail Large Center Joining Post Polished Unlacquered Brass (W-1A) | 2 x Brass Gallery Rail Large End Post Polished Unlacquered Brass (W-1B) | 2 x Brass Gallery Rail Large Corner Post Polished Unlacquered Brass (W-1C)
Step 1
Measure and cut the wood board 19.5 inches length. Then lightly sand to prepare to stain.
Step 2
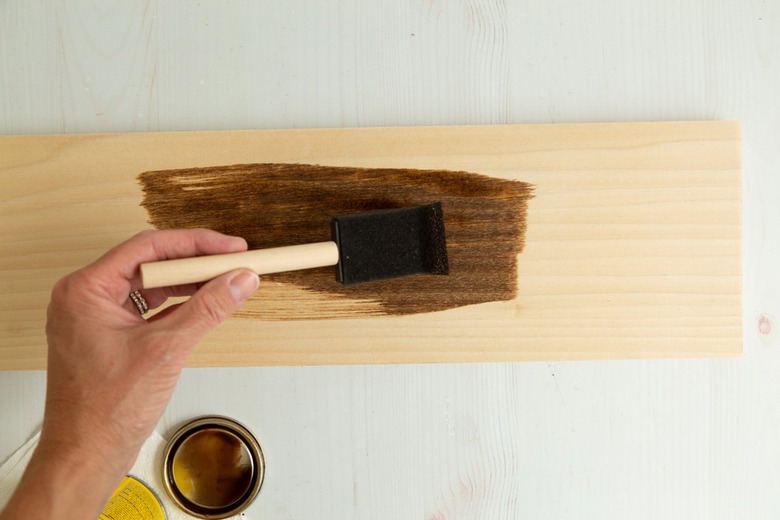
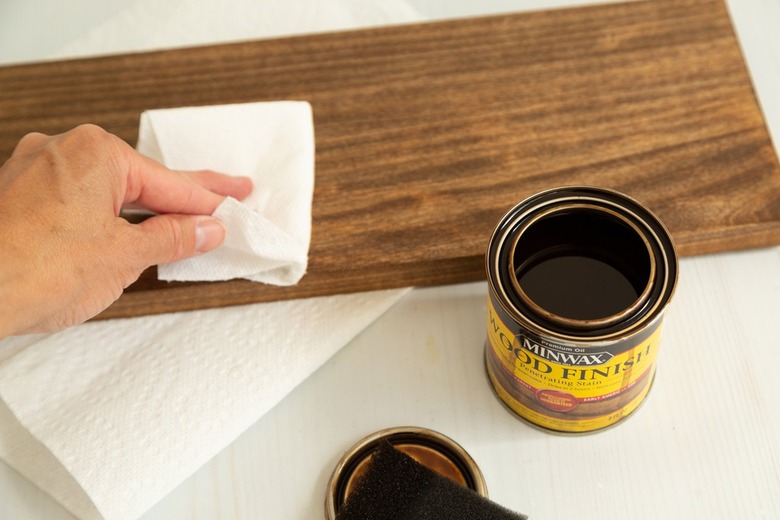
Allow the stain to dry, and then add a protective finish coat.
Step 3
Place all of the brass hardware on the wood board to determine spacing.
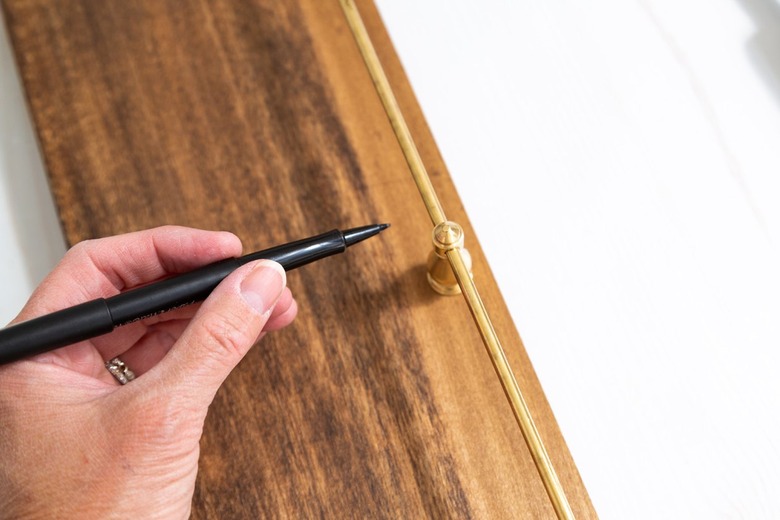
Step 4
Mark where the holes should be drilled on the board.
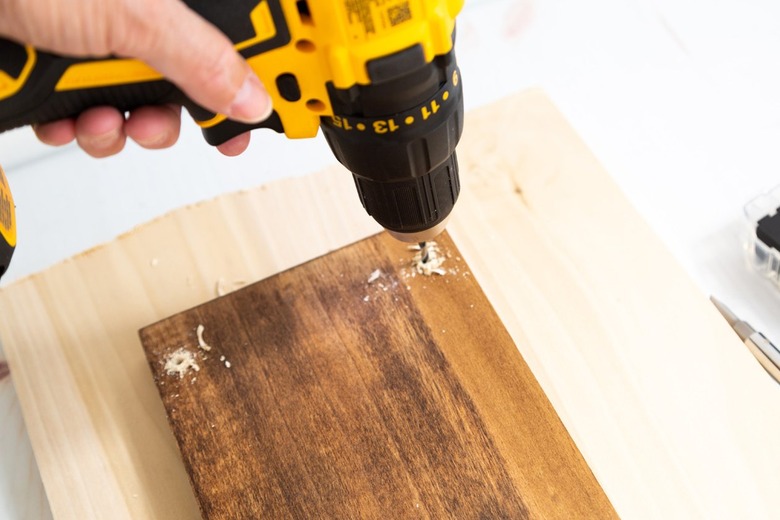
Step 5
Drill holes on each corner for the brass corner posts and a hole in the front edge center for the center post. Drill holes about a 1/2 inch from edge of shelf.
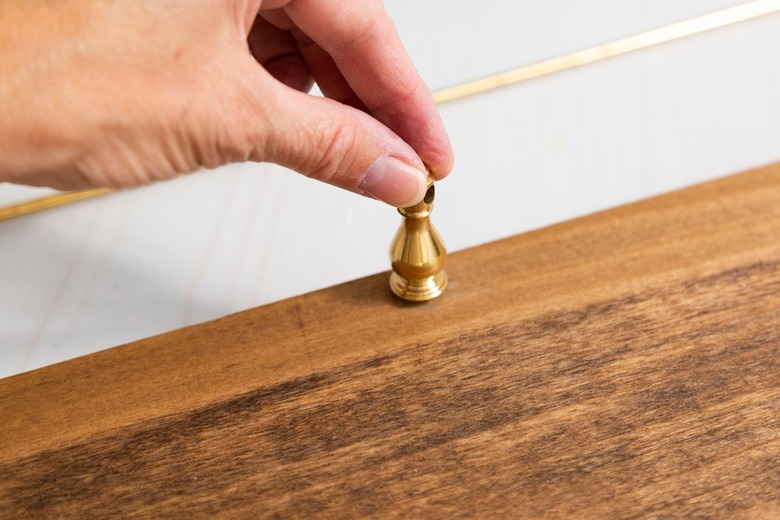
Step 6
Screw in the posts and slide in the long rail on the front of shelf. Cut the second 18 inch rail into two 4.25 inch rails for both sides. You will want to use bolt cutters for this. Screw in all of the corner pieces and center piece, and then add in the rails as you go.
Step 7
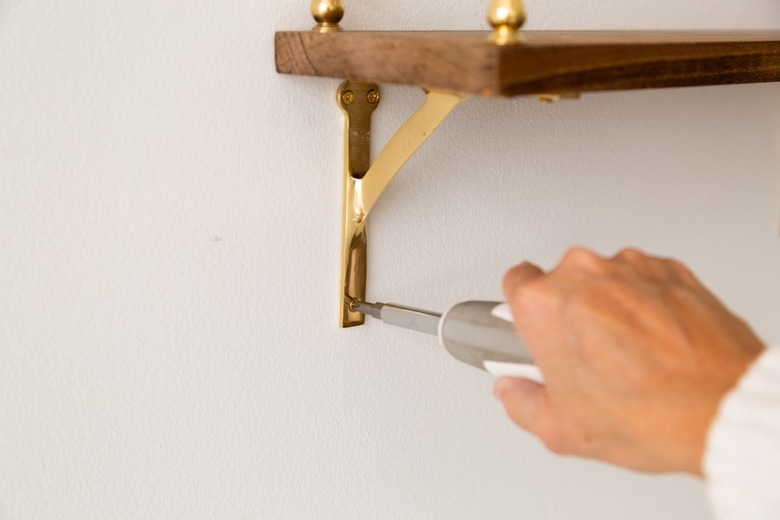
Add shelf brackets and screw into the wall using anchors. These brass brackets are so pretty.
More Home Decor DIY Projects
More Home Decor DIY Projects
- How to Install a Floating Shelf
- You Can Build This Hanging Plant Wood Shelf
- How to STYLE Open Shelving in Your Kitchen
- How to ORGANIZE Open Kitchen Shelves
- Makeover a Popular IKEA Shelf Using Contact Paper
- Easy DIY Circle Shelf
- DIY Wall Sconces (No Electricity Required)
- Step by Step Tips on How to Create a Cube Riser Tutorial
- Prop Styling Ideas for a Bookshelf, Coffee Table and Entryway Table
- Need Storage Shelves? Try This Pegboard/Shelf Combo DIY
