How To Install Wall Paneling Around An Existing Outlet Like A Pro
Adding paneling to a room's walls seems like a fairly straightforward task, but as you start the job, you will quickly find that complications will arise. They always do. And one of those complications is dealing with the electrical switches and receptacles that you're about to cover up, leaving you in a room with the lights permanently off and nowhere to plug in a lamp. Obviously, you need to figure out exactly where to make those cutouts for electrical boxes, but there might be a bit more to it. In fact, you might be about to violate electrical codes with a dangerous situation ... while creating an eyesore, to boot.
Don't worry. We'll walk you through how to deal with all of it. And it's so simple you won't even bother kicking yourself for not thinking of it.
On the other hand, maybe you've done this job before. It's always startling when you find out you've done something wrong, much less done it wrong 100 times. On top of that, you could have done a better, safer job for less than two bucks, and with very little additional effort. Knowing these little things is part of what being a pro is about, and it can be hard to learn them on your own. Because, long story short, after you figure out how to locate your rectangular cutouts, the issue is that if you've installed paneling to drywall – and the paneling is more than ¼ inch thick — your cutout won't be sufficient.
Where to make switch and outlet cutouts in paneling
First thing's first. Before you do anything at all with a wall outlet or switch, turn off the circuit breaker or breakers for that switch or outlet and use a voltage tester to verify there's no longer power to that device. If your circuit breakers aren't labeled, take your time and figure out which circuit breaker is which. Now, let's turn to the problem of where to put the hole in your paneling so that you can use the outlet to charge your phone and finish reading this article.
There are a lot of tricks for locating and accurately cutting the holes for electrical boxes on drywall and paneling... including beating a box's outline into your drywall with a mallet, using marking sheets (sort of like red carbon paper), and using something like Buddy Tools' Mark N Guard to transfer the box location to your wall covering. But the mallet trick won't work with paneling over drywall, and odds are you don't have either of the other tools handy. Thankfully, HART Tools (@harttoolsusa) posted an idea to TikTok for marking box locations using paint: Add a dab of paint to each cover plate before you remove it (it's probably best to match the plate's color as closely as possible), then carefully press your new wallcovering into position so the paint transfers to the back of the paneling. Connect these dabs of paint with pencil lines, cut them out with a jigsaw, and Bob the Builder's your uncle.
Safely installing receptacles in thicker paneling
What the prior TikTok doesn't tell you is that if you are installing paneling or another combustible wall covering that's more than ¼ inch thick, the National Electrical Code (NEC) requires that you bring the electrical box forward so that it's flush with (or protruding from) the new wall covering's surface. DIYers are in the habit of simply allowing the recess to stand as is, but this can result in electrical devices that don't fill their cover plates properly and, worse, exposed bits of the paneling is now exposed to whatever dark forces — listen, electrical outlets can short out for many reasons – go on within an electrical box from time to time.
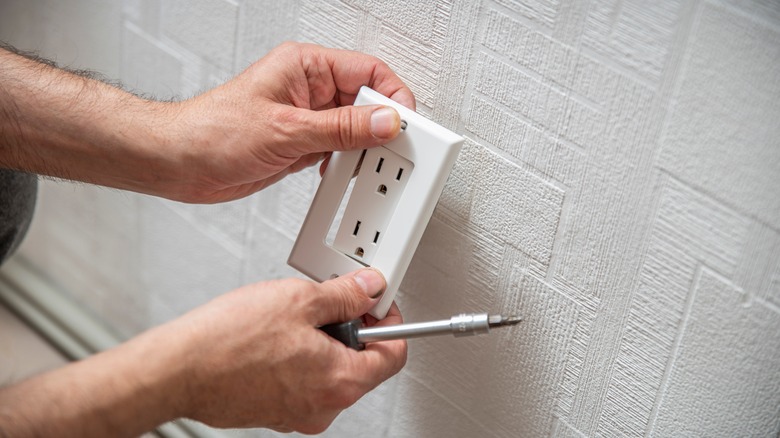
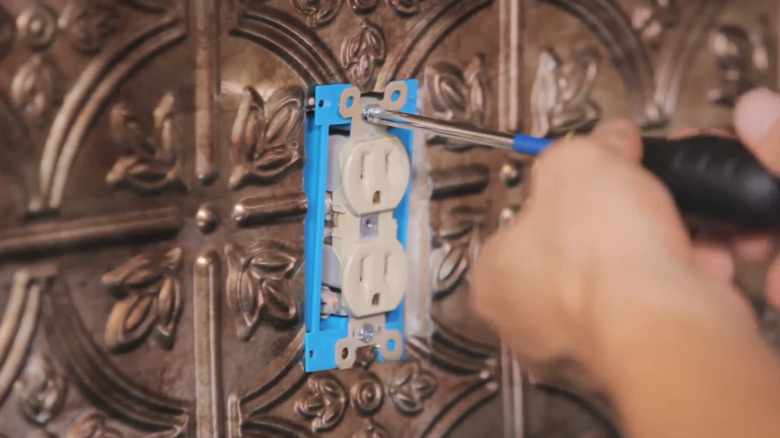
Don't be alarmed, though. If you're picturing yourself removing all the original boxes and rewiring each outlet and switch into new work boxes, you are probably on the phone canceling your paneling order already. But all that's really required is that you install an appropriately sized outlet extender to cover the exposed paneling edges. They're available for all box sizes and materials, and Home Depot sells five ½ inch 1-gang (meaning one switch or duplex receptacle) extenders for $8.56. Cut your holes big enough to accommodate the extenders, remove the cover plate, remove the screws attached to the receptacle's mounting brackets/ears, and pull out the receptacle a little. Slip the extender over the receptacle, push it into position, then screw the receptacle back into place. You're ready for that paneling now.