Tile Installation: When You Can (& Can't) Stagger Tiles In A Brick Pattern
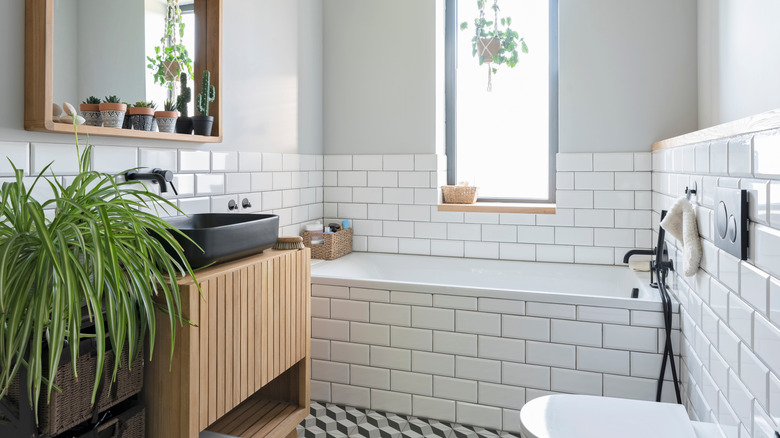
Being an interior designer, one of my absolute favorite parts of a bathroom remodel is picking out stunning tiles to bring the space to life. With millions to choose from, when you have finally narrowed it down to your final tile selection and decided which pattern to use for installation, it can feel like a seriously major accomplishment ... but then, in waltzes your tile installer, who shakes their head and says that the classic brick layout you had your heart set on is a no-go. Why?!
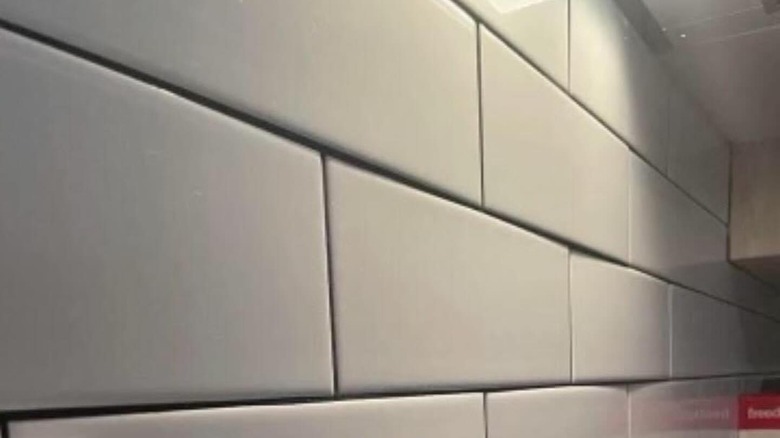
The good news is that your tile installer isn't trying to dodge a challenge or give you a hard time. There's a reason that some tiles cannot be installed in a brick pattern, and it's due to a concept called tile lippage, which is where the edge of one tile is not perfectly in line with the adjacent tile height-wise, creating an uneven and poorly-installed appearance. Trust me, no one wants that.
When it comes to manufacturing ceramic tiles, there is some degree of warping that naturally occurs as a part of the process, and the larger the tile, the more significant warpage can be. There are maximum acceptable limits defined by the American National Standards Institute (ANSI) for the warpage that can occur, which will vary depending on the type of tile. It is this inherent warpage that leads to tile lippage issues. So before planning your next tile project, let's take a deep dive into understanding what causes tile lippage and how that affects your layout options, so you can make an educated tile selection that will allow you to have the lovely and timeless brick layout you adore.
Why brick patterns make tile warpage and lippage issues more obvious
If there is warpage in all tiles, then why is the brick layout the only one that seems to be an issue? Well, warpage often creates a pillowing or bowing effect across the tile. For example, in the case of a bowing tile, the center point would be the lowest point, and the outer edges of a tile would be the highest. So even if the tiles line up perfectly from end to end in a row, when you offset the next row brick-style, the low center point on the new row will be lined up with the highest end points of the previous row, making the discrepancy in height very apparent. The brick layout makes the warpage and lippage issues the most obvious because it places the tiles highest and lowest points right next to each other, making for an unhappy homeowner and an equally unhappy installer, who does not want the responsibility (or cost of repairs) to fall on them.
This is why an industry standard was created to protect installers and help guide homeowners, which states that any tile with the edge longer than 15 inches should be installed with a maximum offset of 33%, or one third the length of the tile, to help minimize the lippage issue caused by warping and poor results. Tile manufacturers will also set their own recommendations and offset limits to assist in getting a high quality installation. While not all tiles have enough warping to lead to significant lippage, these best practices create a checkpoint to help avoid a bad outcome with the tiles that do.
What are your options if you can't put your tiles in a brick pattern?
If your installer expresses concerns over laying out staggered tiles in a brick pattern, the first step is to do a mock-up where they dry-fit several pieces together so you can visualize the difference in height between tiles. If the lippage isn't too bad, you can sign off on the layout, at which point the installer will proceed with your approval. If the mock-up shows that the lippage is too high for a brick layout, then consider reducing the offset to 33%. While it is not the exact same look as a traditional brick pattern, the offset has a generally similar aesthetic but with a zigzag vibe.
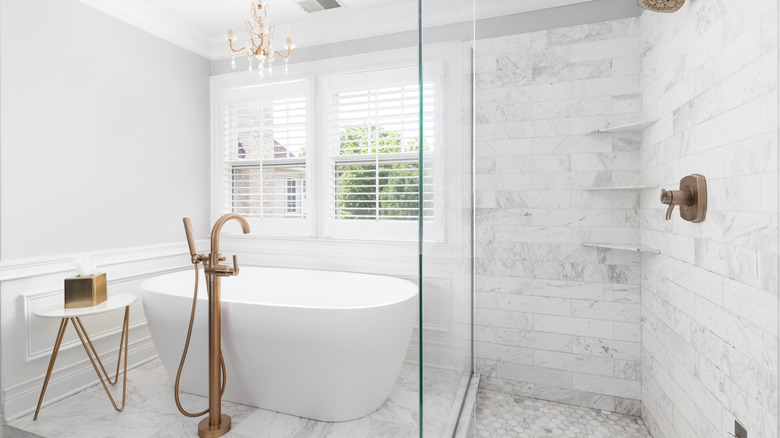
Now, if it's the classic brick pattern that speaks to you, and the material is less important? Change your tile selection. Natural or handmade tiles have the most variation, while calibrated tiles are manufactured to be consistent in dimension but acquire some warpage during the kiln firing at the end of the process. Rectified tiles are ground down to size after firing, meaning they have the most precise dimensions, making them your best bet for minimal lippage brick patterns, sometimes even in larger formats like 12x24 inch tiles. Look for options without an offset maximum listed on the packaging or website. In addition, smaller scale tiles under 15 inches will also help ensure you minimize tile lippage.
While it may seem like a bummer to not get the brick offset you were hoping for, or to compromise with a different tile selection, having an unacceptable lip on every tile after paying all that money ... well, that would be so much worse. Follow these lippage guidelines to make your brick pattern dreams come to life beautifully.


