The Trick To A Seamless Painter's Tape Application Is Sitting In Your Wallet
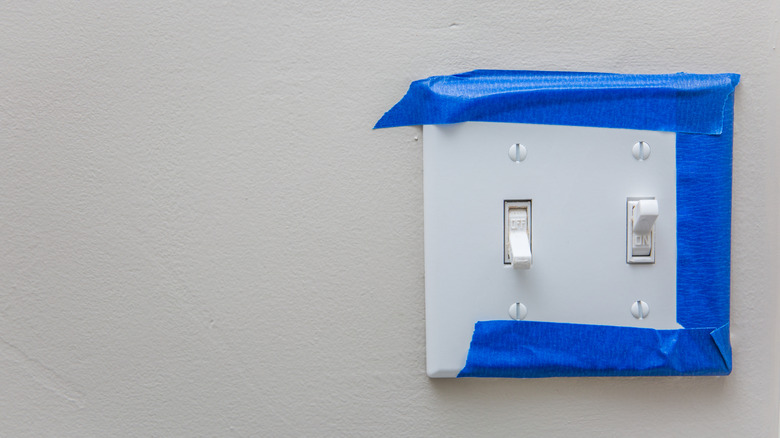
Achieving crisp, perfectly clean paint lines can feel like an impossible task. Painter's tape is a great ally, but only as long as you master its application and use. Securing painter's tape perfectly along the edges will prevent any paint from bleeding through and making a mess. Painter's tape is designed to give you those sharp, professional paint lines with ease, which is a key to painting any room! Simply apply it over the surfaces you want to keep paint-free. Think windows, moldings, light switches, or spots where walls meet the ceiling or baseboards. It's also handy for taping down rosin paper to protect floors from stray splatters. Thanks to its impermeable quality, painter's tape blocks paint from seeping through and peels off cleanly when you're done — even if it's been there for days.
But here's the trick: painter's tape is only as effective as its application method. By using a credit card, ID, or gift card from your wallet to firmly press down on the tape, you can help create more seamless lines in your paint application. Start by placing the tape along the edges you want to protect, pressing it down lightly with your fingers. Now, to get that perfect seal, grab a hard-edged card from your wallet. As TikTok user @makingmanzanita does, press along the tape's edge with the card to smooth out wrinkles and eliminate air bubbles, where paint can sneak in. Gently slide the card's corner along the tape, applying even pressure to lock the tape in place and make it airtight. Voilà! Sharp lines, no mess.
Other tips for perfect painter's tape application
There are a few other tips to help you get the best results out of your painter's tape credit card hack. First, prep is key! Make sure the surface is clean, dry, and free of dust or residue. A quick wipe down with a sponge, water, and a little dish soap should do the trick, but be sure the area is completely dry before you apply the tape — moisture can interfere with the tape's adhesion. While this will work with any painter's tape, including the typical blue version, @makingmanzanita uses green FrogTape for her project.
After applying the tape and smoothing out any wrinkles or bubbles with your credit card, let the tape set for about 30 minutes to an hour before painting. This brief wait helps the adhesive fully bond with the surface, making for cleaner lines once you start painting.
Finally, there's a bit of debate around tape removal timing: some suggest removing it while the paint is still wet, while others recommend waiting until it's dry. However, the best approach for making sure you're using the optimal application method is to check your specific painter's tape instructions to avoid any mishaps. When you're ready, peel back the tape slowly backward to prevent any paint from lifting with it. Plenty of tricks help you achieve flawless paint lines, even on textured walls, but the key is always patience and prep!
