The Wood Filler Hack That'll Get You Smooth Results (With Less Sanding)
We may receive a commission on purchases made from links.
All DIYers know that when finishing — that is, painting or staining — a surface with scratches or seams visible, they'll be unsightly if we do not fill them properly. But do you know that there is a "proper" way to fill those pesky problem cracks? While the word "proper" may be a stretch here, filling the seams quickly, and doing less sanding to boot, makes for a great hack. It will save you time and improve the quality of your finishing efforts as well.
First, let's identify the problem that occurs. Namely, whether you are talking about a visible seam between two panels that you might be painting, or a deep scratch or just a void, if you load up the filler over the top of the area (that is, to be sure it's completely filled) it will overflow onto the surrounding surface. That filler in question might be wood filler, or it might be spackle, super blue, or epoxy, but the issue is the same: Once you've overflowed the crack, scratch, or dent, once it's overfilled, it will harden to the areas outside the crack as well — and like iron. Now, you're faced with the task of sanding the area flush without marring the surrounding surface ... and depending on what product you are using to fill the offensive surface flaw, it can be really hard to sand it flat.
Don't give up, though, because there's a way to hack your way free from that annoying sanding task (mostly).
A little tape will save you hours of sanding after using wood filler
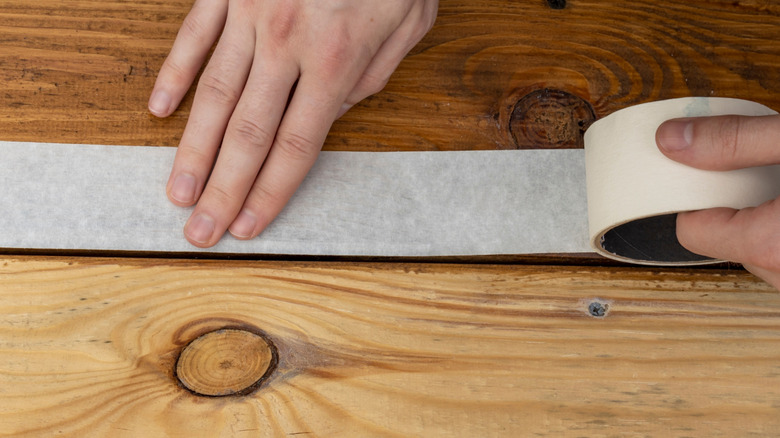
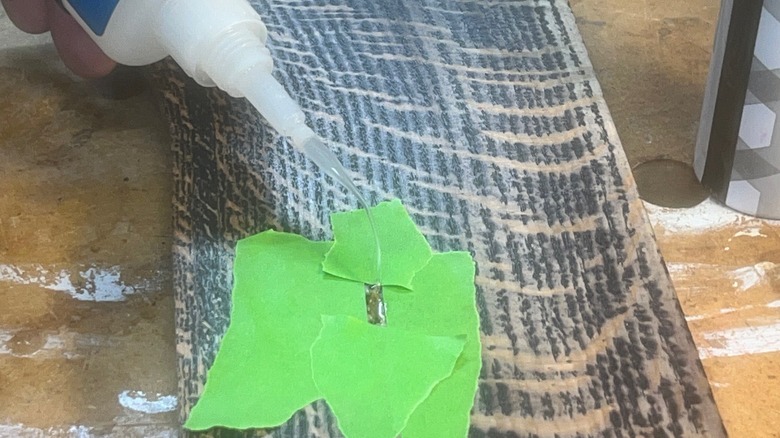
Before you fill the seam or void, grab some masking tape. Now, run-of-the-mill masking tape will work in a pinch, but you are much better off using painter's tape like ScotchBlue. These tapes are designed to both adhere and to stop paint flow, and then to pull off easily. Now, use the tape to mask off the area you intend to fill. Long strips of tape on either side of a seam, for example — and if you do this, get the edge of the tape right on the edge of the seam. If you have a dent or irregular void, try cutting a hole in the tape that's approximately the size of the void. Put the tape over the void and modify the hole in the tape with a craft knife to match the shape more accurately. The idea is to mask around the problem area, to keep the filler from sticking to the surface outside of the dent or seam.
Once you have the area masked off, apply your filler of choice. The filler should be overflowing the seam, dent, or crack. Now grab something flat and flexible like an old credit card. Use it to gently remove the excess filler with a squeegee-like action. If you have a narrow seam, your finger might just do the trick.
Now, allow the filler to cure. When it is dry, check to see if the filler has shrunk below the surface. If so, add more filler. If not — while the painter's tape is still in place – carefully sand the area smooth. When you're done, remove the tape and examine the fix. If the filler is still a bit proud of the surface, gently sand it level.

