11 Grill Cleaning Tips & Tricks You'll Wish You Knew Sooner
The prospect of cleaning your grill can feel overwhelming, especially when it's just one more item on a long to-do list. Thankfully, it's far simpler than it seems. And with a few clever hacks, you can make the job not only faster but also far more effective. Even better, you likely already have most of what you need — no need for specialized tools or cleaning sprays. Everyday items like aluminum foil, vinegar, a handheld steamer, and even beer can transform the most stubborn grime into a distant memory, saving you time and effort. These household heroes, combined with the right techniques, can leave your grill looking spotless and ready for action.
By adopting a few preventive measures as well, your future self will thank you for those small gestures of thoughtfulness. Habits like using grill trays, oiling the grates, and emptying the drip tray regularly will keep your grill in great shape while minimizing the mess. It's all about working smarter, not harder. With a little know-how and preparation, you'll spend less time scrubbing and more time savoring those perfectly grilled meals.
First off, you need to clean your grill more often than you think
There's one golden question that kicks off every discussion of grill care and maintenance: How often should you clean it? The answer really depends on how much you use it. During peak grilling season, when burgers and crispy veggies are a regular occurrence, aim to give your grill a deep clean every couple of months. This consistency prevents grease and food buildup, which not only leads to cleaning headaches down the road but can affect cooking performance as well.
For the less active grillers out there, a cleaning every quarter or so is sufficient (if it's getting used year-round; otherwise, at the end of your primary grilling season will suffice). However, even for this crowd, it's a good idea to give your grill a quick check every few uses. Look for grease in the drip tray or ash in the bottom of a charcoal grill — these should be cleaned out regularly to prevent flare-ups.
Keeping to a regular cleaning schedule improves the taste of your food and also ensures your grill stays safe and functional for years to come.
Don't skimp on basic grill maintenance
Grill maintenance involves minimal effort that pays big dividends in the long run. To start with, proper care involves ensuring safety before cleaning: Always turn off and disconnect the gas before getting started. This reduces the risk of gas leaks and other accidents. Another key rule is to avoid excessive water use on the burners. The components themselves, generally made of stainless steel or cast iron, can hold up just fine. But the electrical components are at risk and moisture can prevent them from firing come cook time. Some water is fine, but you just need to be sure that burners are completely dried before use, which can be tricky given their small holes and unreachable spots.
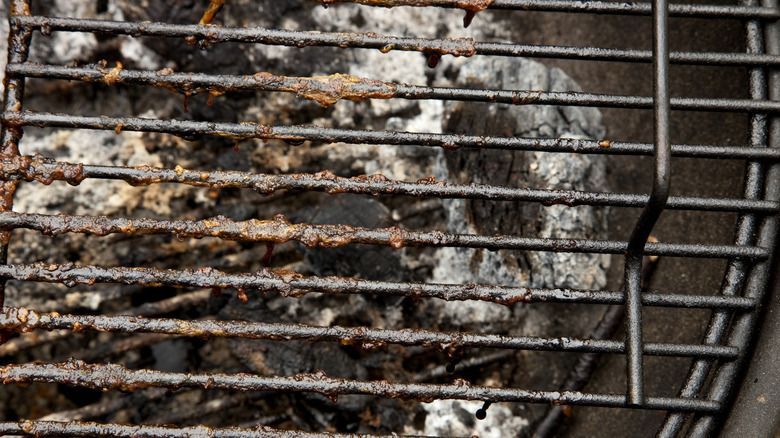
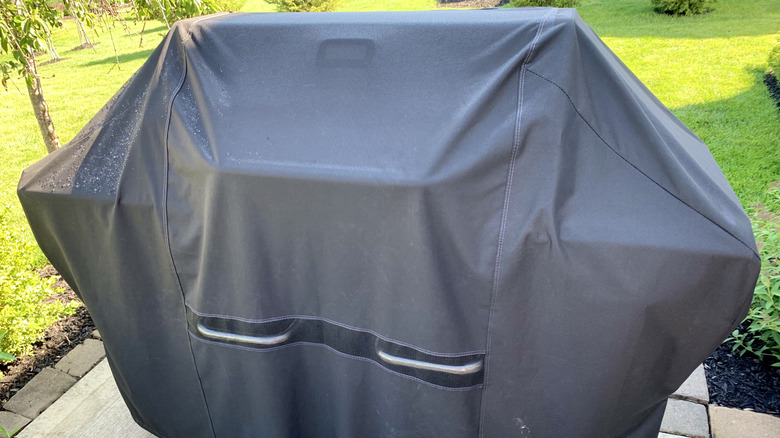
Also related to water: Invest in a durable grill cover. Doing so will protect it from rain, dirt, bird droppings, acorns, and other outdoor elements. Following this practice extends your grill's lifespan and reduces the need for deep cleaning. Along with all that, know that emptying the drip tray after each use might feel tedious, but it's essential for both optimal grilling and your safety. Accumulated grease not only invites pests but also poses a serious fire and smoke hazard. Similarly, wiping down grates after grilling prevents food and oil buildup that can harden over time.
Don't put grill parts in the dishwasher
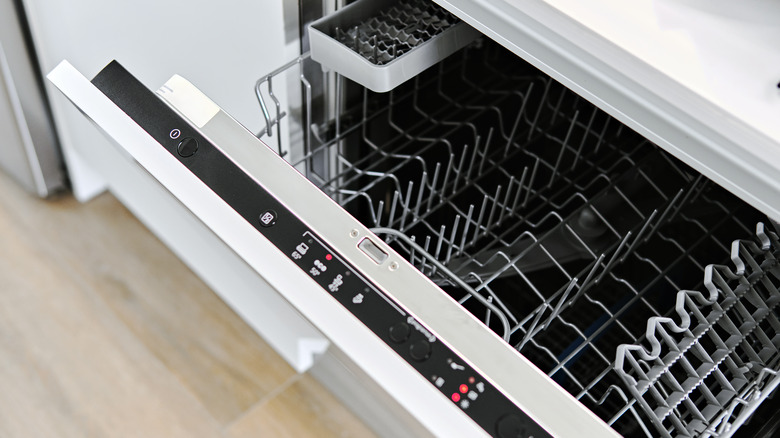
Using a dishwasher for grill cleaning might seem like an easy solution, but it often creates more problems than it solves. While it's tempting to throw in greasy grates or trays, most grill parts aren't designed for dishwasher use. The intense heat, moisture, and detergent can strip protective coatings, making them more susceptible to rust or wear. Moreover, excessive grime and grease can clog your dishwasher's filters and pipes, leading to potential damage.
A better approach? Handwashing with soapy water and a sturdy grill brush. If you have particularly stubborn grime, keep reading, as we'll explore a few homemade solutions that will do the trick. Regardless, know that while handwashing is not as easy or convenient, it ultimately protects both your grill and your dishwasher. By sticking to hand-cleaning methods, you'll preserve the quality of both while keeping them running smoothly for years to come.
A simple brush works best for scrubbing your grill
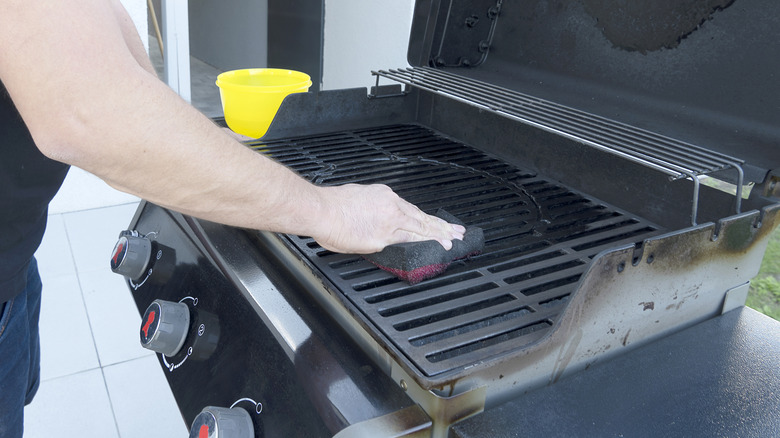
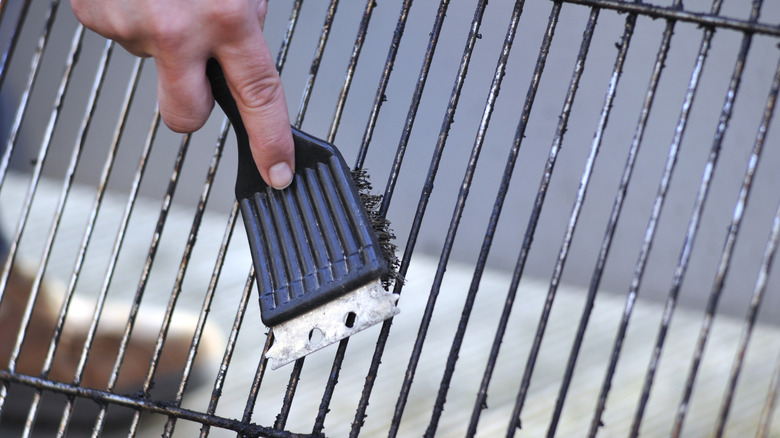
When it comes to scrubbing grill grates, there's no need for fancy tools — a simple wire brush gets the job done. These brushes are designed specifically to remove baked-on food and grease, making them an essential part of your grilling toolkit. Good for use both as part of your regular maintenance and your deep cleaning routines, a grill brush is an essential part of any griller's toolkit.
That said, wire brushes aren't without controversy. Stray bristles can occasionally detach and stick to grill grates, posing a health risk if they end up in food. To avoid this, inspect your brush regularly and replace it when the bristles begin to fray. If you'd rather not use a wire brush, there are plenty of safe alternatives to look into. Options like nylon brushes, wood scrapers, or stainless-steel coil brushes are effective and eliminate the risk of bristle contamination.
Invest in a quality brush or scraper, and your grill will thank you with better performance and tastier results. And believe it or not, you should occasionally clean the brush, as well! But that's a topic for another day.
Used balled-up aluminum foil as a grill brush alternative
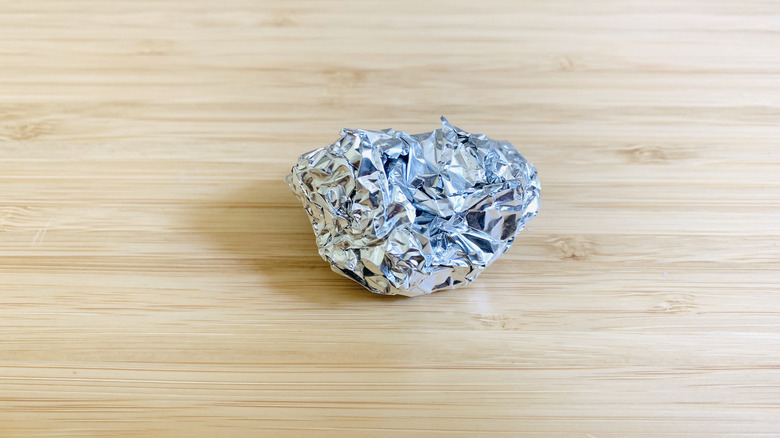
Ever find yourself ready to clean your grill, but your trusty brush seems to have gone missing? Those dang squirrels are at it again! Don't worry, because a simple ball of aluminum foil is a surprisingly effective substitute. This household staple can handle grease and grime almost as well as a dedicated grill brush, making it a great hack for quick cleaning.
It's so simple that anyone can do it in a snap: tear off a medium-sized sheet of aluminum and crumple it into a ball. Using a pair of tongs to protect your hands from the heat, rub the foil along the grates, focusing on areas with stuck-on food or charred bits. The foil's rough texture works wonders at dislodging stubborn residue. After cleaning, wipe the grates with a damp cloth to remove any foil fragments that may have broken off during scrubbing. While this method isn't a permanent replacement for a proper grill brush, it's an excellent solution in a pinch. Whether you're camping, tailgating, or just improvising, aluminum foil is a surprisingly handy tool for keeping your grill clean.
Use naturally acidic foods for cleaning your grill
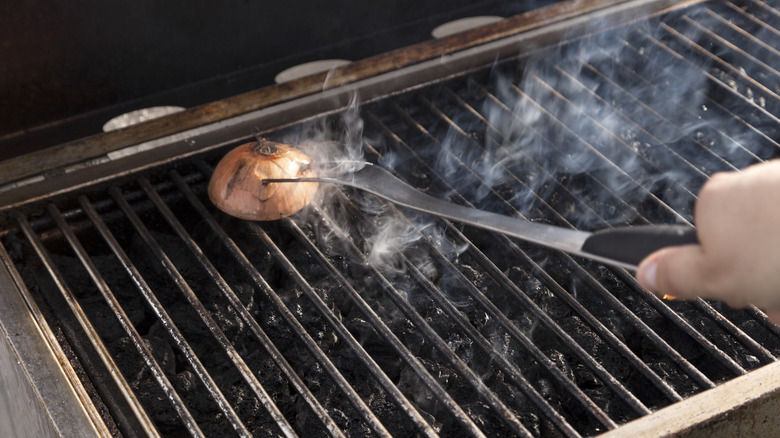
Natural acids found in everyday ingredients can be a surprisingly good solution for cleaning your grill. Onions are an especially convenient and effective option. Simply cut an onion in half, spear it with a fork or tongs, and rub the cut side across warm grill grates. The heat activates the onion's natural acidic and antibacterial properties, helping to loosen food residue. Nice bonus: It will also leave your grill with a subtle, savory aroma.
Lemons work similarly, with the added benefit of being a natural deodorizer. Cut a lemon in half, dip the exposed side into coarse salt, and scrub it along the grates. The salt adds extra scrubbing power, while the lemon juice dissolves stubborn grease. Beer, while less conventional, is another effective cleaning agent. Pour a bit of beer over warm grates, let it sit for a few minutes to penetrate and loosen residue, and then scrub with a brush or sponge. Its mild acidity works much like onions and lemons, making it an ideal last-minute solution if you have nothing else on hand. These natural acids are not only safe and effective but also leave your grill smelling fresh and ready for your next barbecue.
Try a handheld steamer on your grill parts
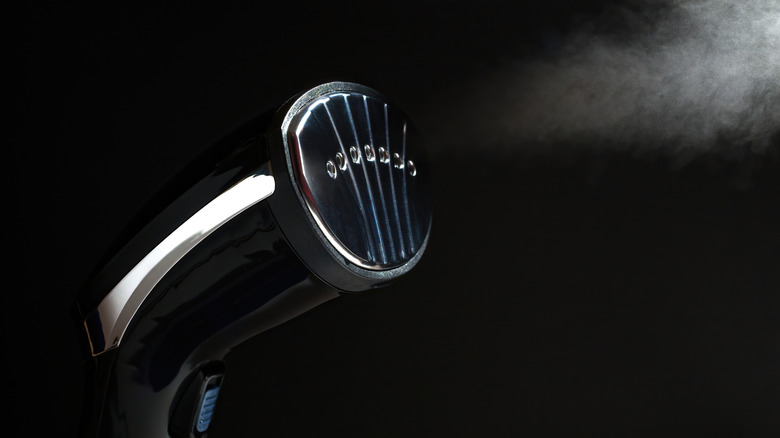
A handheld steamer can be a game-changer when it comes to cleaning your ... grill? That's right! Steam is a natural cleaning agent that loosens grease and residue without the need for harsh chemicals. This method is particularly effective for grates and removable components, as the hot steam penetrates even the most stubborn buildup.
To use a steamer, start by heating the grill slightly — just enough to warm the grates but not too hot to touch. Then, turn off the heat and use the steamer to slowly go over the grates. The combination of heat and steam will dissolve stuck-on grime, making it easy to wipe away with a cloth or scrub off with a brush. One word of caution: Avoid using the steamer directly on the grill box or burners, as excessive moisture can lead to rust or malfunction. Instead, focus on detachable parts like grates and drip trays. This method is efficient, eco-friendly, and a great way to keep your grill looking like new.
Make a vinegar solution for cleaning your grill
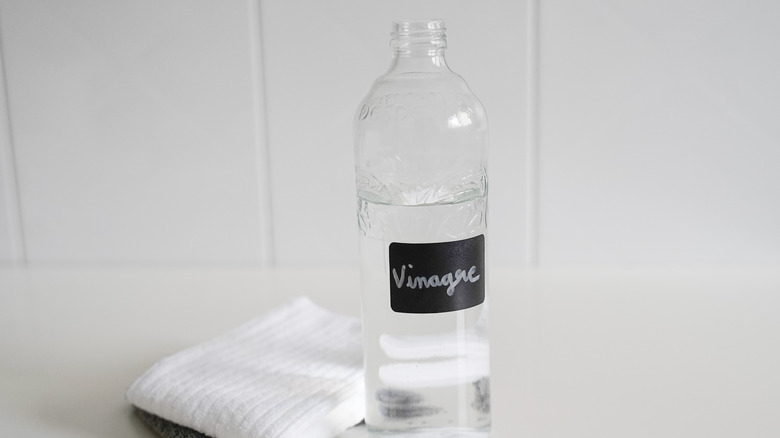
Everything you've heard is true: White vinegar is a powerhouse cleaning agent, perfect for tackling grill grime. Its natural acidity dissolves grease and breaks down residue without relying on harsh chemicals. Best of all, it's safe, affordable, and readily available in most households.
To clean a grill with vinegar, mix equal parts white vinegar and water in a spray bottle. Start by spraying the mixture liberally over the grates, drip trays, and any other removable parts. Let it sit for 10-15 minutes to allow the vinegar to work its magic. For stubborn spots, soak the parts in the solution for a more thorough clean. Once the residue has loosened, use a sponge or brush to scrub the surfaces. Wipe everything down with a damp cloth to remove any remaining vinegar or grime. This method also works for the grill box, but remember to be cautious around burners to avoid introducing excess moisture.
The beauty of vinegar is its versatility. It will be effective on nearly every part of the grill and can even help remove odors. With a vinegar-based cleaning routine, you'll have a sparkling grill that's ready to impress.
Try a baking soda paste to clean your grill
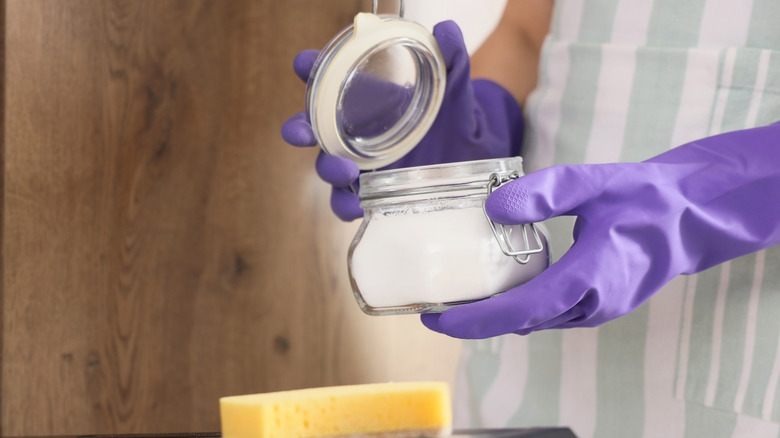
Baking soda is another go-to cleaning agent that's both gentle and effective. Its mildly abrasive properties make it ideal for scrubbing away tough grime without damaging your grill's surfaces. Combined with water or vinegar, it forms a powerful cleaning paste that tackles even the most stubborn buildup.
To make the paste, mix water or vinegar with baking soda using a 3:1 ratio until you achieve a thick, spreadable consistency. Apply the paste generously to your grill parts and then let it sit for 10-15 minutes to give the solution time to loosen grime and grease. After soaking, use a brush or sponge to scrub the surfaces. For particularly stubborn areas, reapply the paste and repeat the process. Rinse everything thoroughly with water to remove residue, and wipe dry with a clean cloth. Baking soda is not only effective but also non-toxic and eco-friendly, making it a great choice for households looking to avoid chemicals.
Use grilling trays to minimize mess
Grilling trays may not appeal to barbecue purists, but they can be a lifesaver when it comes to cleanup. These handy accessories prevent small food items, like vegetables or shrimp, from falling through the grates and making a mess (or causing flare-ups). They also minimize mess by catching a good portion of grease, marinades, and other drips. Using grilling trays doesn't have to mean sacrificing flavor. Many trays have perforated surfaces that allow heat and smoke to circulate, ensuring that your food retains that signature grilled taste. They're especially useful for delicate items, like fish, that might stick to grates or break apart during cooking.
The best part? Grilling trays are incredibly easy to clean. Most can be tossed directly into the dishwasher, saving you time and effort. By adding a grilling tray to your routine, you'll not only reduce cleanup but also extend the life of your grill by keeping it free from excess buildup.
Oil your grates before grilling
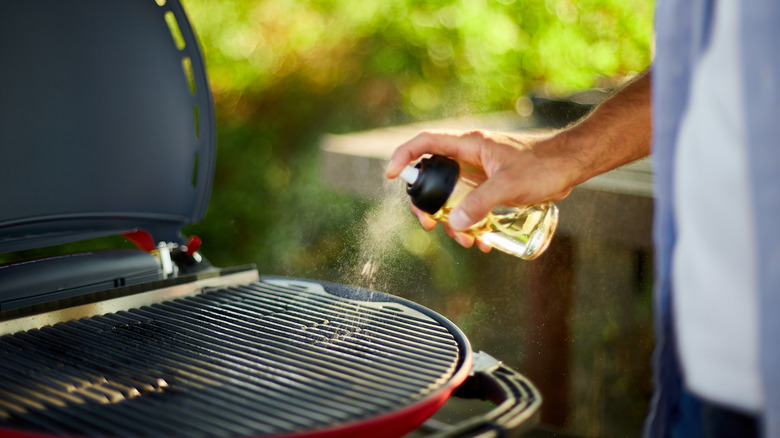
Oiling your grates before each grilling session is a simple yet highly effective preventive measure. This step helps to create a non-stick surface, making cleanup easier and ensuring your food cooks evenly without sticking. It also protects the grates from rust and wear over time (though you should know that there does come a time when you'll need to replace your grill grates, but let's hold it off as long as we can!).
To oil your grates, dip a folded paper towel into a small amount of high-heat oil, like vegetable or canola oil. Using tongs, rub the paper towel across the grates, ensuring an even coating. Alternatively, you can use a non-stick cooking spray for convenience—just make sure to apply it before lighting the grill to avoid flare-ups. This small step can save you significant effort later. By reducing the amount of food that sticks to your grill, you'll have less scrubbing to do after cooking. Plus, oil contributes to the natural seasoning of your grates, which thereby ensures the perfectly grilled flavor and texture you're going for.
Use your grill's heat to your cleaning advantage
Your grill's heat can be one of the most effective tools for keeping it clean. By using high temperatures strategically, you can burn off grease, food particles, and other residue, making cleanup much easier.
Start by turning your grill to high heat immediately after cooking. Close the lid and let the grill run for 10 to 15 minutes. This process incinerates stuck-on food and grease, leaving behind a thin layer of ash. Once the grill has cooled slightly, use a brush or scraper to remove the ash from the grates. At the beginning of grilling season, you can also use heat for a deep clean. Fire up your grill on high for 20 (or even 30) minutes to burn off any lingering debris from storage.
Finally, after cleaning your grill with soap or other solutions, another quick blast of heat helps to burn off any residual cleaning agents. This ensures that your grill is clean, safe, and ready to go for your next meal. Who knew your secret and most effective cleaning weapon was built right into the grill itself?
