DIY Woodworking For Beginners: The 3 Tools You'll Need To Get Started
We may receive a commission on purchases made from links.
When folks learn that I'm a professional woodworker, they often respond with something like, "Oh, I'd love to do woodworking, but it looks so hard and I'd need so many tools." I get it, but luckily for me, woodworking is not rocket science. Even beginners can get the hang of it. In fact, working with wood essentially requires only three steps: cutting and or shaping the wood, joining the pieces together, and smoothing them for a finish.
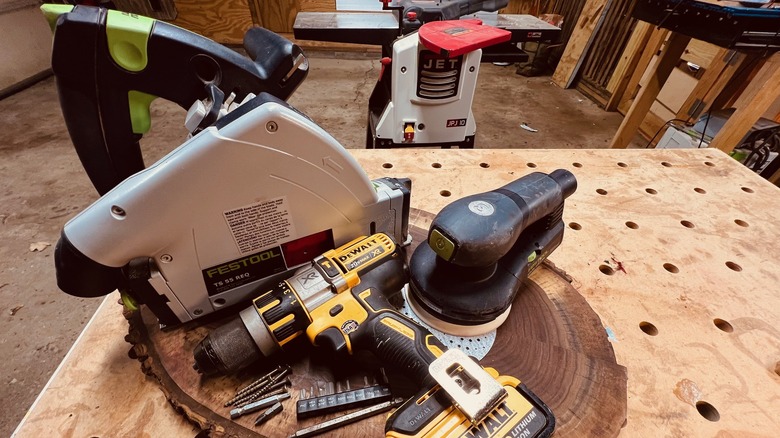
But if you still find the prospect of woodworking to be intimidating, then I am here to tell you that with just three tools (you might already own many of them!) and a little encouragement, you can start making useful wooden projects right now. The three basic carpentry tools you need to get started are a handheld circular saw, a drill and driver set, and a power sander. That's all it will take to get you making your own woodworking projects. With some wood, basic tools, and a little know-how, you can start to take your DIY prowess to the next level.
Cutting and shaping the wood
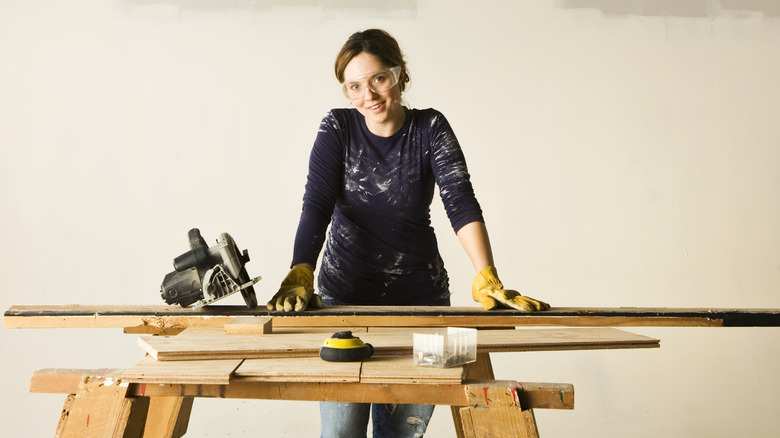
You'll use the circular saw to cut the wood to size and shape needed for your project. There are a few different sizes of handheld circular saws, from mini-circular saws with blade diameters from 4 ½ inches to the more common 7 ¼-inch size. There are corded or cordless versions with varying power ratings expressed in amperage for corded saws and volts for battery powered saws. You might already own one, but if not, get a 7 ¼-inch corded saw. If you don't own one, I would stay away from the cordless models — they are more expensive and some brands lack power. Corded models are inexpensive by comparison and have power to spare.
But these are construction tools. Can they really be used for woodworking? The answer is yes, but be sure to have a sharp blade mounted in the saw. (Get a new blade if you have an old model and are not sure.) To make accurate cuts with a circular saw, use a guide or a "fence" of some sort. This guide can be simply a straight piece of wood to slide your saw along to keep it cutting straight, or you can purchase a guide made for just this purpose. Tools with sharp edges have an inherent danger, so make sure you know the proper technique for how to use a circular saw. The board you are cutting should be secured so it won't move, and of course, keep your fingers away from the blade!
Joining the wood together
Power drill and driver sets are another tool that is common for homeowners to have on hand. Again, you can get corded versions that you plug into a wall outlet or battery-powered models. To have sufficient power for both drilling holes and driving screws, I recommend battery-powered drills of 12 to 20 volts. Corded drills will be powerful enough. Two of the main tasks in woodworking are cutting and shaping the wood, but the next step is properly joining the wood together.
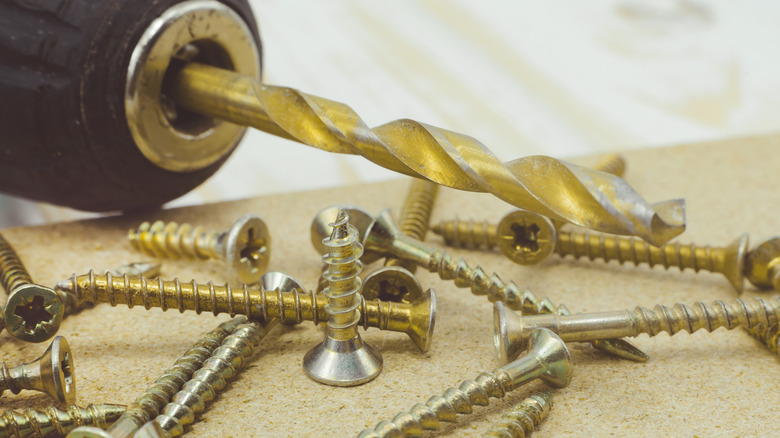
For beginners, we'll be joining the pieces using fasteners such as screws — with or without glue — as the most effective option. This tool will both drill the pilot holes for the screws using a drill bit, but when you put a screwdriver bit into your drill, it becomes a drill/driver for common options such as Phillips head screws with a little "X" on the screwheads. They work great with powered drivers because the "X" grips the bit and keeps the driver from spinning off of the screw.
When using screws to join wood, there are a couple of ways to hide the screw heads if that is your desire. Hiding the screws can make your project look a bit more professional. Wooden plugs, which would require you to predrill a special hole for them in a process called counterboring, are good if you are going to use a clear finish on your projects. But you can also countersink the screws and use wood putty to hide them if you want to paint the piece.
Smoothing the wood
Once you have cut your wooden pieces to length and then joined them together with screws, you can prepare the wood for a finish. When working with dimension lumber, which is the most likely option for beginner DIY woodworkers, the wood will be "surfaced" but not super smooth. For most projects, you'll want the surface of the wood to be much smoother.
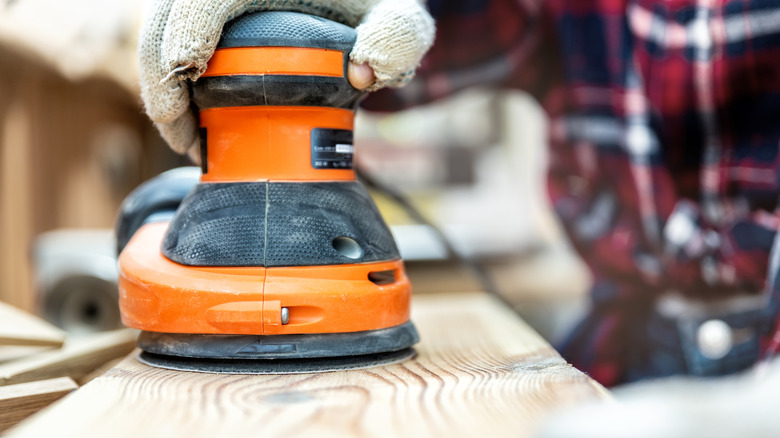
You can do it by hand with sandpaper and a sanding block, but smoothing wood is much easier with a power sander. I recommend random orbital (RO) sanders. Their rotary action is less likely to cause unwanted sanding marks, so you can sand like a pro. Depending on the model, the sander will have a variable speed control — most people (including me) just set it at the highest speed and leave it there. (I'd set it at 11 if that were possible.) Quality matters with RO sanders, so don't simply purchase the cheapest model available. My advice: buy a nationally known brand in a corded model in the $60 range, like this Craftsman model.
These three tools will get you started in woodworking. If you buy pine dimension lumber (1x4s, 2x2s, 1x6s, or 1x12s) you can make myriad projects like shelves, small tables, stools, picture frames, charcuterie boards, and more. The Internet is full of examples for you to consider, and you will be limited only by your imagination. Basic woodworking like this can be a panacea for those of us who find ourselves looking at a computer screen all day. It might be just what you are looking for.


