How To Make A Custom Root Cellar That Won't Break The Bank
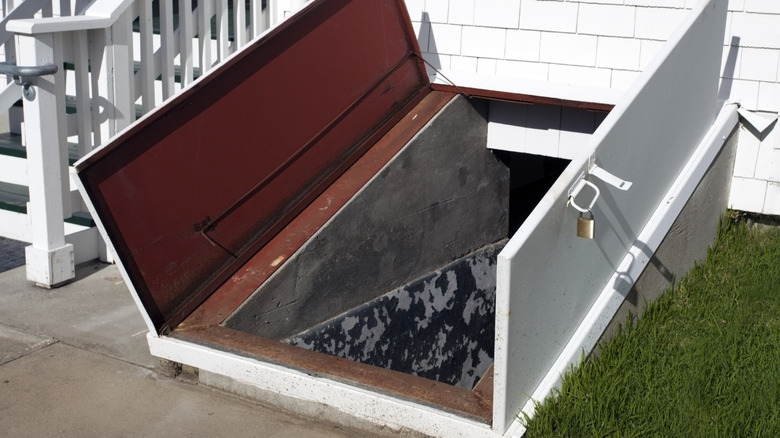
One occasionally sees, cut into the side of a hill or lying flat next to a home's foundation, a door in that ground that leads to a drab, potato-colored wonderland of vegetable storage: a root cellar. Surely the modern world has put an end to the idea of preserving vegetables underground without refrigeration, right? But it's actually a great way to keep produce fresh far beyond their use-by dates as a piece of history between a cave and a cooler that hasn't outgrown its usefulness. And it's not that difficult (or expensive) to make your own.
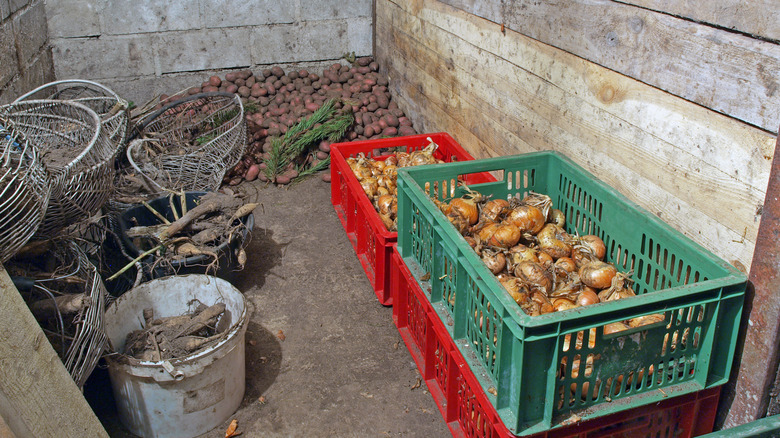
Traditionally, a root cellar is dug below the frost line, where temperatures are consistent and slow to react to seasonal changes. If you're a vegetable gardener, it's a great preservation method without canning or freezing everything. The ideal root cellar is the traditional one, where food is kept in a dark, humid environment at 32 to 40 degrees Fahrenheit with plenty of ventilation. Fruits and vegetables tend to prefer high humidity, achieved via moisture in a dirt floor, pans of water, damp burlap, or other points of wetness. The consistent temperature is acquired from the nearby earth.
Ventilation is best accomplished when a low intake on one side of the cellar admits fresh, cool air, while a high vent on the other side lets warm air out. All of these are important to prevent rot, but note that different types of produce have different requirements for storage: root vegetables tend to work best. If you're ready to DIY a budget-friendly root cellar, first decide if you want one indoors or outdoors.
Indoor root cellar options to consider
Aside from being an excellent trap for unsuspecting meter readers who might fall through the decaying door covered by leaves since 1978, the traditional dug root cellar has some disadvantages: expense of installation, for example. There are, of course, far more ways of avoiding work than there are of doing it, so there are a variety of root cellar designs ... some of which don't require digging. Some outdoor options are impractical in warmer climates, and others can be challenging and pricey. Above-ground outdoor cellars basically involve moving dirt and grass on top of the structure.
But if you have a basement (or a tall crawlspace), one affordable option is to simply build your root cellar into the space below your living quarters. A basement root cellar can be created by enclosing a corner of your basement, thoroughly insulating any wall or ceiling charred with heated space, and adding ventilation and a source of humidity much higher than the ideal humidity for a finished basement. DIYing this is cheaper option, too.
Ventilation can be easier if there's a window in your little root corner. The usual method is to board over the window and run two pipes through it: one that exhausts warm air directly out the window, and another that pulls in fresh air and then pipes it to the floor and, ideally, across the room. The warm air's escape creates a vacuum that's filled by pulling in cooler air through the other pipe, and convection moves the cooler air through the room.
An affordable outdoor root cellar... in a sense
If a structure is entirely (or almost entirely) underground and fully enclosed, one might hesitate to call it an outdoor space. But many build root cellars outside to achieve complete thermal separation from the heated space inside their homes, which make your job of cooling the cellar harder. Some people create root cellars by burying whatever is on hand: storage totes, coolers, refrigerators and freezers, and even a buried school bus. But the most common low-budget root cellar option, particularly for USDA hardiness zones 6 and 9, is the buried trash can.
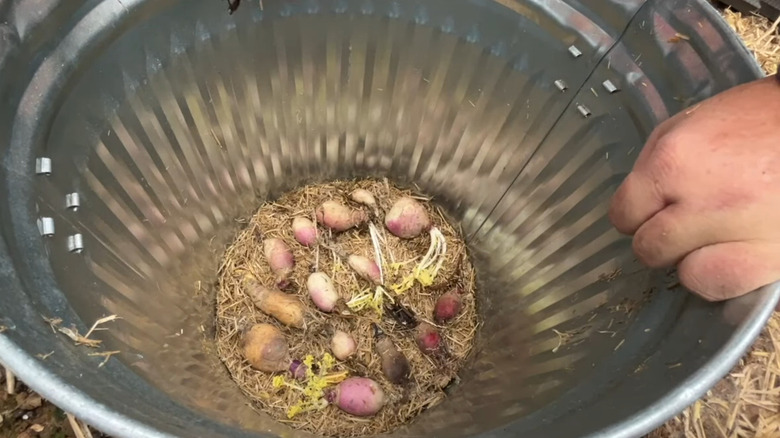
Even within the underground garbage can world, there are many variations. YouTuber @HomesteadDIY (who lives in zone 7a) built one that, by all accounts, should not have worked. It had the temerity to work anyway. @HomesteadDIY buried his can inside a greenhouse and above the frost line, with no holes to admit water or allow for ventilation. Five months later, he pulled firm root vegetables from the can. A few potatoes on the upper levels had sprouted during a warm spell, but otherwise his experiment in simplicity was successful.
A more elaborate option will work even better. For instance, use nested 55- and 32-gallon garbage cans with holes drilled in their bottoms for ventilation and to allow moisture in from the soil below. Cover the smaller can with a lid with screened holes. Then bury the whole thing in the ground with a gravel French drain in the bottom to handle excess water and cover it all with leaves or hay for insulation. You'll be spending way less than if you had one built professionally.


