Unclutter Your Kitchen With A DIY Solution Using Dollar Tree Wood Trays
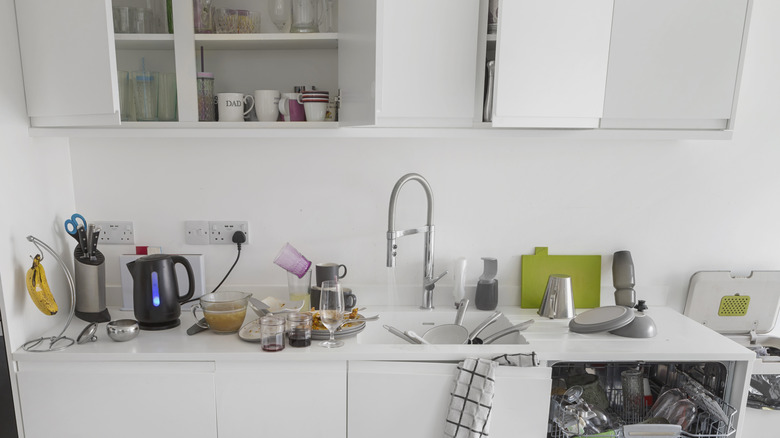
Tired of kitchen clutter cramping your cooking vibes? Grab some affordable Dollar Tree wooden trays and work a little DIY magic to turn them into custom organizers! Whether you're wrangling spices, corralling ingredients, or tidying up your coffee station, this clever hack brings order to your kitchen counters without breaking the bank, and it's a nice minimalist way to free up space. Plus, it's super easy to customize and tailor to your style. Ready to try a fun Dollar Tree DIY? Here's everything you need to know.
This hack keeps it simple with just a few key materials: wood trays, wood planks, paint, and glue. With this hack, you'll create a miniature shelf with three levels of wood trays. What's even better is that you can pick a paint color that suits your kitchen vibe and make this DIY organizer truly your own.
And that's not all. While you're at Dollar Tree, grab some countertop glass jars that fit perfectly into the trays. You can breathe new life into these jars which are great for storing coffee, tea, granola, and sugar — or whatever is otherwise cluttering your kitchen counter. It's an adaptable storage solution that can go wherever you need it most.
How to build your own DIY kitchen shelf to eliminate clutter
To tackle this hack, grab three Dollar Tree wood trays. These cost about $1.25 each. You'll also need to pick up two craft wood planks. Each plank measures 18 inches long and is made from a material similar to the trays, so they'll blend seamlessly when painted together.
Next, heat up your glue gun. Attach one end of a wood plank to the side of one of your trays, just like TikTok user @dollartree.hacks shows in their video. Be sure to center the wood plank along the side of the tray for a balanced look. Repeat this step with a second tray at the top of the plank to create the top shelf of your new organizer. Now, take the third tray and glue it to the center of the plank, positioned between the other two trays. Once the glue is set, attach the second wood plank to the opposite side of the trays, parallel to the first plank. Let everything dry completely before moving on to the next step.
Now it's time for the finishing touches! Choose a paint color you love — spray paint works best for a smooth, even finish, but regular paint will do the trick, too. Take your shelf unit outside, place it on a protective surface like plastic or cardboard, and get painting! Once dry, your new DIY shelf is ready to use and hold that excess clutter. Leave it as is for a sleek, minimalist look, or add some glass jars from Dollar Tree to each shelf to keep things extra tidy and organized.
