Turn Your Floating Sink Into The Most Stylish Vanity With This IKEA Hack
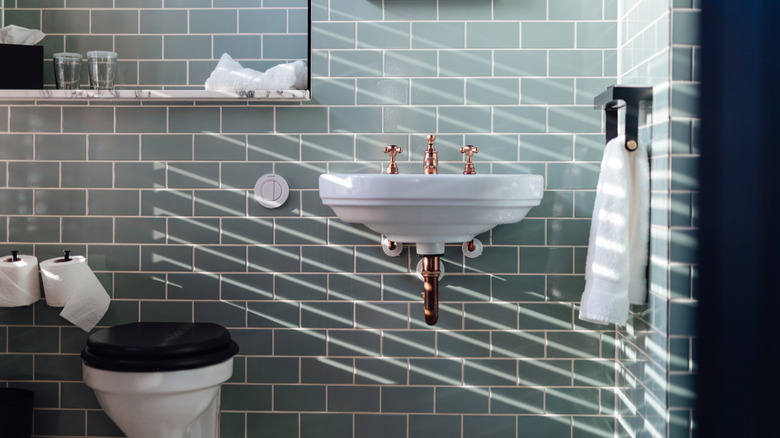
One of the biggest challenges with floating bathroom sinks is dealing with exposed plumbing, which can detract from your bathroom's overall aesthetic. While some modern bathroom sink designs incorporate exposed plumbing as part of the style, older, budget-friendly, or basic models often leave pipes awkwardly visible.
The solution? A no-drill, no-screw IKEA hack that's affordable, stylish, and renter-friendly! This clever hack not only transforms the look of your sink, but also provides extra storage to keep your bathroom essentials organized. It's an ideal option for those who want a quick, cost-effective upgrade without the hassle of major home improvements. This is one of those rental bathroom ideas that is so good.
The hack involves placing a compact storage cart beneath your floating sink for vanity storage while cleverly concealing the exposed plumbing. The secret weapon? An IKEA armrest tray. It's a flexible, black accessory meant for your living room, but it can be repurposed to wrap around the sink's plumbing, effectively hiding it while maintaining a sleek, cohesive look. It's a simple yet transformative solution to turn your floating sink into a stylish, functional centerpiece.
The two IKEA products needed to cover exposed plumbing and create more storage
To pull off this hack, you'll need just two affordable IKEA items: the NISSAFORS black utility cart and the RODEBY black armrest tray. Originally designed to rest on a sofa arm for holding items like a cup of tea or a book, the armrest tray's flexibility and sleek design make it perfect for this hack. This is a great way to repurpose and DIY any IKEA products!
Start by placing the utility cart beneath your floating sink, just as @well_inchs_can demonstrated. The cart creates a convenient space to store towels, paper towels, cosmetics, or other bathroom essentials. Next, take the armrest tray and some double-sided tape. Wrap the tray around the plumbing beneath the sink, positioning it neatly on your cart's top shelf, below the sink. Secure it in place by taping the inside of the tray to the pipes. And just like that — voila! You've created a functional and stylish vanity while hiding those unsightly pipes.
It's incredibly easy to disassemble, making it perfect to take with you if you move so that you can reuse it in your new space! Before you embark on this hack, though, take a moment to measure your floating sink. Ensure the cart will fit underneath the sink and leaves enough space between the top shelf and the bottom of the sink for the armrest tray. Since floating sinks vary in size, this step is essential for a perfect fit! You can purchase a Windkream fabric sink skirt to further cover your new vanity.
