DIY A Simple Wooden Storage Rack To Keep Yard Tools Organized In Your Garage
Anyone who has ever unexpectedly stepped on a rake or taken a shovel to the head can attest to the fact that unruly gardening tools cluttering the garage are more than a mild irritant. Considering how bulky, top-heavy, and sharp these tools are, organizing them seems like quite the chore. That's probably why you haven't done it yet.
Thankfully, this necessary evil can be made a little easier if you have scrap plywood, some DIY knowledge, and know how to use a stud finder. By grabbing a piece of plywood large enough to use as a backer board and then cutting smaller pieces of plywood to act as peg blocks for corralling the tools, you can craft your very own custom garage storage rack that fits your needs perfectly. Affordable and effective — that's the ultimate win-win!
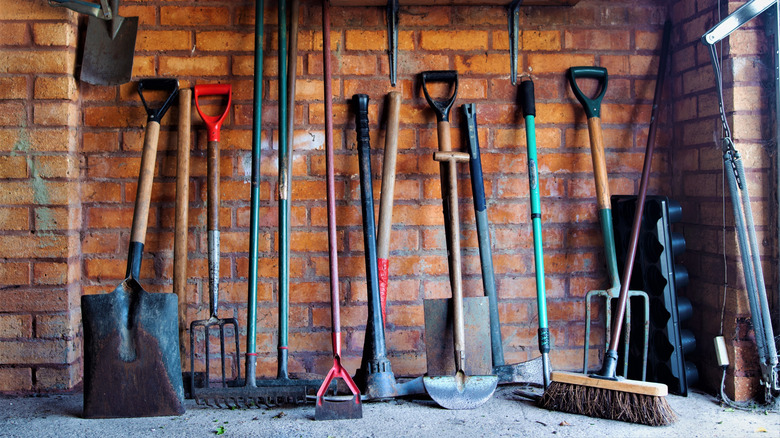
This DIY is excellently demonstrated by TikTok user Shara (@woodshopdiaries), who artfully demonstrates how spare materials can easily create a custom wall-mounted organizer for all of the yard tools in your garage. Before you can begin this DIY project for yourself, though, gather and lay out the yard tools you'd like to store. Tools with straight pole handles can be stored upside down with the pole facing downward, while tools with a triangular grip handle can be stored upright by hanging the horizontal part of the grip on the peg. Alternate upright tools with downward-facing tools when possible to reduce the space needed between tools, varying the height as well to prevent overlap for easy access. Once you have your tools arranged (make life easier and take a photo of the layout for reference, so you don't forget when you have to recreate it), you are ready to get started. Let's dig in — gardening pun very much intended!
This garden storage DIY finally puts to use your old scrap plywood and peg blocks
Once you've laid out your tools, as previously discussed, it's time to create your own custom plywood garage storage rack. Begin by measuring the overall width and height of the tool layout so you can choose a piece of scrap plywood that is large enough to do the job. If you do not have any scrap plywood, you can purchase a ¾ inch thick piece at the hardware store and have it cut to size for you. Lay the plywood backer board on the floor, and place the organized arrangement of tools on top as they would hang on the wall (here is where your reference photo will come in handy!).
Cut or grab scrap strips of plywood that are about 3-4 inches wide. Depending on the depth of the individual tool, cut square or rectangular blocks to use as pegs that are deep enough for each tool to rest on, using the TikTok video as a guide for example placement. Using a pocket hole jig, drill two pocket holes into each peg block to secure them to the backer board.
Once all peg blocks are attached, your organizer is ready to be hung on your garage wall. Use a working stud finder to locate the studs and mark them with a pencil. Position your organizer so it can attach to at least two or more studs to support the weight, and use fasteners appropriate for your substrate to secure it to the wall. And there you have it: A custom wall-mounted organizer for wrangling the yard tools in your garage, made with only scrap plywood and a little elbow grease.