Cover Popcorn-Textured Ceilings Without Any Mess Using A Simple DIY
We may receive a commission on purchases made from links.
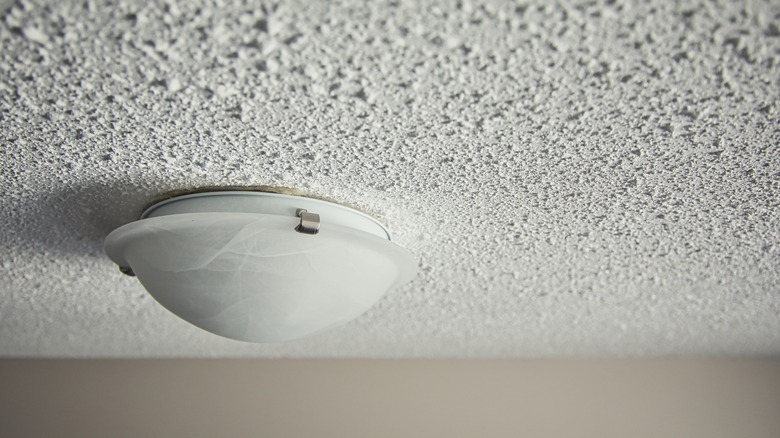
Popcorn ceilings are nearly everywhere, but their widespread presence in homes and apartments isn't due to their ... well, "charm." In reality, they owe their decades of popularity to being an inexpensive and easy method for builders, making them the go-to choice if you want to save cash and time.
Unfortunately, homeowners today are often left stuck with these outdated, bumpy ceilings, and they tend not to be thrilled by them. Many assume the only way to remove a popcorn ceiling is through messy (and exhausting!) removal, which can easily cost you thousands of dollars. But don't resign yourself to spending hours scraping away that outdated texture, because there is a simpler and less time-consuming alternative: decorative tiles.
These lightweight tiles, made of polystyrene, are the perfect way to cover a popcorn ceiling. They attach to the ceiling with glue, offering a beautiful upgrade without the headache of a full renovation. Best of all, these tiles won't break the bank — typically costing just a few hundred dollars for a whole pack. Decorative tiles can transform your popcorn nightmare into something that feels straight out of Versailles, with their elegant, baroque-inspired designs. And installing them is a great beginner-friendly hack that can give your space a luxurious high-end upgrade in just one day.
How to install decorative tiles over your messy popcorn ceiling
Once you've embraced the possibility of replacing your hideously bumpy ceiling with beautiful tiles, choose the ones that best match your style. You'll find them in a variety of colors and designs. Classic options include white or satin finishes, but if you want something bolder, go for gold, silver, or even Romanesque black tiles. Can't find the perfect shade? Don't worry, because the tiles can be painted with water-based paint. With that selection made, don't order before you measure, because you'll also need to determine how many tiles to order. Packs range from sets of eight (covering around 21 square feet) to bulk packs of 144 (covering up to 380 square feet). Of course, the more you need, the more expensive this DIY gets.
Once you've got your tiles, it's time to install! Take out some instant grab adhesive and apply small dots—about the size of a dime — onto the back of each tile, spacing them a few inches apart. Use around 15 to 20 dots per tile for a secure hold. Press the tile firmly against the ceiling, and thanks to the adhesive's quick grip, you can move right on to the next one.
Since these tiles are made of foam, cutting them is a breeze. Use a utility knife to trim tiles for edges or around light fixtures. For an ultra-polished look, some people even caulk between the seams. That said, whatever you do, measure beforehand — once you've started laying these on, you don't want to have to take them off. And if all goes well, in no time, you'll have a stunning ceiling upgrade — without the mess or expense of scraping off popcorn texture!