Easy And Affordable Oven Cleaning Hacks For A Spotless Appliance
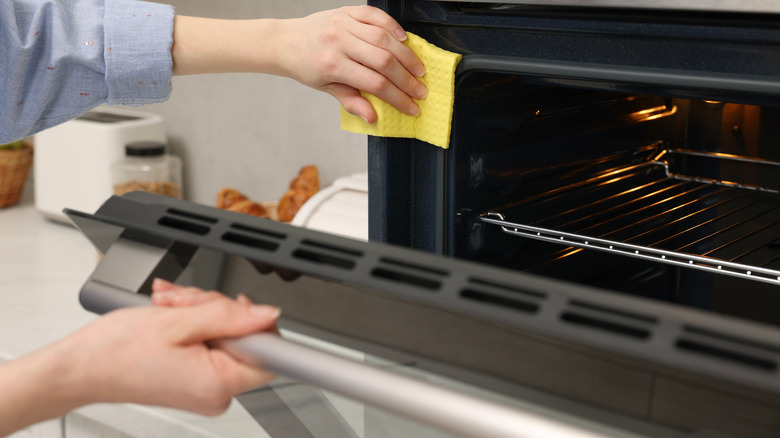
The kitchen is arguably one of the areas of your home where you spend the most time cleaning. While you might wipe down some of the most conspicuous spots on a regular basis (such as counters, the sink, and your stove top), it's understandably easy to forget or procrastinate on cleaning spots that are less visible — and when it comes to how to correctly clean a kitchen, there are few things more neglected than the oven.
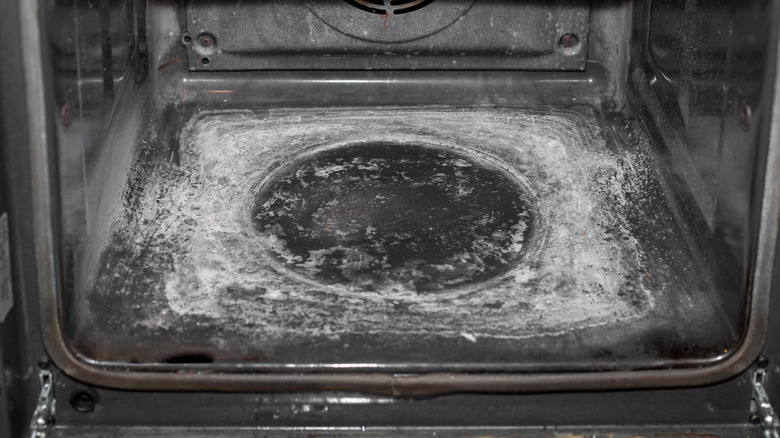
Cleaning your oven goes beyond aesthetics. A chronically dirty oven can decrease the overall function of the appliance, and possibly even interfere with the cooking process. What's more, neglected spills that are left to bake over and over again are at risk of becoming fire hazards, too. As a rule of thumb, most experts recommend cleaning the inside of your oven at least once every three to six months. You may need to clean your oven more often, in fact, in the case of frequent use, or whenever spills and splatters occur.
Cleaning the inside and exterior oven doesn't have to be an all-day chore, nor does it need to be expensive. In most cases, you can use simple ingredients and techniques for cleaning your oven that you likely already have at your disposal.
Use your oven's self-cleaning features ... the right way
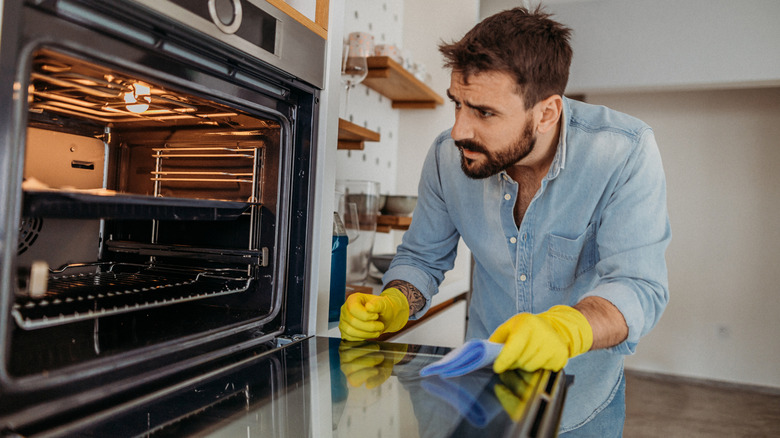
Before you invest in commercial oven cleaners at the first sight of a dirty appliance, you should consider using your oven's self-cleaning feature. It works by using extremely high temperatures to burn off food particles or residue left behind from regular wipe-downs, or those that may be caught in hard-to-reach areas of your oven. While perhaps not as quick as other cleaning hacks, this is arguably the most affordable since you are using a feature that is already built into your oven. Experts recommend running the self-cleaning option on your oven annually at minimum, or even as frequently as every four months if you bake on a regular basis.
Despite the ease of use, running your oven's self-cleaning feature does not mean you can simply turn it on and leave to run errands. Self-cleaning involves temperatures that can sometimes get as high as 1,000 degrees Fahrenheit. You need to be at home to monitor your oven during the entire self-cleaning cycle in case of any residue that burns and becomes a fire hazard. The process also creates fumes, so you will need to ventilate your kitchen as much as possible. You'll want to prep your oven beforehand by removing racks and other accessories, as well as wiping up any grease and foods that are not stuck on to prevent excess burning. In all, the average self-cleaning cycle lasts around a couple hours. After your oven cools down, you must clean up any ash and particles before using the appliance again.
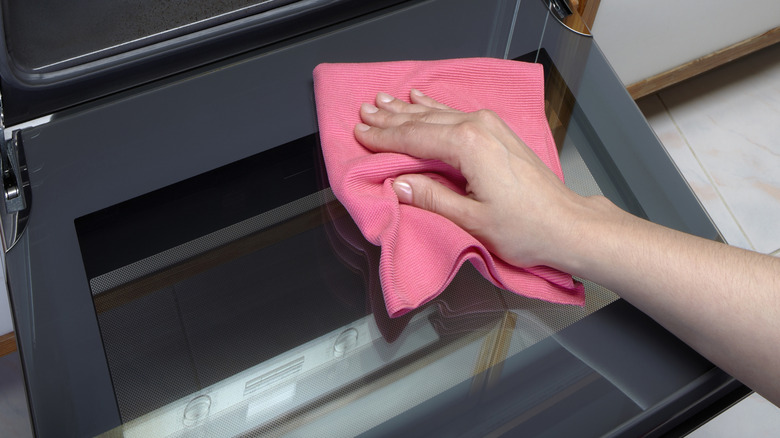
Wipe down the inside of your oven with a DIY cleaning spray
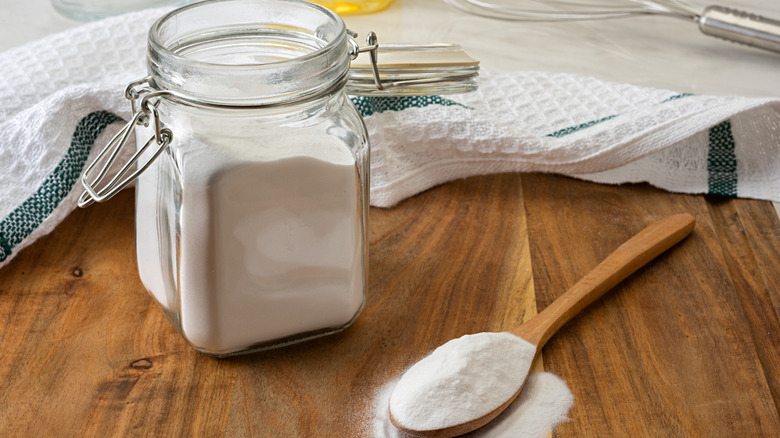
Your oven's self-cleaning feature should be used for an occasional deep cleaning session, but it doesn't replace the need to tackle everyday small messes in-between those times. If you need something stronger than a wet rag for more frequent cleaning, you don't necessarily have to buy a commercial cleaner. You can save yourself money by using ingredients you might already have at home and to help create a DIY oven cleaning spray. Some recipes include a variety of chemical-free ingredients, such as vinegar, baking soda, and lemon juice.
One option is a recipe that works well for cleaning your oven's interior calls for a combination of 10 ounces of water, 8 ounces white vinegar, 4 ounces lemon juice, and 2 ounces of dish soap. Mix these well in a bottle and spray liberally and allow to sit overnight before wiping clean. If you need something with a bit more abrasion to help naturally scrub messes clean, consider a separate green cleaning recipe that combines ¼ cup baking soda, ½ cup white vinegar, and ½ gallon of hot water. Spray your oven with the solution and wipe off with a clean towel or rag.
Scrub caked-on foods off of ovens with the help of salt

In an ideal world, you are able to detect and wipe up all food particles and spills in your oven before the next time you use it. The reality is that spills happen all the time, and they can sometimes go undetected until they are baked in. If the inside of your oven has some caked-on foods, consider using a cheap ingredient you likely already have in your spice cabinet: salt. It's thought that table salt can act as a natural scrubbing agent to remove caked-on foods and grease, all without having to use too much effort on your part. This is all attributed to the abrasive qualities of the salt crystals. As a bonus, salt is also absorbent, which may help tackle spilt grease in your oven.
For the best results, your oven should still be warm (but not hot) when using this method. First, mist the area you want to clean up with a spray bottle of water to help loosen up the spill. Next, sprinkle a liberal amount of salt over the caked-on food or grease, making sure you cover the spill in its entirety. After your oven has completely cooled down, scrape off the spill with a heavy-duty cloth or sponge. Finally, rinse the area with water and dry with a separate cloth. If the spill doesn't completely lift the first time around, you can repeat the process.
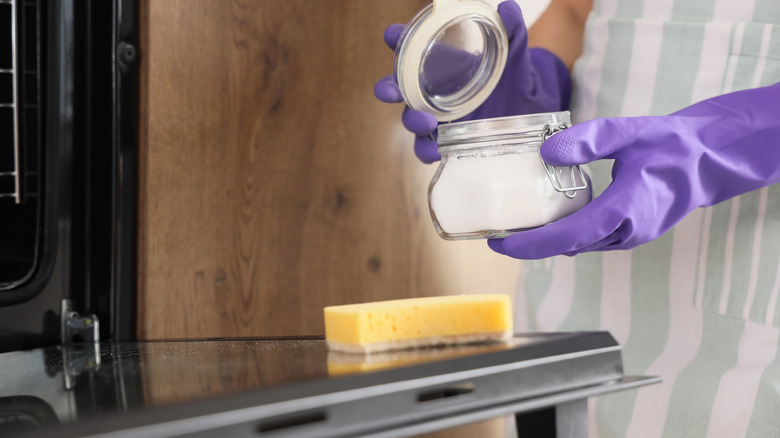
Clean oven racks with baking soda
While it's important to clean the inside and outside surfaces of your oven, it's sometimes easy to look over some of the appliance's accessories. These include oven racks. Like surfaces inside your oven, the racks are vulnerable to food particles, grease, and residue that can leave them filthy. Neglected oven racks can also eventually turn into fire hazards if food is left to accumulate and keep burning on them. What's more, clean oven racks can also ensure a more reliable and predictable cooking process. This doesn't mean you need to spend hours scrubbing these accessories, though. An easier way to clean oven racks is with a simple baking soda and vinegar soak that can loosen up baked on residue, all without the need for buying chemical products.
First, make sure your oven is completely cooled off before removing the racks. Set these in a plugged bathtub or a large kitchen sink. Sprinkle a fair amount of baking soda, ensuring you cover both sides of the racks. Next, wet these with white vinegar from either a spray bottle, or poured gently from a large bottle. You will notice that the reaction between the baking soda and vinegar creates a foam. Once the foaming subsides, turn on the faucet and allow hot water to completely cover the racks. Leave them overnight, or for at least 10 to 12 hours. After this time, remove the racks from the water and scrub clean with a cloth or sponge. Repeat the process as necessary until no buildup remains.
When cleaning your oven, consider using ammonia as a spot treatment only

Ammonia is strong chemical that is found in certain commercial products, such as glass cleaners. There are other ways you can use ammonia for cleaning on an occasional basis. For ovens, though, you might consider ammonia for use as a spot treatment only, rather than an all-over cleaning agent. It is an effective, but corrosive chemical that can tackle baked on foods and grease when other methods have failed. Only use it as needed for cleaning up caked-on messes, though, and be careful.
Before spot-cleaning your oven with ammonia, you will first need to put on gloves and ensure your kitchen is ventilated as much as possible. You might also consider wearing goggles to protect your eyes from irritation. Then, soak a rag in the ammonia and then place it directly on to the spot you wish to clean. Allow to sit for a half-hour at minimum before removing the rag. Follow up with a separate rag with clean water and rinse.
Create a steam-cleaner for the inside of your oven
Like other home kitchen appliances, ovens continue to evolve, with new features growing to become reliable standbys. These days, some ovens also include steam cleaning features to help loosen caked-on messes in between other methods of cleaning. If your oven is not equipped with a steam clean option though, you may be able to mimic the effects of this feature on your own. This saves a bit of physical work on your part as well as money spent on extra oven features.
The steps you take to steam clean an oven will slightly vary based on whether you have a gas or electric oven. If you have a gas-powered oven, take an oven-safe bowl full of water and place inside the appliance. Turn it on to a high setting and leave on for 20 minutes. During this time, the water in the bowl will boil and create steam inside the oven. Wait until the oven is completely cooled down, or overnight before wiping messes clean. Alternatively, if you have an electric oven, you will want to preheat the appliance before adding water. Experts also recommend adding a bowl of water that has already boiled to the bottom rack, and then a ½ cup of ammonia in a separate bowl on the top rack. Turn off the oven and allow the steam to absorb messes for eight hours or so before wiping out your appliance clean in the morning.
Use commercial oven cleaners as last resorts
Overall, commercial oven cleaners are often the easiest methods because they are packaged in ready-to-use formulas. The downside, of course, is the toxicity that can be associated with these chemical-infused cleaners. Commercial oven cleaners can still have their place in a home, but use them with caution: In such cases, it is better to use these products than nothing at all, or else you may leave yourself with an appliance that does not heat as effectively, or becomes dangerous. As a rule of thumb, you might turn to these products as last resorts when all other measures above have failed to remove caked-on messes.
There's still a catch to using chemical-based oven cleaners, though. First, you will want to remove all of your oven's accessories, including the racks. Ventilate the room as best as you can, and wear eye goggles and gloves to protect yourself from fumes and skin irritation. Apply the oven cleaner as directed on the label, whether it is a spray or easy-pour formula. Take care not to get any of the product on your oven's heating elements to prevent damage. Finally, always wipe the entire product clean with a clean rag or paper towel.