Upgrade Interior Doors From Plain To Picturesque With A Low-Cost DIY

We may receive a commission on purchases made from links.
Adding custom details can elevate your home's aesthetic and make you the envy of all who enter. However, the word "custom" may frighten many homeowners by conjuring up two words — expensive and time-consuming. Either you pay professionals to do the job (expensive), or you painstakingly attempt it yourself after watching hours of YouTube tutorials (time-consuming). The ultimate dream is to achieve a level of custom detailing that looks expensive and time-consuming, but actually costs around $20 and takes one hour from start to finish. It looks especially great on hollow core doors.
This Instagram video from Erin Marshall of @liveprettyonapenny does just that. She adds molding and paint to an interior door for a low-cost DIY that looks anything but. You've probably spent a lot of time researching front door colors and styles, but interior doors are often overlooked. When painting your walls, it is easy to forget you can continue painting the doors as well, and you don't have to stick to the color of your trim! The molding takes it a step further, adding an element of sophistication. With just a can of paint and some frame molding, you can transform a boring door into a decorative asset — no YouTube tutorials required.
How to add molding to a door
In the video, Erin Marshall of @liveprettyonapenny uses picture frame molding and cuts the ends at a 45-degree angle, then attaches it to the door using a battery-powered nail gun. This miter saw from Olympia Tools is around $20 and has a slot for 45-degree angles, making it easy to trim your millwork. Once installed, caulk the edges and fill nail holes with wood putty for a clean finish.
Since you were promised there would be "no YouTube tutorials required," you can also install picture frame molding using panels already made into square or rectangular shapes. These Ekena Millwork panels come in a large selection of sizes to fit any doorframe. Attach using a brad nailer or Liquid Nails, a construction-level adhesive that costs less than $3 for a 10-ounce bottle. Or take it a step further with peel-and-stick millwork, which requires no additional tools.
Add the molding first, then paint the door and molding together, as per the video. This way, you can cover up any holes made during installation. If you are using Liquid Nails or the peel-and-stick option, you may find it easier to paint the door and millwork separately prior to installation (and you won't be left with the unpainted outline of molding on the door if you decide to remove it). If you want to make the molding pop, try painting it with a different color than the one on the door.
Troubleshooting this low-cost DIY
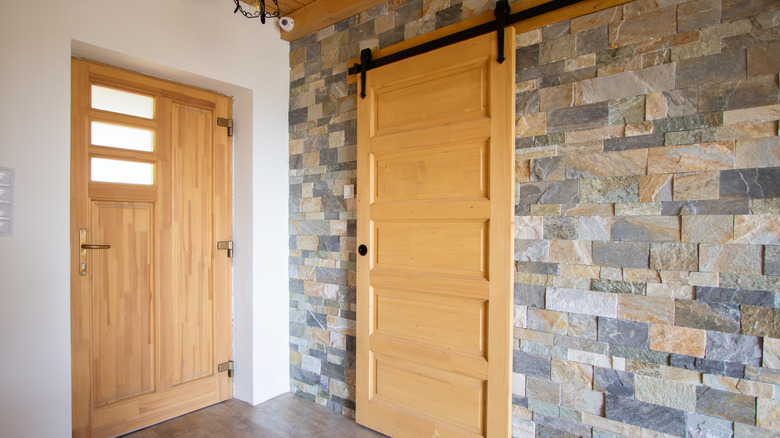
This door hack is perfect for adding visual interest to flat panel doors. However, many interior doors have recessed decorative panels already built in. It is unnecessary to add picture frame molding to these types of doors. This DIY also isn't necessary for plank panel, louvered panel, glass panel, or barn doors.
Don't worry, though. You can still give these types of doors some DIY love with a fresh coat of paint, which is even better news for those on a budget. You can paint a door without taking it off its hinges; however, removing it gives you access to the bottom of the door, and laying it flat eliminates pesky drips.
The best type of paint for doors found inside the home is acrylic-latex in a satin or semi-gloss finish (flat or matte finishes are not as durable and harder to clean — not ideal for high-traffic areas prone to fingerprints). Many interior doors come pre-primed and require minimal sanding. If you have an unpainted wood door, consider ditching the paint for a stain, and cover it with clear coat it for protection.