Genius Floor Cleaning Hacks You'll Wish You Knew Sooner
We may receive a commission on purchases made from links.
Floors are arguably one of the dirtiest areas of the entire home. Between pets running around, muddy shoes, and dust and debris falling from the air, keeping your floors clean can feel like a second job. However, maintaining clean floors isn't just about appearances — it can also affect your health. Experts at the International Sanitary Supply Association suggest that our floors directly contribute to a home's air quality, as bacteria and dust can become airborne through daily movement around the house.
Each household is different, so the frequency you sweep, mop, and vacuum will depend on how quickly the floors get dirty. Generally speaking, you should dust or vacuum at least once a week, though you may need to do so more often in high-traffic areas or anywhere pets regularly roam. Maintaining your floors by wiping up spills immediately, using the right products for your flooring type, and sticking to a cleaning schedule can help prevent buildup that's harder to remove over time. Once you have the basics down, the genius floor-cleaning hacks below will make keeping your floors spotless even easier—and some may even save you money.
Use hydrogen peroxide to whiten your grout
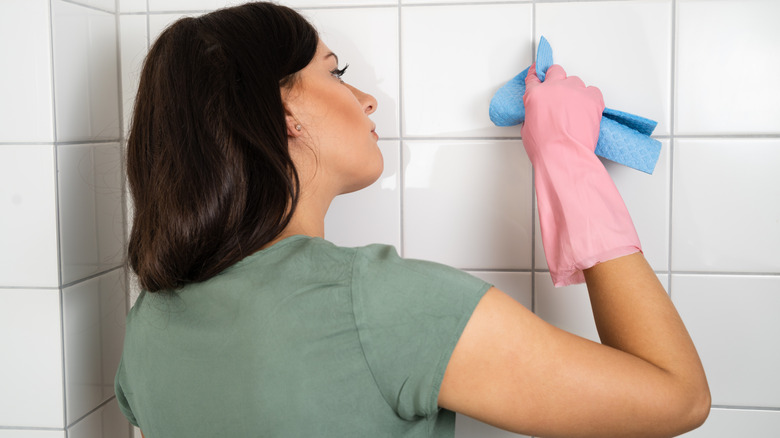
Your tile floors and walls can go from looking brand new to losing their luster seemingly overnight. Even if the tiles are shiny and clean, discolored grout can make the entire surface look dingy. Because grout is porous, dirt and debris settle into the tiny gaps, causing it to darken over time. If scrubbing with your usual cleaner isn't getting the job done, it may be time to reach into the medicine cabinet.
Hydrogen peroxide is a mild bleaching agent that releases oxygen when it comes in contact with dirt, helping to break down stains and lift embedded grime from grout. Additionally, this oxidizing liquid doubles as a disinfectant, making it a powerful yet gentle cleaner. To clean tile grout, combine equal parts hydrogen peroxide and baking soda to form a paste. Start with a cup of each, and add more if you have a large area to cover. Put the mixture directly onto the grout and let it sit for at least a few minutes.
If there's heavy staining, add a tablespoon of dish soap to further help cut through grease and mildew, and use a toothbrush or grout brush to help work out the stain. Wipe the DIY grout cleaner with a rag dampened with warm water, then wring it out in a separate container. Repeat this process with clean water only to remove the mixture, as wiping dirty water onto the grout may undo all of your hard work.
Remove gum from the carpet with ice
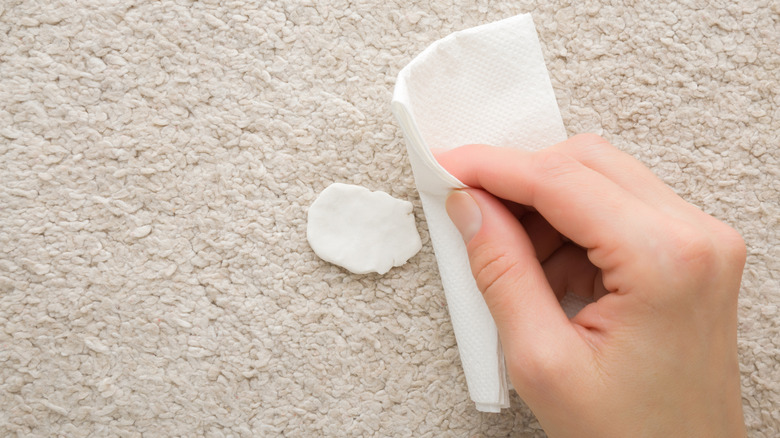
Few things are as annoying as attempting to remove a wad of gum from the carpet. It seems like the more you attempt to scrape at it or pull it out of the fibers, the more embedded it becomes. Luckily, you probably already have the solution sitting in your freezer: ice. Rather than trying to painstakingly pull the gum out of the fibers, freeze it to harden it and make it easier to remove. This method works wonders because cold temperatures reduce the gum's elasticity, allowing it to crack and lift off the surface.
As soon as you notice the gum in your carpet or rug, grab an ice pack or place some ice cubes in a small plastic bag and set it directly on top of the gum. To speed up the process, cover it with a dry kitchen towel to help trap the cool air. Give it at least 10 to 15 minutes to freeze, and make sure it's completely hardened. Once it's frozen, it should be easy to scrape away using a metal spoon or butter knife. If there's any staining left behind, you can spot clean the area with your usual carpet cleaner.
Prevent streaks when mopping your hardwood floor with one simple adjustment
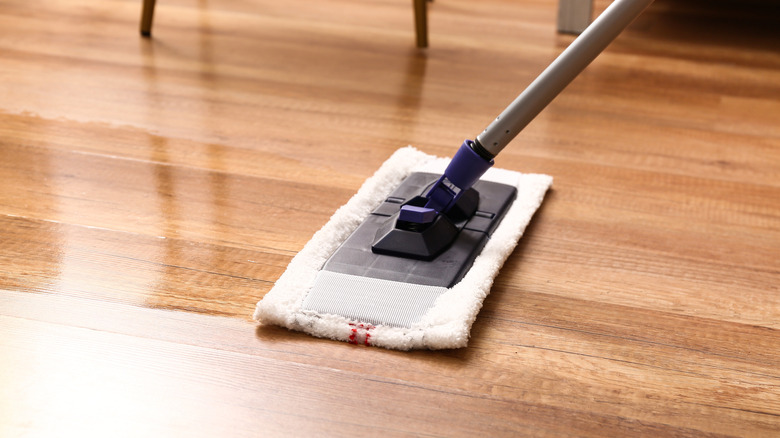
Have you ever mopped your hardwood floors, only for streaks to be left behind? Although you may think it's time to invest in some new floor cleaners or mops, the solution may be as easy as adjusting your technique. While it may not seem like the direction you move your mop would matter, mopping with the grain, rather than against it or in circles, helps prevent streaks and keeps dirt from settling into the grooves.
To clean hardwood floors the right way, start by using a spray bottle with cleaner to mist a small area of the floor. Use a soft, microfiber mopping pad and move in the direction of the grain. Excess moisture can cause damage to your wood floors, so a standard bucket and mop aren't recommended for this type of flooring.
Walk backward as you work across the surface to prevent stepping on the clean areas. Avoid using harsh chemicals or abrasive cleaning pads, as they can damage the wood. Instead, opt for cleaners that are specifically made for hardwood or make a gentle homemade wood cleaner.
Lift up more fur with a pet hair carpet rake
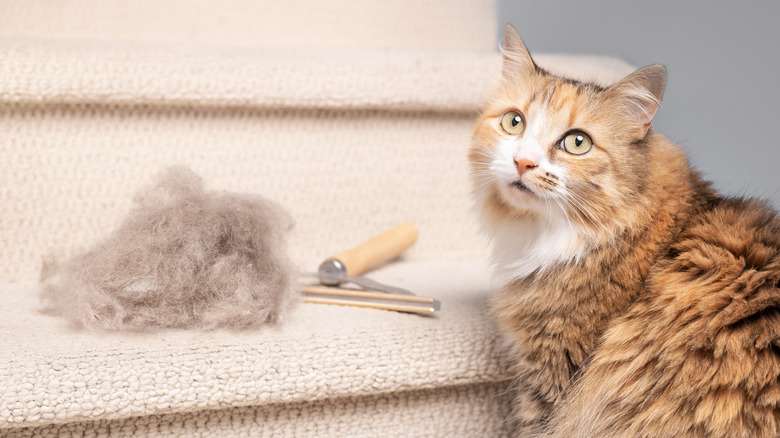
Our beloved pets bring so much joy to the home, but they also leave behind a lot of pet hair. Unfortunately, the extra fur can get embedded in the carpet fibers, so even the strongest vacuum may not have what it takes to get every last strand. Using a carpet rake before you vacuum can help lift hidden, tangled pet hairs, allowing you to get a deeper clean. Most of these cleaning tools are made with rubber bristles that create a static charge, acting like a magnet to the fur, and the raking motion can help dislodge extra strands. Lifting pet hair with a carpet rake not only helps to remove more of it, but it can also help extend the life of your vacuum and minimize maintenance.
For best results, choose a carpet rake made of rubber bristles, such as Bryquelin's pet rubber Broom, which will reach deep into the carpet without damaging it. Holding the handle as you would an outdoor rake, push and pull the tool across a small section of your carpet. As you do so, the bristles will loosen dust and debris while the rubber attracts the hair. Continue repeating this process until you've raked the entire room. Then, vacuum as usual to pick up the loosened dirt while dealing with less hair buildup. Use fresh water to clean the rake's bristles.
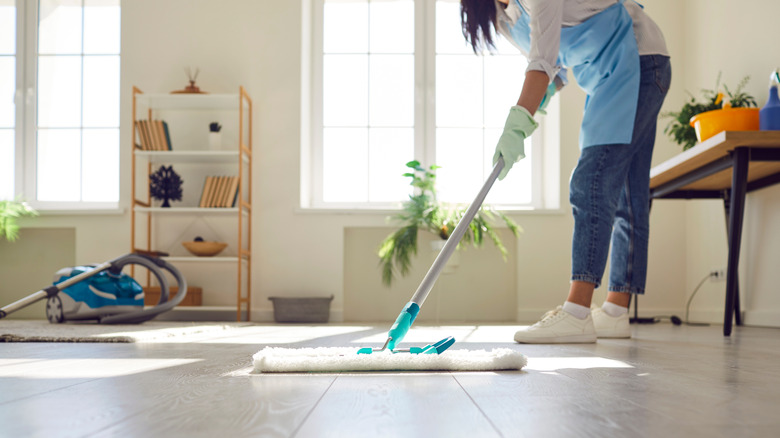
Use fuzzy socks to dust your floors
Before tossing out your old socks, consider giving them a new life by transforming them into floor cleaners. If you regularly use a floor duster, you've likely noticed how quickly the price of the dusting pads adds up. Not only does it affect your wallet, but these single-use items also take up space in landfills, so repurposing socks as reusable dusters is an eco-friendly alternative that'll help you save some cash.
You've probably already seen how much dust clings to your socks just by walking across the floor. This is because clothing made out of synthetic materials, like polyester, creates a static charge that attracts dust and debris. So, it's no surprise that fuzzy socks are the perfect option to lift dust while being soft on your floors. Although you can give socks made of natural materials a try, they don't tend to cling to dust as well as those made of synthetic fibers. Choose a pair of stretchy socks, place one on each end of your duster, and dust your floors as you usually would.
In areas that need more attention, you can spray the socks with your typical floor cleaner to help break up and absorb the dirt. Once you're finished cleaning your floors, toss the socks in the washing machine. Let them dry, and they'll be ready to use again and again.
Remove floor scuff marks with a tennis ball
Scuff marks can be a major eyesore on your hardwood floors, and they can be challenging to remove. Surprisingly, all you need is a tennis ball to remove these unsightly marks. Mops are typically too soft to lift residue left behind from shoes or furniture, but abrasive scrubbers can cause scratching or dull the finish. Tennis balls provide the perfect medium between toughness and gentleness. When you rub a tennis ball on the floor, the flexible rubber helps it conform to the surface, while the outer felt layer acts as a gentle abrasive. It's tough enough to lift the scuff mark, but not so rough that it'll damage the hardwood.
Choose a tennis ball that's clean, new, and light-colored, otherwise, you risk adding a stain rather than removing one. The first method is to simply kneel on the floor and rub the tennis ball over the scuff mark until it lifts it. Alternatively, cut a small X into the ball, typically about a ¼ inch across, and attach it to the end of a broom to act as a handle. The handle will give you a bit more leverage while allowing you to clean scuff marks without crouching down. Once the mark is removed, the residue should have fully transferred to the tennis ball, leaving your floors looking as good as new.
Use mayonnaise to remove water stains on your hardwood floors

Hardwood floors can add charm to any room, but unfortunately, they're also prone to water stains. Even if you clean up spills immediately, staining may occur from things like condensation, humidity, and other issues. Dark water stains that come from long-term water damage are typically harder to remove than surface-level light water stains.
Surprisingly, your favorite sandwich ingredient may have what it takes to remove the marks, even if water seeped into the floor. Mayonnaise contains oils that penetrate the wood, lift the trapped moisture, and restore your hardwood floor's appearance. Some brands have acidic ingredients like vinegar or lemon juice, which can further help break down the stains. Unlike harsh chemical cleaners, mayonnaise is non-abrasive and safe for wood surfaces.
To use mayonnaise to remove stains from hardwood floors, start by cleaning the affected area with a damp cloth. Then, take a generous glob of mayonnaise and spread it over the entire stain. Let it sit for at least an hour or two, but you can apply it before bed and let it work its magic overnight. Use a soft cloth to wipe all of the mayonnaise off and buff the surface with a clean, dry towel. You may need to repeat the process a second time if the stain is still visible. To prevent future water stains, minimize excess moisture with a dehumidifier and consider sealing your floors to prevent water from seeping in.