The Cool Alternative To Staining Or Painting That Makes Wood Colors Pop
People have been making stuff from wood for forever, and we've probably been coloring those wooden creations for just as long. As a professional woodworker, it's my job to achieve the exact look my customers want — but this can, at times, be a challenge. One customer once asked that her quarter-sawn white oak bathroom vanity be colored with the same hue and intensity as cranberry juice, for example (you can't make these things up). Believe it or not, it looked great.
Coloring wood can be done a few ways. I'm of the opinion that, when we're dealing with fine furniture, to paint wood is to ruin it. If your wooden project has an attractive grain pattern, paint will hide it completely while adding a layer of chemical blandness. There's also the option of pigment stain, which works best on woods that are open grain like oak, ash or elm. In fact, pigment stains, in my opinion, are the best product for those species. However, on closed grain woods like maple, birch, or poplar, pigment stains can do a poor job: they'll often splotch and fail to deeply color the wood. The other place they fail is with any species, open grained or not, where sapwood is involved, as any attempts to provide a uniform color will fail.
Outside of staining or painting, though, what sort of wood colorations exist? That's what I'm here to talk about, because the answer to this problem is dye. Dye specially formulated for wood, that is.
The many advantages of dye over pigment stain

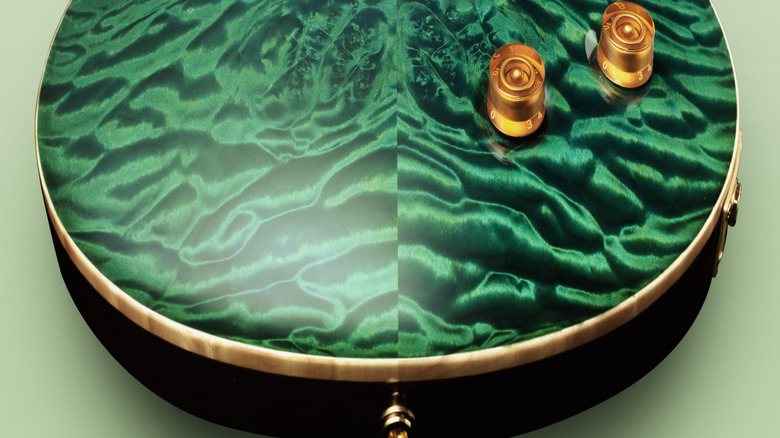
The dye that is made for coloring wood has several advantages over pigment stain. The spectrum of color available with dyes is huge. TransTint has about 22 colors available, for example, but considering the fact that you can blend the dyes together as you wish, the scope becomes truly staggering.
These colors do include traditional woodworking hues like walnut or cherry, but continue through yellow, orange, pink and even jet black, as demonstrated by the oddly-colored box above. Ever wonder how electric guitar bodies get their spectacular colors? The answer is dye. Another huge advantage of dye over pigment stains is that you can use dye on the wooden pieces of a project before you glue them together. The dye will not impede the glue joints in any way. This is especially helpful if your project has many small details that would be hard to reach when assembled, such as with cubby shelves or carvings. Pigment stains will prevent solid glue joints as they seal the wood fibers.
Why do pigment stains seal the wood and dye will not? Well, it's the oil or water suspension the pigments are mixed in that seal the wood fibers. Pigment stains are made from ground-up minerals, essentially dirt, and bound together with a solvent of some sort. If you would compare the particles in pigment stains with those that make up dye, the pigment particles would be thousands of times bigger than the dye particles. In basic terms, the dye will fit into places in the wood fibers that pigments simply can't. That's why they are better on close grained wood.
How to apply dye on wood
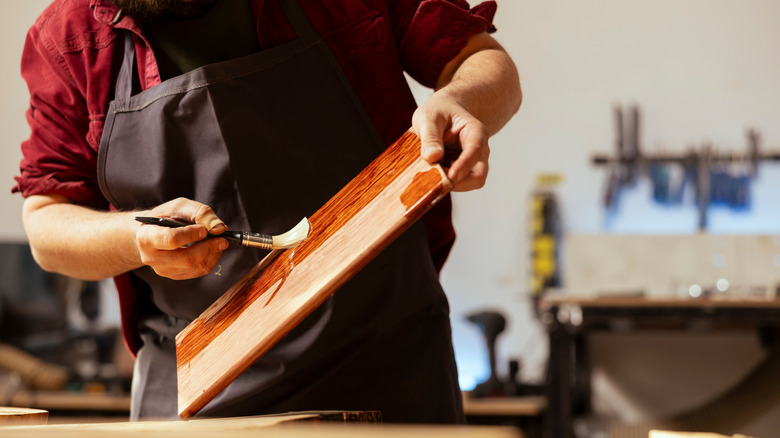
Given that fewer people know about dying wood, one might assume that it's because it's so hard to use ... right? Nope. It's very easy. As with any finishing process, you need to prepare the wood surface properly — get it free of detritus and sanded smooth. Sand to at least 220-grit, but finer is even better. Then mix your dye solution. Dye comes in both liquid and powder form, and it can be diluted in either alcohol or water. I prefer water, as it takes longer to dry, and I don't have to buy it.
Wear gloves when using dye as it is extremely effective at staining skin. It takes a week or so to wear off your hands (trust me). Adding more dye to the water will make the color darker, so test the solutions on scrap wood. The final step before applying your project wood is to wipe a wet cloth across the wood to raise the grain. Allow that to dry and knock that grain down with an abrasive pad.
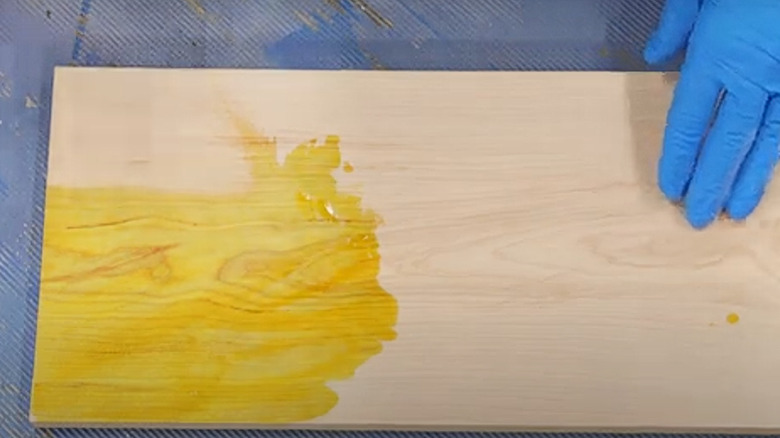
Flood the dye solution onto the wood using a clean cloth, let it sit a moment, then using the same cloth wipe off the excess and allow it to dry. If the color is not saturated enough for you mix more dye into the solution and reapply it to the piece. The color will equalize on the piece and following pieces will match that color. The color intensity you see when the wood is wet with the dye solution is the color it will be with a clear finish on top of it. Don't be concerned by the blander, duller appearance it has when it dries.
Sealing your dye-colored wood
Now, let the wooden parts dry completely: Overnight is a good idea. The dye and water mixture will have raised the grain of the wood once again, so gently knock it down again with a synthetic abrasive pad. Then you can apply any traditional clear finish over the dyed wood.
One caveat. If you applied the dye diluted in alcohol, avoid using shellac (its solvent is alcohol) as the first seal coat because it may lift the color a bit. Lacquer, polyurethane, linseed oil, shellac — all great finishes, and these will actually boost the dyed wood's color up to a wonderful, more intense, hue. The number of coats is up to you, but be certain to get a sturdy film coat on the wood to protect it.
A couple of more points regarding dye. Because you are essentially mixing your own unique dye solution, it is important to have enough of it to cover your whole project, because it may be hard to recreate your formula. It's a good idea to carefully measure the dye to water ratio at the start, just in case you need to recreate the mixture. The good news is that you can store the mixture in a sealed container, like a jar, for a good while. Another curious point is you can also use dye to add color to shellac, a useful finishing technique. It will also color epoxy resin, a popular new trend. All in all, I think you'll find using dye to color wood a remarkably useful technique that will add another arrow to your finishing quiver.