Easily Upgrade Dull Cabinets With A Basic DIY For An Affordable Refresh
We may receive a commission on purchases made from links.
Modifying our surroundings to be more beautiful is a uniquely human characteristic. From painting cave walls to upgrading our kitchens, it's what we do. And as a person who has made a living doing woodworking and beautifying people's homes, I am grateful for that fact. Many people focus on kitchen cabinets when it comes to making their homes more beautiful. Homeowners often ask me how they can make to brighten their dull existing cabinets to add pop of excitement. There are several ways to give your cabinets a fresh new look; painting is one option, a wash coat is another, and stripping and refinishing is a bit of a nuclear option.
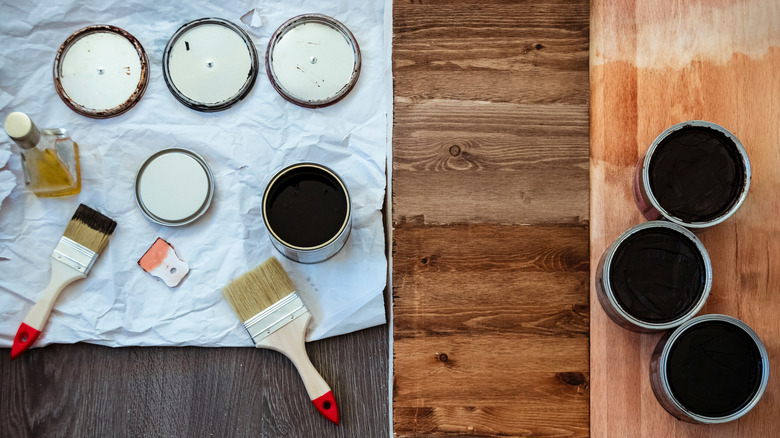
However, glazing is a way to use commercially manufactured wood stains (I always use oil-based) to add color, tone, and shading to an existing finish. And that's why it can help upgrade your current cabinets, because there has to be an existing finish in place before you can glaze the surface. Glazing can be done on clear finished wood or painted cabinet doors. It works with light-colored wood like maple or birch, all the way through to walnut. A quart of this General Finishes glaze effects finish is under $50.
Light- or dark-painted surfaces are also game for glazing. If a finish is dark, the glazing stain used is usually lighter. But if the surface is a light color, the glazing typically will have darker hues. Those details, and the fact that it's an easy technique that almost any DIYer can master, only adds to its value. Glazing is indeed a way to easily upgrade and refresh your dull cabinets in an affordable way.
Making a glazing plan before you get started
There are options to consider before you start. First, detach the cabinet doors from their hinges. For application, the most basic (and most common) technique is to apply the glazing stain to the entire surface of the cabinets, and then simply wipe off the stain evenly. Another option you may choose is adding more color to specific areas while applying less to others. Consider a raised panel cabinet door. If you apply a coat of glazing stain to the whole door, wipe off most of it from the flat surfaces of the door frame and the raised panel, but leave more stain behind on the edges of the door frame and the shaped part of the raised panel, you'll add dimension by accenting the various planes and shapes that make up the door. This technique can be tricky to do, but with practice you can make a finish look antique or create a sunburst effect.
To prepare a surface for glazing, begin by cleaning it completely. Start with a mild soap and water wash and follow up with an ammonia-based window cleaner — testing a small area with the cleaner first to make sure it doesn't harm the existing finish. You need to remove the oils and detritus off of the surface before you begin. Logically, the stain will accentuate existing scratches and chips in the finish, which may be totally fine with you if your goal is to antique or glaze your kitchen cabinets for a vintage look. If not, take the time to fill them with wood putty. Let it dry and remove any excess.
Let's get glazing the kitchen cabinets!

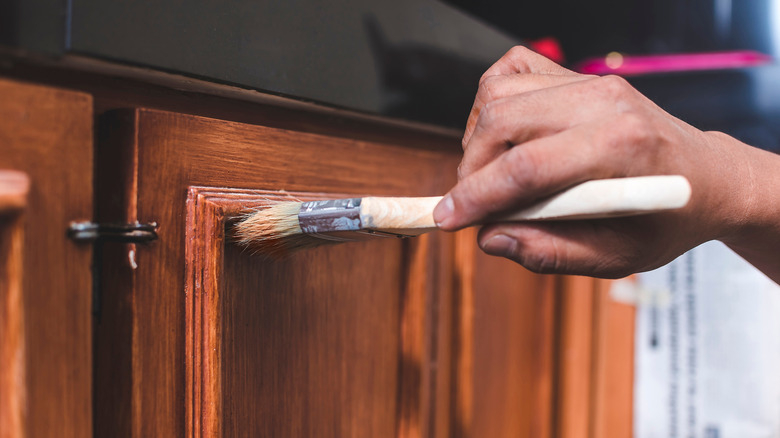
Applying the glazing is simple. First, gather your supplies. Here's my budget-friendly list: a roll of shop towels, three or four inexpensive foam brushes, a container of mineral spirits, and latex gloves to keep the stain from your fingers. Because you're using oil stain and mineral spirits, do your glazing in a well-ventilated area. Choose the color of stain you wish to use. Whether it is a painted surface or a varnished wood surface, I recommend a stark difference between the existing hue and your glazing stain.
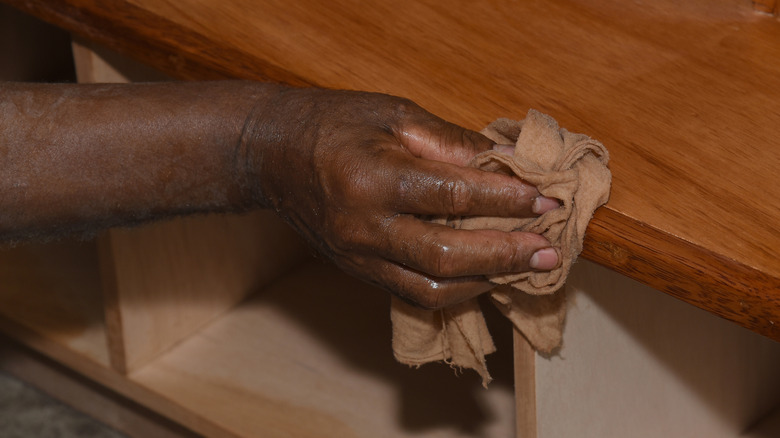
Brush on the stain, covering the whole surface with a light coat. You don't need to flood it on heavily. Then wipe off the glazing with a shop towel. By varying how much of the stain you wipe off, you'll get different results. It's up to you; there's no right or wrong amount to leave behind. If you hate the results, the good news is that you can grab the mineral spirits, saturate a cloth, and wipe all of the stain off. Then towel it dry.
It's important to keep the application of the glazing uniform when doing something like glazing several kitchen cabinet doors and drawer fronts. Being consistent in how you apply the stain and then wipe it off is how to achieve that goal. To do that, you could keep a sample door or drawer near you as you work. I usually just keep the first door I am satisfied with by me. Then I compare each subsequent piece as I go to make sure they all match when they are remounted to the cabinet boxes.
Final details and being safe
Once you are done glazing your pieces, you need to let them dry (cure) at least overnight. Then the final step is to apply a clear finish of some sort over the glazed doors and drawers. Polyurethane is my finish of choice for kitchens because it is so durable. And I recommend a satin or medium gloss finish because it does not show scratches or chips as much as a glossy surface does.
A new trend I've seen is the no-gloss finish, also available in a polyurethane. It is totally subjective, but I prefer a bit of shine on my cabinets. It's your choice whether you go with water-based or oil-based poly — either will work. The advantage of the water-based formula is that it dries much faster and is less stinky. You'll want a minimum of three coats of the clear finish. And yes, even if you have glazed painted cabinet doors, you still need to protect by applying polyurethane. After they're dry, reattach the doors to the cabinet frames.
One important safety note. The used oily rags must be disposed of properly. They need to be laid flat and allowed to dry completely overnight. At that point, they are totally landfill-safe. If you wad them up and toss them aside, they can spontaneously combust and cause a fire. (No one wants a fire!) But, glazing is a great technique to upgrade a dull set of kitchen cabinets. And in the grand scheme of things, it is a very affordable one. If your kitchen cabinets are boring, give glazing a chance.