How To Remove Water Stains From Wood Using Items You Already Have At Home
We may receive a commission on purchases made from links.
Those pesky water stains! When people find out I'm a professional woodworker, a common question I get is how to remove water stains from their wooden furniture. It's a problem that gets a good bit of attention, and unfortunately, there is a good bit of bad advice out there regarding the removal of these rascally water rings. I'll offer some sound advice here, with a caveat that often, total success is elusive. You could use simple wood furniture polish or specific products meant to remove water stains, but you can also do it with items you already have at home — rubbing alcohol, toothpaste, and even mayonnaise.
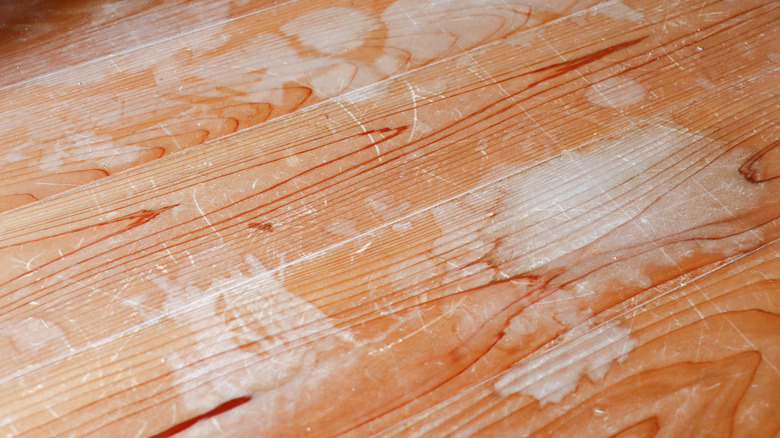
Water stains occur on wood when moisture breaks into the film coat and creates tiny pockets within the finish. These are called voids. We see them because they change the way that light interacts with the finished surface. I used to think the stains were moisture trapped in the finish, but I was wrong. The breakdown of the film coat is caused by moisture, but it doesn't stick around.
There are two basic kinds of water stains: light and dark. The light marks are pale in color and contained within the finish. Dark water marks are also caused by moisture ... but that liquid also had dissolved metals in the mixture, causing a chemical reaction that makes the darker stains within the wood. Note that neither of these are finish distortions caused by extreme heat or ink stains, defects which are considerably harder to manage. But for water stains, household products can work.
How to get rid of water stains with rubbing alcohol
Light water stains are formed from tiny voids in the film-coat finish, shellac, polyurethane, lacquer, or other types of clear coats or varnishes. (They are exceedingly rare in drying oil finishes.) The solution to reducing the water marks is to somehow collapse those small defects so the area matches its surroundings better. All of these methods attempt that task in some fashion.
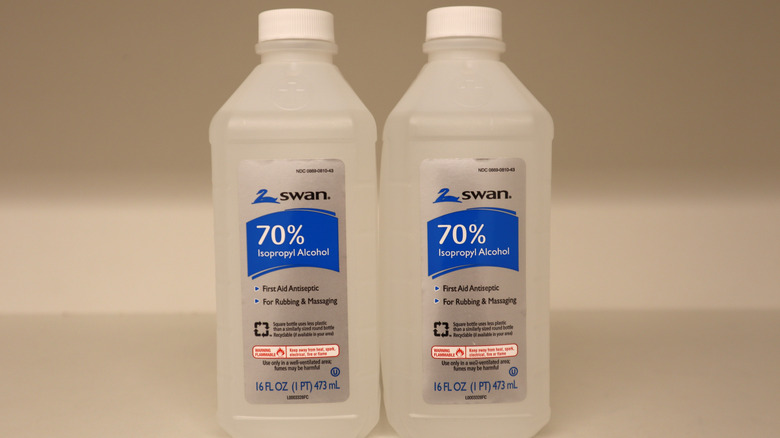
I'll start with the one that I find most effective: using rubbing alcohol. Make a pad about the size of a computer mouse from a clean, soft cloth. Dampen the pad with isopropyl alcohol — this is the same rubbing alcohol you use to disinfect that's probably already in your medicine cabinet at home – and gently rub the pad over the discolored finish. The pad should leave a small visible tail of alcohol behind it as you wipe. But you don't want there to be standing alcohol. The hope is that the fumes and small amount of moisture will dissolve those tiny voids, collapsing them and making them less visible.
There is one small detail you need to consider. Before the 1930s, most furniture was finished with shellac or a "spirit varnish" which were suspended in alcohol. Test a hidden area to see if the alcohol dissolves the finish before you try this trick. If it does, you can still use the trick, but use even less alcohol on the pad and almost no pressure as you rub. If you're careful, the good news is that this trick is more likely to succeed when the original finish was alcohol-based.
How to get rid of water stains with toothpaste
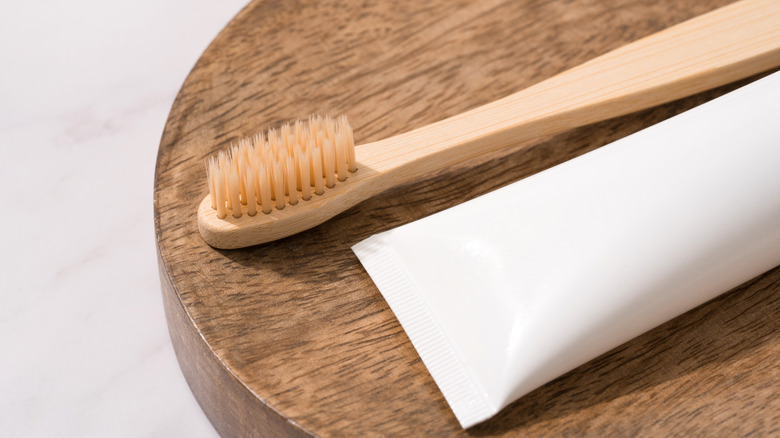
My next go-to technique is using toothpaste. How does toothpaste help those stains to break down? I'm glad you asked! I mix the toothpaste with something like mineral oil,, but you can use olive oil if that's what you have. The toothpaste will abrade (or scratch through) the finish just enough to give the oil access to the open pockets. Then the oil will saturate the marks and dissolve the fractured and distressed finish while filling in the tiny air pockets. This will allow the light to bounce more evenly across the area.
Use a soft cloth and make your best effort to only rub the area with the discoloration. When the mark is improved, clean the area with a soft damp cloth. It's more probable than not that the area where your rubbed will now have a different sheen than the surrounding surface, which is a common problem when removing water stains. You can minimize the discrepancy by using regular furniture polish, or even better, my favorite product, Howard's Feed N' Wax.
One important point to keep in mind is that water stains are more common on older finishes or film coats that have been around for many years and have survived the regular wear and tear of everyday life. With time and exposure to light, the integrity of any finish will degrade, making water rings more likely. With older furniture, a regular coat of paste wax can help keep stains from happening.
How to get rid of water stains with mayonnaise and Vaseline
Next up on our removing water stains scorecard is using mayonnaise ... or Vaseline,a favorite of genius home hacks to know about. Both of these products, although so very different in so many ways, are oily. And it is that oil which will hopefully reach into the water stain voids to reduce the light distortion. The biggest advantage that these products have is that you likely have them in your home.
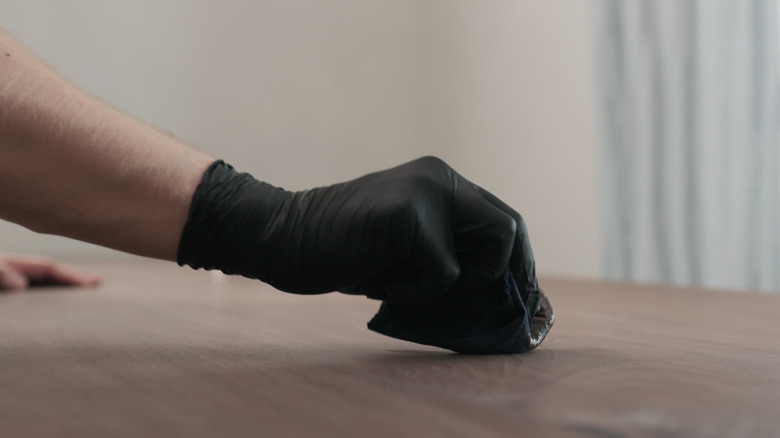
Unlike the previous fixes, with these you'll need to rub them onto the discolored surface and leave a generous amount behind. Let the oily substance sit overnight, then wipe it away. You'll likely need warm soap and water to clean the area. If the first application does not do the job, try it again.
Something that you must keep in mind is that you may have limited success using any of these techniques. Generally, the older the finish (as in antiques) the less successful you will be. The opposite is also true: the newer the finish, the more likely you'll have success. And lastly, the shallower the water damage goes into the finish, the better your chances.
How to get rid of water stains with a blow dryer
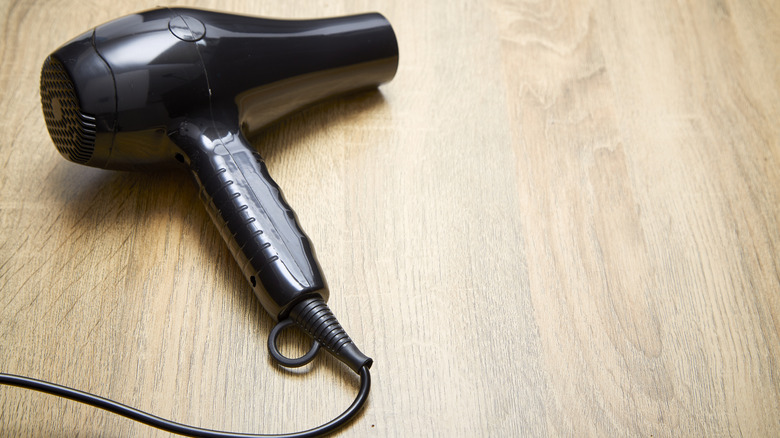
You may be aware that many folks use a heat gun to strip the finish off of wooden furniture. Blowing the hot air onto the finish will cause it to break down, blister, and basically melt. Then you can then scrape it off with a putty knife or something similar. Logically, you can use a blow dryer to soften a finish as well. If you do it right (and this is no small trick) you can soften the finish just enough to collapse those tiny air pockets, thus removing the water ring or stain.
But you need to hit the Goldilocks zone. Not too hot, not too cool — just right! And be warned: the difference between just right and too hot is small. Even so, many people prefer this option as there's no messy stuff to deal with. Simply pass the blow dryer over the effective area, allow it to heat up slowly, and stop immediately when you see improvement. I would caution that you shouldn't let "perfect" be an obstacle to "good." Some improvement is better than going too far and further harming the finish. It's difficult to decide when to stop heating the surface, so be conservative in your efforts.
I mentioned earlier that light water stains are seldom found in oil finishes. Watco oil, tongue oil, and linseed oil leave a finish that is too thin to generate the light water stains. But on the other hand, that thin layer of protection means that dark water stains are more common.
How to get rid of dark water stains
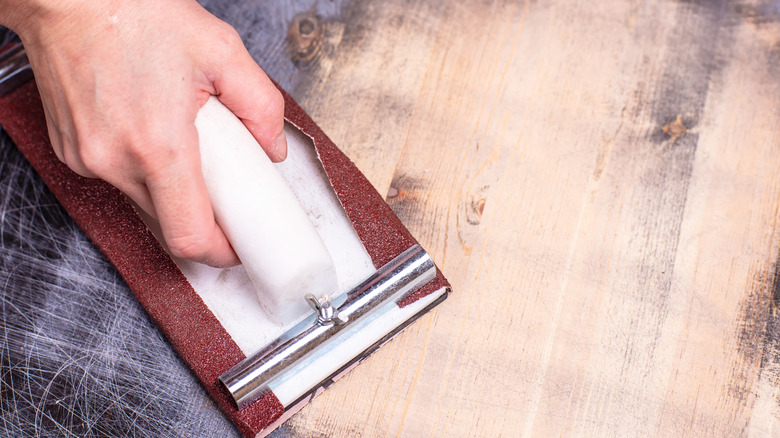
Dark water stains are made when water with some metal component, like dissolved iron for example, finds its way through a flaw in the finish and reacts with the wood. If iron-saturated water leaks into oak or cherry lumber, the tannins in the wood will turn dark — almost black. Because the discoloration is in the wood fibers rather than encapsulated in the finish, removing the dark stains is a lot more work. You'll need to remove the finish over the mark and then address the problem.
Sometimes something like oxalic acid will do the trick, and lemon juice can help, but it's more likely that you'll need to sand through to unaffected wood fibers. It's a case where, sometimes, removing a whole section of finish is your best option. Any difference in the look of the finish would be constrained to one area and seem intentional. Or, you could paint the piece.
None of your options are good in terms of an easy DIY hack, so it comes down to a determination of how much effort you are willing to put into the repair. If the piece of furniture is important enough to you, refinishing is a great option. It can be a truly satisfying DIY project, and the results will last for years. Or, for a less taxing way forward, applying a very dark glazing stain to the piece can provide a uniform look and hide the marks reasonably well.