The Genius IKEA Ivar Hack That Frees Up Storage Space In Bathroom Cabinets
No matter how large the bathroom, storage space always seems to somehow be lacking. But if you're stuck with a particularly tiny footprint (or a rental space you can't modify), every square inch of storage really matters. In these cases, where adding additional cabinetry isn't an option, homeowners and renters alike have to get creative with ways to gain extra storage or free up space in their existing cabinets. Thankfully, one Instagrammer managed to do both with a creative, affordable, and damage-free DIY.
Deborah Stubbington (@bangonstyle) shared on Instagram how she repurposed a side support piece for IKEA's IVAR system into an easy DIY towel storage ladder. While Stubbington used the smallest 11.75-inch-wide by 70-inch-tall version of the IVAR side unit for her tiny bathroom, there are additional size options to go higher and wider if you wish. With the IVAR support costing $15, plus a handful of other supplies that will likely keep the project under around $30, this clever hack of IKEA's IVAR unit is much more affordable than other storage ladders on the market, let alone completely customizable to your specific needs.
Before starting this easy DIY, you must first gather your supplies. From IKEA, you need the IVAR side unit in the size of your choosing and any baskets you would like to hang from the pegs (Stubbington uses the IKEA TJABBIG basket as a catch-all for smaller items). Additionally, you will need decorative pegs or hooks, wood filler, sandpaper, a saw, and either paint or stain to finish the job. Now that you have everything you need, let's jump right in.
Use the IKEA IVAR side unit to create a DIY bathroom storage ladder
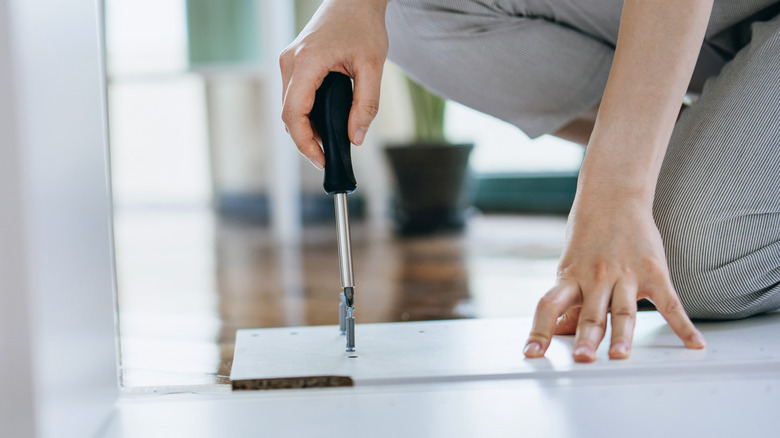
To begin this simple DIY, use wood filler to fill all holes on the inner sides of the IVAR rails, sanding them smooth when dry. Mark and cut the bottom of the posts at a slight angle (the video appears to be about a quarter to half inch up on the back side). This will allow the ladder to have a stable, supported lean with a flat surface on the ground.
Tape off the horizontal cross pieces if you'd prefer to leave them a natural wood tone like in the video, then prime and paint the vertical posts your color of choice. Once the paint is dry, you can use a wood stain on the horizontal cross pieces if desired. Alternatively, you could paint the whole thing, but staining the vertical posts is not a great option, as stain takes differently to filler versus wood material.
Once your piece has been finished to your aesthetic, it's time to add your decorative pegs or hooks to the horizontal pieces. The Instagrammer installed three pegs on the top rail for hanging small items, but none on the middle rail so it can function as a towel bar. She then put two close together on the bottom rail to support a basket handle. You could follow suit, or you could customize the peg layout for your specific needs. You could use it next to the vanity with a hand towel and extra toiletries, or near the bathtub to act as robe hooks without putting holes in the walls. Or leave the pegs off and give yourself three bars for storing towels, just like a blanket ladder rack.