Build The Perfect Storage Shed For Your Yard With These Simple Materials
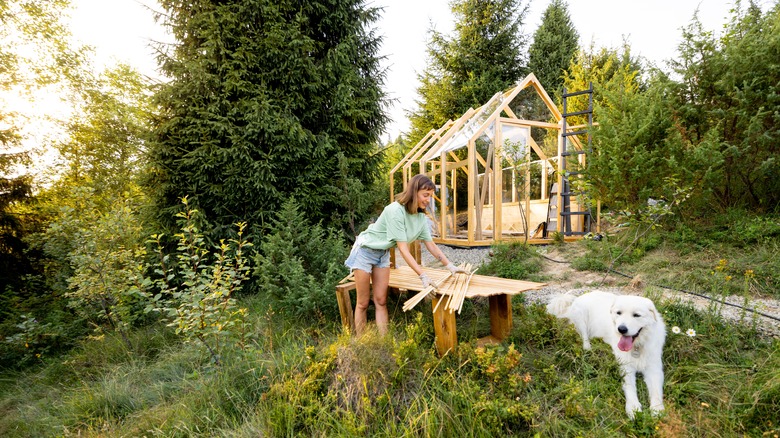
Wooden storage sheds are very popular these days. Given that I'm a professional woodworker, it probably wouldn't surprise you to know that I've just drawn up a design for a new one next to my driveway, though my wife has not yet approved of the project. Even for the average non-woodworking population, though, I'd argue that a homemade shed — whether simple or fancy — is definitely within the ability of an ambitious and skilled DIYer.
There are many plans available on the Internet, some free, others costing a few dollars. Most sheds that I see have windows built into them to provide ambient light, as well as wide (or double) doors for easy access; nothing too complex, and certainly easier than building your own treehouse. And as long as you're following such a plan, you really only need some basic tools, a helper (for safety) and a bit of perseverance to pull this off.
What tools? Well, a handheld circular saw and a drill driver are key. You need an accurate tape measure and a full-size hammer for sure. Sawhorses, while not required, are nearly that important, and I think access to a handheld jig saw is great for making adjustment cuts as you go along. Get your hands on a good-sized level, too, so you can make sure your walls are plumb, and don't forget a framing square. Clear an area to work in, try not to be jumping over lawn ornaments or kid's toys, and get proper safety gear, googles, ear protection and a dust mask for when you need it. Once all that is assembled, let's plan this out.
Pick the right yard location for your shed (& buy a bunch of gravel)
You may be surprised to know that figuring out where to put your shed needs to be one of the very first things you do. That's because you can't buy materials until you know the size: It would be a huge problem if your planned shed didn't fit into the space you have available. Furthermore, the site needs to be level, and perhaps even more importantly, you need to determine if the spot you are putting it has sufficient drainage. You don't want your shed standing in a puddle for many days of the year. That moisture will lead to rot and fungus problems which must be avoided.
There are some things you can do to improve the drainage in the location where you are going to place your shed. And that leads to the first material you're going to need for this project: Gravel!
Put down about 6 to 8-inches of gravel (class 5 is best) over the whole area where your shed will sit. This will lift it up above grade and keep it dry. You can level the site using the gravel, as well. If there is significant water flowing through the area, drain tiles under the gravel and around the perimeter of the shed will keep the water safely away from your shed.
The materials you'll need to build a DIY storage shed
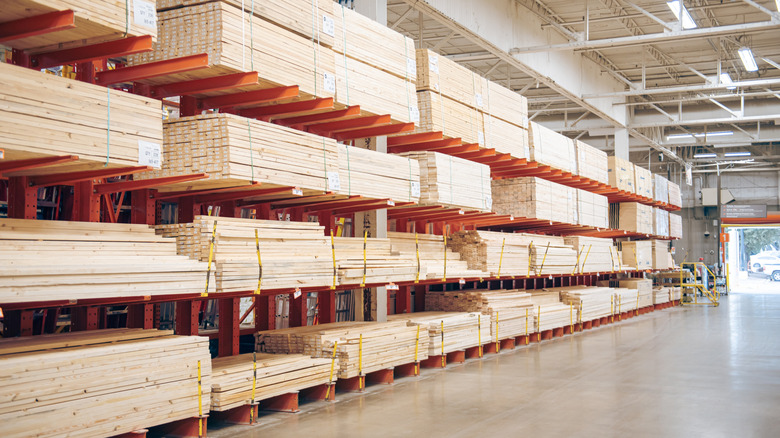
Ready to buy some wood? You 'll probably want treated lumber for any part of the shed that touches the ground. Pressure treated or simply treated lumber is standard construction grade softwood that has had chemicals embedded into the outer fibers of the lumber. These toxic chemicals are highly rot resistant. The problem is that treated lumber, especially lumber touching the ground, will leach those toxic chemicals into the environment (note that treated wood can even cause hives in some people). For that reason, some folks refuse to use it, and instead depend on naturally rot resistant species like cedar or white oak. There is pressure treated plywood that would normally be used for the floor of a shed too, unless you set it aside for environmental reasons.
The rest of the lumber you'll be using is pine construction grade framing lumber: 2 x 4s, 2 x 6s and so forth. Some builders use exterior-grade oriented strand board for their sheathing — the panels you nail to your framing. But I prefer exterior grade plywood, even though it is a bit more expensive. In my opinion, it is a stronger and more durable product than strand board.
One other area where I would not go cheap is the roofing. Rather than inexpensive rolled roofing, go with asphalt shingles or even steel roofing. It's true that most of the cost in your shed is tied up in materials, and for that reason, you'll want to be frugal. However, an investment in quality often will pay off down the road when it comes to longevity.
Some specific building tips for DIYing your storage shed
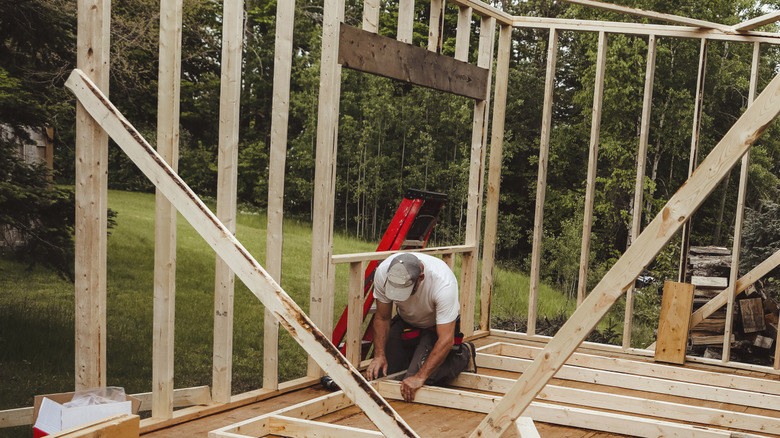
Once you've purchased all the materials above, it's time to get building. The walls of your shed will be made from 2 x 4s, 16-inches on center frame construction. Depending on the plan, you'll probably be able to use stud-length lumber (92'-5/8") for the vertical members, which will save you a bit of money. Remember to double up the 2 x 4s at the end of your wall sections and use 2 x 8s for the headers above your door and window openings. The headers should be double thickness (two pieces face-nailed together). Personally, I frame the windows in after the walls are constructed and raised up securely. It allows me to see exactly how they work regarding height and placement. It is a little more time consuming this way, but it gives me the confidence that I need. Take from that what you will.
In a small shed, your ceiling joists and the rafters will all be made from 2 x 4s, but depending on how high you go with your roof's pitch, you may need some 1 x 4 pine collar ties. There are also metal plates that you can use where the rafters meet at the peak, to help secure them one to another. Use coated construction nails for best results.
What about the decking for the roof? In my opinion as a woodworker, go with plywood. It's stronger and does not expand and contract as strand board does. And remember, in woodworking, it's never a mistake — unless you can't fix it. And you can almost always fix a mistake.
Here's how to finish up the DIY shed project
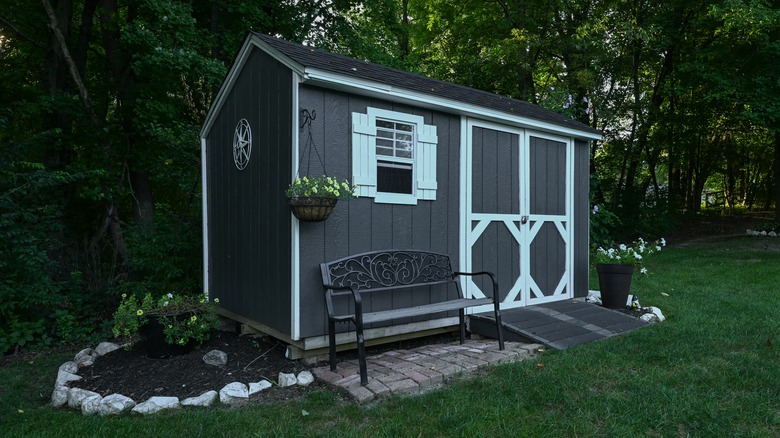
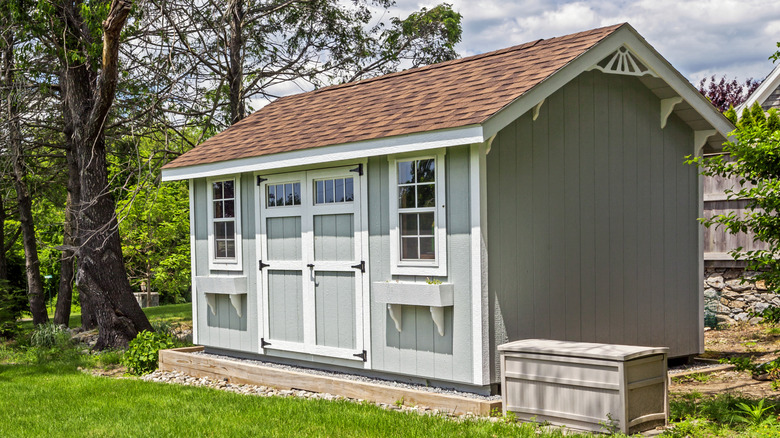
You've put the materials to use. You've closed in the shed. What's left? At this point, any further decisions are aesthetic — how do you want your shed to look? More traditional, or is a modern shed what your yard is missing? Do you want real cedar siding? Some other kind of wood or maybe vinyl?
The exterior framing around the windows can be plain or fancy. Shutters can look pretty sweet on a little building like a backyard shed. Painting the exterior of the shed is a must, but don't be afraid to have a little fun with it. And while most people do not take the time to do it, I recommend painting the interior of the shed, as well. It makes it a lot easier to keep clean and if you choose a light color paint, it will brighten the inside — in addition to protecting the wood from insects, mold, and other harm.
Backyard storage sheds are a great place to keep outdoor gear, lawnmowers, edges, leaf blowers, extension cords, folding lawn furniture, and more. Some folks even store gas cans in their sheds, as it keeps the flammable liquid out of their garage and away from the house. The benefit you get from the storage feels almost as good as the satisfaction you get from having built it yourself. But don't be surprised if — as your victory settles in — you suddenly feel overcome by the need to build a second shed. Personally speaking, I have two, but you already know I'm planning another one.