Save Money On Kitchen Renovations With One Clever Expert Tip

As an interior designer and remodel project manager, an essential part of my job is making sure that all of my tradespeople have the necessary specs, drawings, and additional information to get their jobs done correctly. In the renovation world, mistakes cost serious time and money! But if you don't have an interior designer or general contractor going to bat for you, there's one cabinetry document I always advise for homeowners tackling their own kitchen remodeling project: a detailed cabinet hardware map.
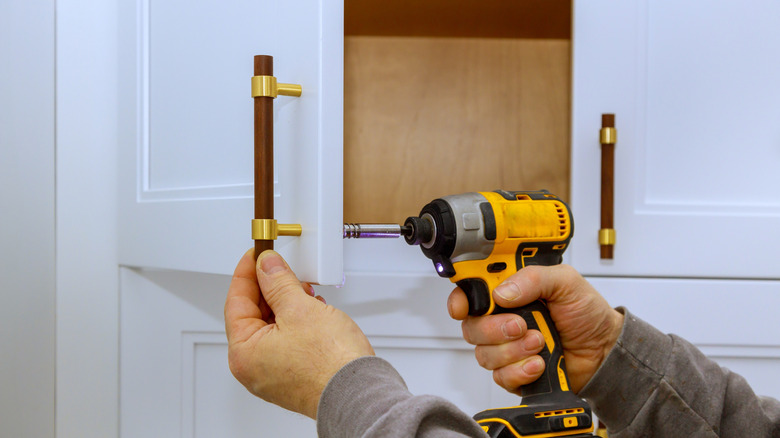
For those of you muttering to your screen that, surely, accidentally drilling a few hardware holes incorrectly can't really be "that big of a deal," let me set the scene: Installing cabinet hardware is one of the last things to go into your renovation, which means when you're finally at the point of installing knobs and pulls, the light at the end of the arduous remodeling tunnel is within reach. You're planning on moving your belongings back in and throwing a party to celebrate your new kitchen. Then, as was the case with one of my poor clients, your hardware installer mis-drills the appliance pull holes on five essential cabinet fronts for your panel-ready appliances. Ouch. Not only would this "small mistake" put you back several days or a week to have the panels remade or repaired, refinished, and installed, but without a hardware map for support (thankfully, in the case of my client, we did!), you could end up paying for the replacements, because it'd be on you for not providing the installer with adequate information.
So, let's take a more detailed look at how kitchen cabinet hardware maps are the best way to avoid costly mistakes.
How providing a cabinet hardware map helps avoid pricey mistakes during your kitchen renovation
Creating a hardware map for your installer, rather than just having a conversation, may seem like overkill, but trust me — there are a couple reasons why it is worth going the extra mile. First and foremost, when you select a mix of hardware types and/or pull sizes as a part of your kitchen design, it can get really confusing as to which knob or pull goes where. And where there's confusion, unfortunately, some installers won't double-check with you; they need to save time, and they'll start making assumptions.
This is why I strongly believe it's best to present all information up front in a comprehensive hardware map, as creating this tangible reference document will act as a road map to make sure the right hardware goes on each door. It also gives you the opportunity to detail the exact cabinet hardware placement, and orientation for the hardware in general, as well as in specialty locations like any trash pull-outs, false fronts, appliance pulls, cremone bolts, and more.
Furthermore, installers are human: People can forget or misunderstand what was said verbally, resulting in mistakes. If your installer agrees it was an honest error and fixes it, great. But, trust me, even the nicest installers have more often than not been known to utter the words, "That's not what you told me." And when it's your word against theirs, guess who's probably going to cover the cost of the repair? Hint: it's not them. With the physical proof of the hardware map, you have a written record of your preferences to protect yourself against the frustrating and upsetting "he said, she said" game.
How to create a detailed kitchen cabinet hardware map
To create a proper hardware map, acquire the cabinetmaker's elevation plans for new kitchen cabinets or snap photos of (or sketch) each wall if you're reusing existing cabinets. Next, print out pictures, specs (specifically the on-center dimensions, or the distance between holes, which is how pulls are measured), and item numbers of all hardware purchased. These will go into the packet of information for your installer.
Next, build a legend with different colored symbols for each hardware type and size, preferably in the shape of the actual hardware (circles for knobs, lines for pulls, semi-circles for cup pulls, etc.). Label each symbol with a description, item number, and product photo so it can be easily matched with the physical product, either by hand or with a computer program like Photoshop or Canva. The legend can be on a separate page, but I like to put it on every page so there is less opportunity for something to get lost or confused. Can you tell I've learned all of this the hard way?
Follow the legend to draw on your cabinet plans or photos which hardware goes in each location, once again by hand, with a computer, or even sketching them with your phone's mark-up drawing feature. Include any special notes for hardware placement as needed. The more information you provide, the less chance of an error. Finally, I always do an in-person run through of the hardware map with the installer for clarity, as well as answer any questions that could become unfortunate assumptions down the road. The best-laid plans, you know? Your hardware map is an essential installation resource, as well as a tool for protecting your cabinetry investment. Don't skip it!