

The Affordable Dollar Tree DIY To Make Ugly Light Switches Way Cuter
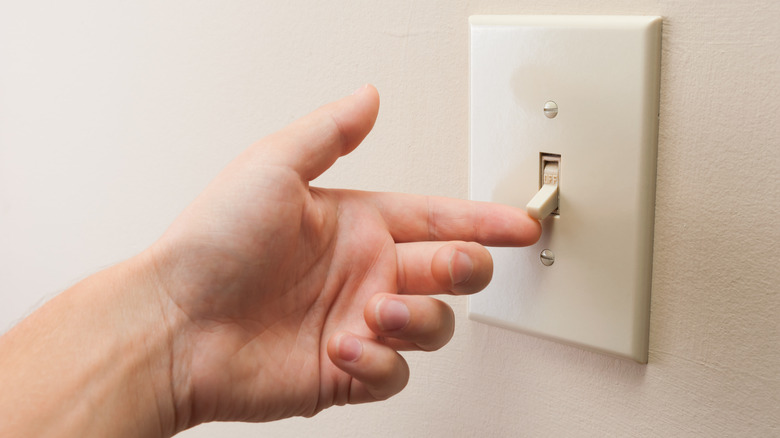
Light switch plates probably aren't the first thing you notice when you walk into a room — but their plain plastic appearance can stand out after you finish decorating. Once you've chosen the paint, hung the artwork, and arranged the furniture, that white rectangle can start looking a little left out. Instead of buying expensive replacement plates to tie a room together, try covering the ones you already have with Dollar Tree peel-and-stick wallpaper. A small, decorative touch like this is a budget-friendly way to make ugly light switches less of an eyesore.
Fortunately, you don't need much material to give a basic switch plate a fresh look. A small piece of wallpaper from Dollar Tree or scraps left over from another project can transform an ordinary plate into an accent that complements your decor. It's also a clever way to use peel-and-stick wallpaper, especially when you want to coordinate small details without spending much. A floral print could bring some charm to a cottage-inspired bedroom, while a geometric pattern would suit a more contemporary space. You could also choose a subtle neutral design that blends with the wall. If you already have patterned wallpaper elsewhere in the room, using a leftover piece can help carry that detail through the space and help to disguise the light switch altogether.
For this upgrade, you'll need some peel-and-stick wallpaper, a plastic switch plate, a craft knife, and a cutting mat. You'll also need the appropriate screwdriver to remove and reinstall the cover, plus a dry cloth for cleaning and smoothing. A pencil for marking your cuts will come in handy, too. It's important to note that the availability of Dollar Tree's wallpaper varies by location, so see what your local store has before committing to this project.
How to give your switch plates a wallpaper makeover
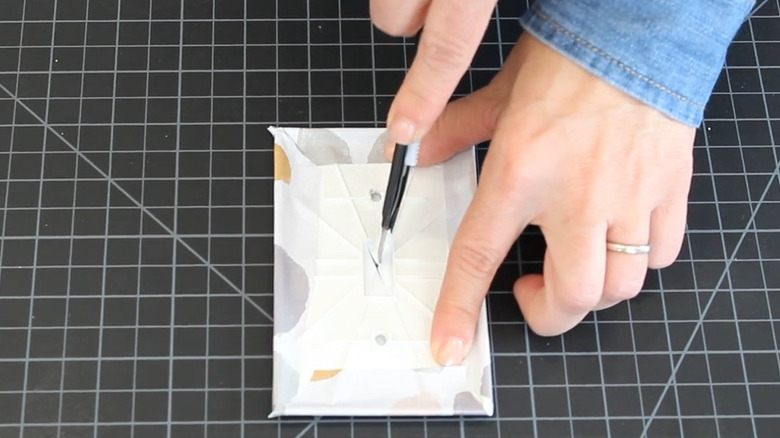
Start by switching off the light switch circuit at the breaker, then unscrew the cover plate and move it to your work surface. You'll want to put the screws in a plastic bag so you don't lose them while you work. Now, wipe the plate with a paper towel and isopropyl alcohol to make sure it's oil-free, dry, and ready for wallpaper to adhere to it. Before peeling the backing, plan your cuts by positioning the plate over the wallpaper to choose which part of the pattern will show. Then, cut a piece slightly larger than the plate, leaving enough material to wrap around its edges.
Now, cut a slit in the switch opening, peel back the wallpaper's liner, and place the switch cover face down on the back of the paper. Then push the excess wallpaper through the switch opening's edges and around the plate's sides, making small relief cuts at the corners to prevent bunching. With the plate face down on a cutting mat, trim the switch opening with a craft knife and clear the screw holes. You'll want to make sure none of the material interferes with the electrical box or with the plate sitting flush against the wall. Now, reinstall the cover, check that the switch moves freely, and restore power.
Coordinate the plate with other accents in the room such as picture frames or decorative trays to create a cohesive look. For a maximalist touch, use a contrasting print to turn the switch plates into focal points. And there's no need to cover every switch in the room. Even covering just one can be a switch plate upgrade that will instantly elevate your space, especially somewhere you'll notice it every day.